# Spaces
In this document, you’ll learn how to install the [Spaces plugin](https://github.com/medusajs/medusa/tree/master/packages/medusa-file-spaces) on your Medusa server and use it for storage.
## Overview
To manage images in Medusa, you need a file service plugin responsible for hosting the images. Without a file service plugin, you will face issues while working with Medusa, such as when uploading images for products.
Medusa provides three different options to handle your file storage. This document focuses on using [Spaces](https://www.digitalocean.com/products/spaces) to store your Medusa server’s images.
---
## Prerequisites
### Medusa Server
A Medusa server is required to be set up before following along with this document. You can follow the [quickstart guide](../quickstart/quick-start.mdx) to get started in minutes.
### Required Accounts
You need to [create a DigitalOcean account](https://cloud.digitalocean.com/registrations/new) to follow along with this documentation. A credit card is required during registration.
---
## Create DigitalOcean Space
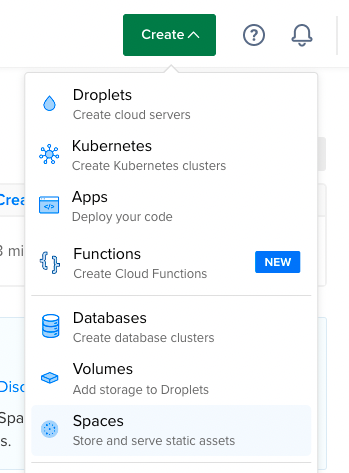
In your DigitalOcean account, click on the Create button at the top right, then choose Spaces from the dropdown.
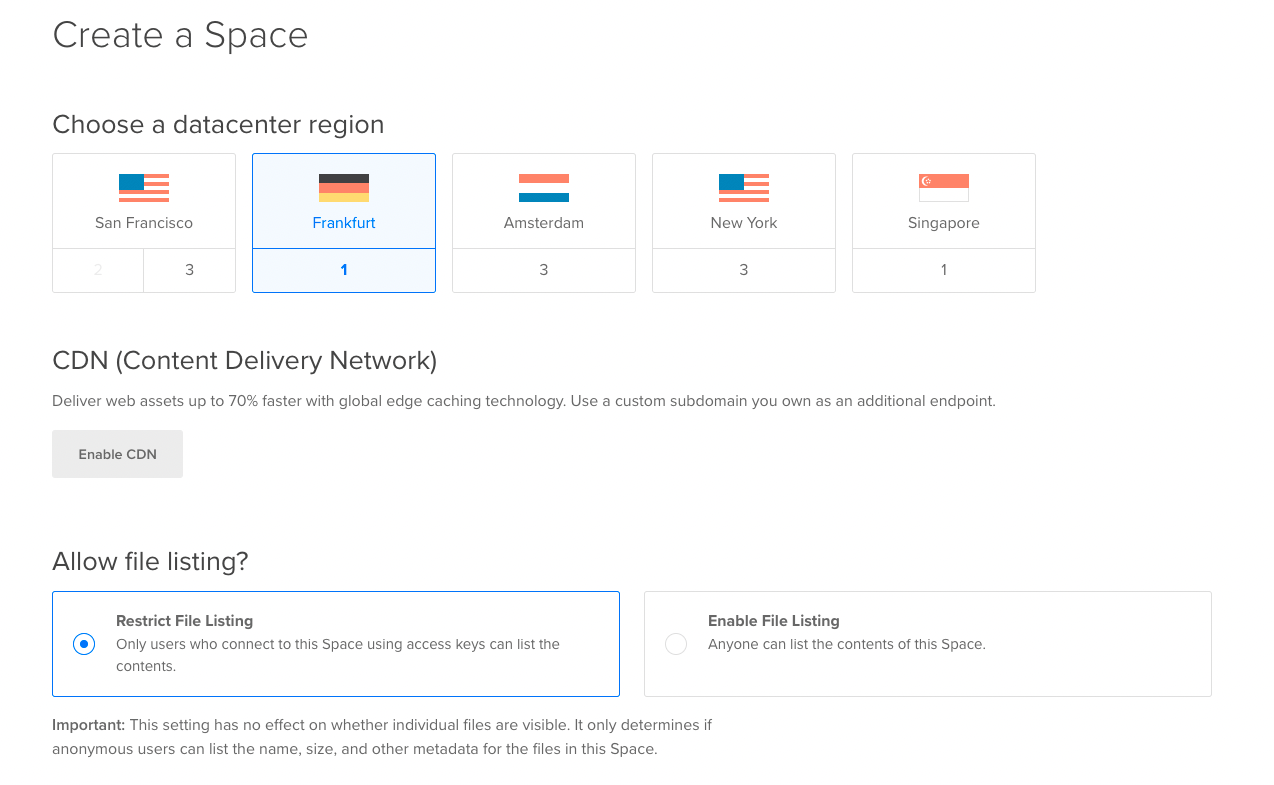
In the Create a Space form, you can choose any of the regions listed. You can alternatively leave all settings as they are and scroll down to the Finalize and Create section.
In the Finalize and Create section, enter a name for the field “Choose a unique name”. You’ll use this name later in the integration with Medusa. Also, select the project you want to add the new Space to.
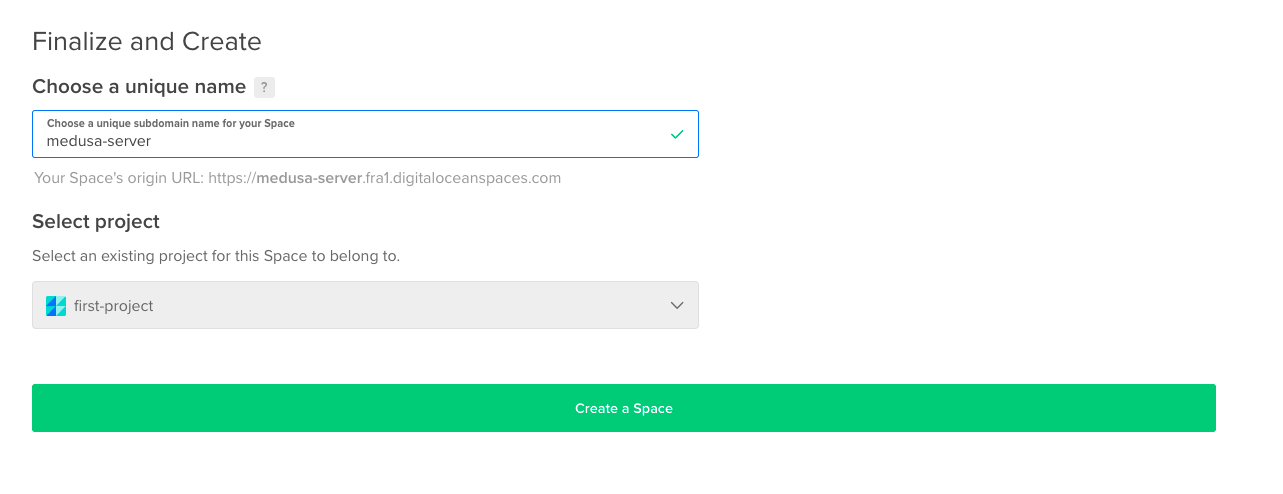
Once you’re done, click on the Create a Space button. This creates the Space and redirects you to the Space’s page.
---
## Create Space Access Keys
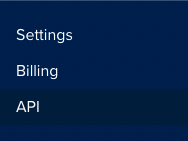
Choose API from the bottom of the sidebar.
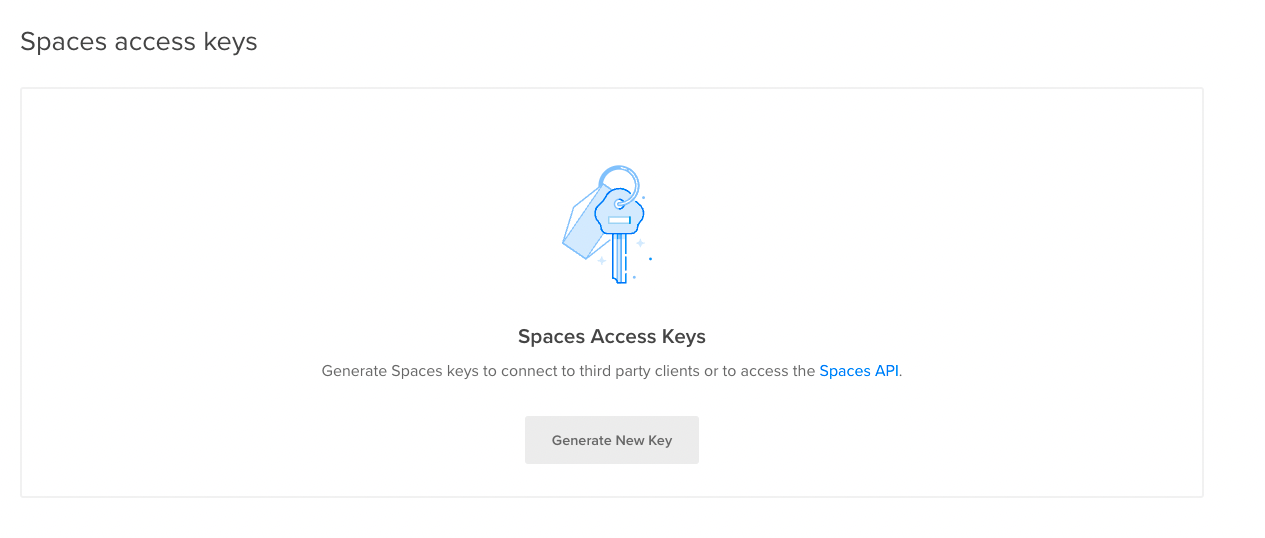
This opens the Application & API page. Scroll down to Spaces Access Keys and click the Generate New Key button.
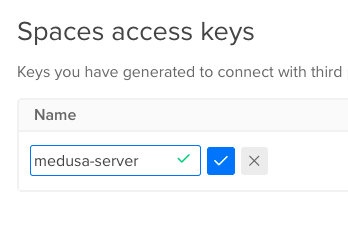
This shows a table with the Name field editable. Enter a name for the Access Keys and click on the checkmark button to save and generate the Spaces access keys.
Then, two keys will be available under the Key column of the table. The first one is the Access Key ID and the second is the Secret Access Key. Copy both as you’ll use them later.
:::caution
The secret access key will not be shown again after you leave the page. Make sure to copy it when you see it or you’ll need to re-generate a new one.
:::
---
## Install the Spaces Plugin
In the directory of your Medusa server, run the following command to install the Spaces plugin:
```bash npm2yarn
npm install medusa-file-spaces
```
Then, add the following environment variables:
```bash
SPACE_URL=
SPACE_BUCKET=
SPACE_ENDPOINT=
SPACE_ACCESS_KEY_ID=
SPACE_SECRET_ACCESS_KEY=
```
Where:
1. `` is the URL of your Space which you can find on the Space’s page below the Space’s name.

2. `` is the name of your Space.
3. `` is your Space’s endpoint which can be found by going to your Space’s page, clicking on the Settings tab, and scrolling to the Endpoint section.

4. `` and `` are the keys you created in the previous section.
Finally, in `medusa-config.js` add a new item to the `plugins` array:
```jsx title=medusa-config.js
const plugins = [
// ...
{
resolve: `medusa-file-spaces`,
options: {
spaces_url: process.env.SPACE_URL,
bucket: process.env.SPACE_BUCKET,
endpoint: process.env.SPACE_ENDPOINT,
access_key_id: process.env.SPACE_ACCESS_KEY_ID,
secret_access_key: process.env.SPACE_SECRET_ACCESS_KEY,
},
},
]
```
:::caution
If you have multiple storage plugins configured, the last plugin declared in the `medusa-config.js` file will be used.
:::
---
## Test the Space Plugin
Run your Medusa server with the following command:
```bash npm2yarn
npm run start
```
Then, you can either test the plugin using the [REST APIs](https://docs.medusajs.com/api/store) or using the [Medusa Admin](../admin/quickstart.mdx).
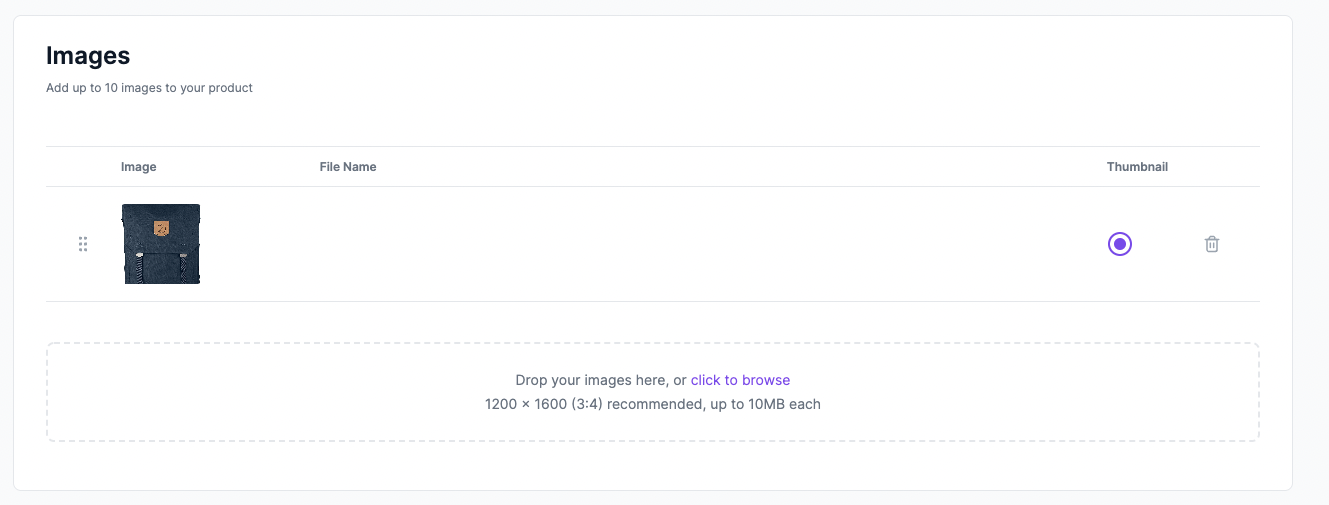
On the Medusa Admin, create a new product and, in the Images section, upload an image then click Save. If the integration was successful, the product image will be uploaded successfully.
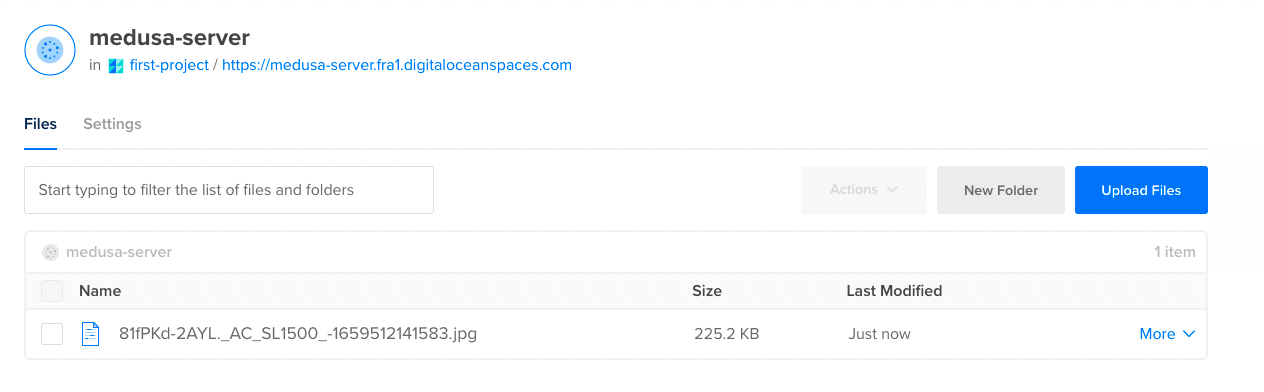
You can also check that the image was uploaded on the Space’s page.
---
## Next.js Storefront Configuration
If you’re using a [Next.js](../starters/nextjs-medusa-starter.mdx) storefront, you need to add an additional configuration that adds the Space’s domain name into the configured images’ domain names. This is because all URLs of product images will be from the Space.
If this configuration is not added, you’ll receive the error ["next/image Un-configured Host”](https://nextjs.org/docs/messages/next-image-unconfigured-host).
In `next.config.js` add the following option in the exported object:
```jsx title=next.config.js
const { withStoreConfig } = require("./store-config")
// ...
module.exports = withStoreConfig({
// ...
images: {
domains: [
// ...
"",
],
},
})
```
Where `` is the domain name for your Space which can be retrieved from the Space URL. For example, `medusa-server.fra1.digitaloceanspaces.com`.
---
## See Also
- Check out [more plugins](https://github.com/medusajs/medusa/tree/master/packages) you can add to your store.
- [Seploy the Medusa server on DigitalOcean](../deployments/server/deploying-on-digital-ocean.md).
- Install the [Next.js](../starters/nextjs-medusa-starter.mdx) or [Gatsby](../starters/gatsby-medusa-starter.mdx) storefront.