* initialized next.js project

* finished markdown sections

* added operation schema component

* change page metadata

* eslint fixes

* fixes related to deployment

* added response schema

* resolve max stack issue

* support for different property types

* added support for property types

* added loading for components

* added more loading

* type fixes

* added oneOf type

* removed console

* fix replace with push

* refactored everything

* use static content for description

* fixes and improvements

* added code examples section

* fix path name

* optimizations

* fixed tag navigation

* add support for admin and store references

* general enhancements

* optimizations and fixes

* fixes and enhancements

* added search bar

* loading enhancements

* added loading

* added code blocks

* added margin top

* add empty response text

* fixed oneOf parameters

* added path and query parameters

* general fixes

* added base path env variable

* small fix for arrays

* enhancements

* design enhancements

* general enhancements

* fix isRequired

* added enum values

* enhancements

* general fixes

* general fixes

* changed oas generation script

* additions to the introduction section

* added copy button for code + other enhancements

* fix response code block

* fix metadata

* formatted store introduction

* move sidebar logic to Tags component

* added test env variables

* fix code block bug

* added loading animation

* added expand param + loading

* enhance operation loading

* made responsive + improvements

* added loading provider

* fixed loading

* adjustments for small devices

* added sidebar label for endpoints

* added feedback component

* fixed analytics

* general fixes

* listen to scroll for other headings

* added sample env file

* update api ref files + support new fields

* fix for external docs link

* added new sections

* fix last item in sidebar not showing

* move docs content to www/docs

* change redirect url

* revert change

* resolve build errors

* configure rewrites

* changed to environment variable url

* revert changing environment variable name

* add environment variable for API path

* fix links

* fix tailwind settings

* remove vercel file

* reconfigured api route

* move api page under api

* fix page metadata

* fix external link in navigation bar

* update api spec

* updated api specs

* fixed google lint error

* add max-height on request samples

* add padding before loading

* fix for one of name

* fix undefined types

* general fixes

* remove response schema example

* redesigned navigation bar

* redesigned sidebar

* fixed up paddings

* added feedback component + report issue

* fixed up typography, padding, and general styling

* redesigned code blocks

* optimization

* added error timeout

* fixes

* added indexing with algolia + fixes

* fix errors with algolia script

* redesign operation sections

* fix heading scroll

* design fixes

* fix padding

* fix padding + scroll issues

* fix scroll issues

* improve scroll performance

* fixes for safari

* optimization and fixes

* fixes to docs + details animation

* padding fixes for code block

* added tab animation

* fixed incorrect link

* added selection styling

* fix lint errors

* redesigned details component

* added detailed feedback form

* api reference fixes

* fix tabs

* upgrade + fixes

* updated documentation links

* optimizations to sidebar items

* fix spacing in sidebar item

* optimizations and fixes

* fix endpoint path styling

* remove margin

* final fixes

* change margin on small devices

* generated OAS

* fixes for mobile

* added feedback modal

* optimize dark mode button

* fixed color mode useeffect

* minimize dom size

* use new style system

* radius and spacing design system

* design fixes

* fix eslint errors

* added meta files

* change cron schedule

* fix docusaurus configurations

* added operating system to feedback data

* change content directory name

* fixes to contribution guidelines

* revert renaming content

* added api-reference to documentation workflow

* fixes for search

* added dark mode + fixes

* oas fixes

* handle bugs

* added code examples for clients

* changed tooltip text

* change authentication to card

* change page title based on selected section

* redesigned mobile navbar

* fix icon colors

* fix key colors

* fix medusa-js installation command

* change external regex in algolia

* change changeset

* fix padding on mobile

* fix hydration error

* update depedencies
12 KiB
description, addHowToData
| description | addHowToData |
|---|---|
| Learn how to integrate Algolia with the Medusa backend. Learn how to install the Algolia plugin into the Medusa backend and how to integrate it into a storefront. | true |
Algolia
In this document, you’ll learn how to install the Algolia plugin and use it on both your Medusa backend and your storefront.
Overview
Algolia is a search engine service that allows developers to integrate advanced search functionalities into their websites including typo tolerance, recommended results, and quick responses.
Algolia can be used for a wide range of use cases, including ecommerce websites. By integrating Algolia into your ecommerce website, you can provide your customers with a better user experience and help them find what they’re looking for swifltly.
Through Medusa's flexible plugin system, it is possible to add a search engine to your Medusa backend and storefront using Algolia with just a few steps.
Prerequisites
Medusa Components
It is required to have a Medusa backend installed before starting with this documentation. If not, please follow along with the quickstart guide to get started in minutes. The Medusa backend must also have an event bus module installed, which is available when using the default Medusa backend starter.
Algolia Account
You need to create an Algolia account before you follow this documentation. Algolia offers a free plan to get started quickly.
Create an Algolia App
The first step is to create an Algolia app for your Medusa backend. To create one, open the Applications page or, on your dashboard, go to Settings then choose Applications.
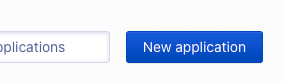
On the Applications page, click on the New application button at the top right.
In the new page that opens, optionally enter a name for the application and choose a subscription plan. You can choose the Free plan for now, but it’s recommended to switch to the Pay-as-you-go plan as your business grows.

Once you’re done, click on the Next Step button. If you picked Pay as you go service, you’ll need to enter billing details before you proceed.
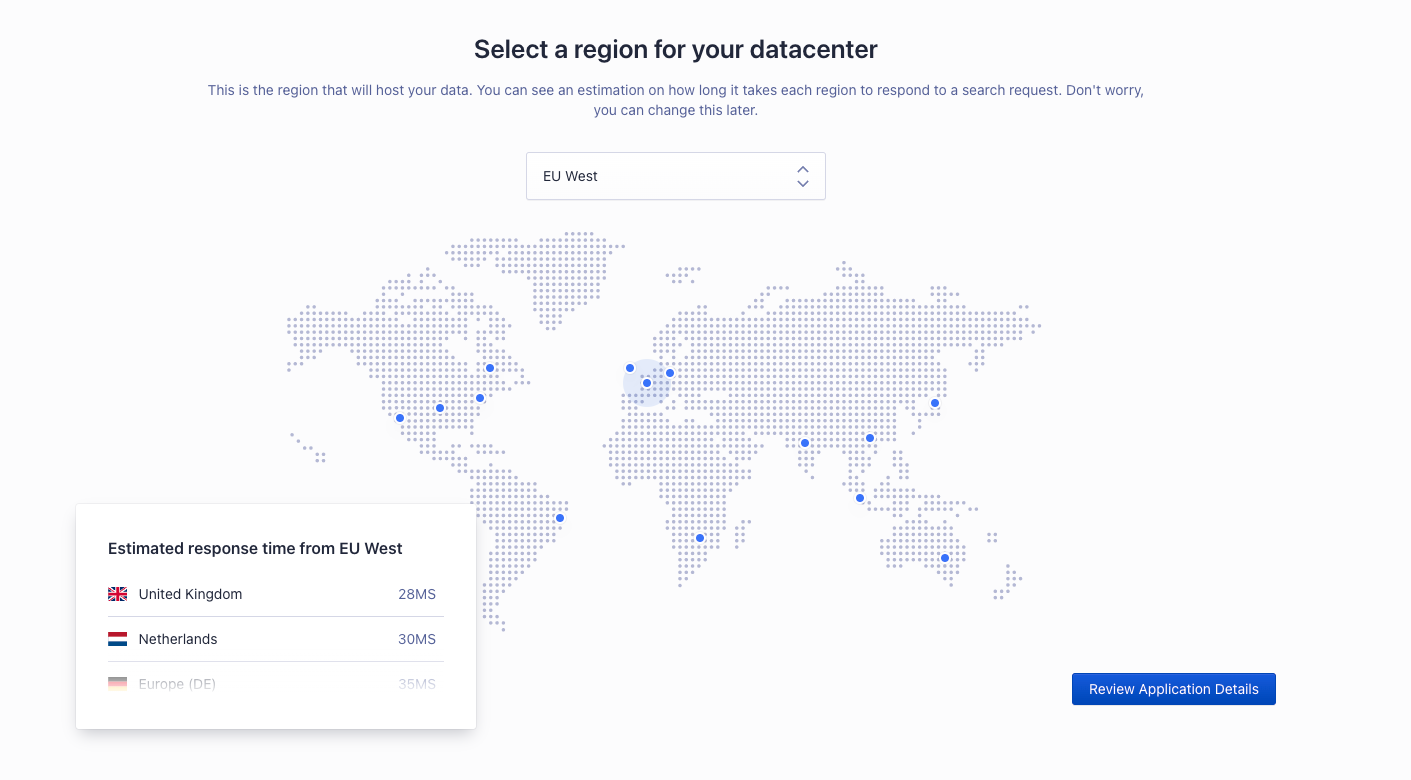
Then, you’ll be asked to pick a region for your application. Once you’re done, click on Review Application Details.
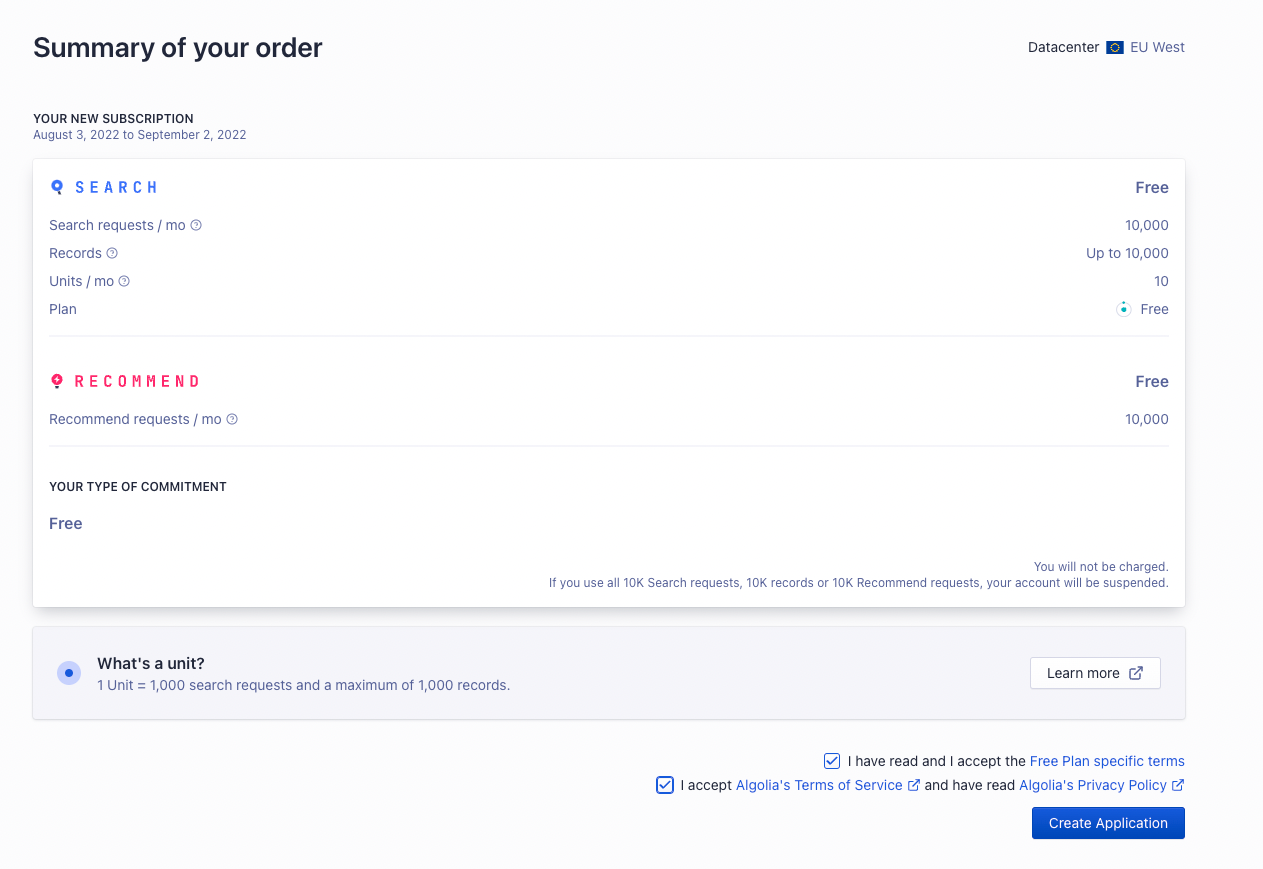
In the last step, you’ll see a summary of your order. If all looks good, check the checkboxes at the end of the form to indicate that you agree to the terms and conditions. Then, click on the Create Application button.
Retrieve API Keys
To retrieve the API keys that you’ll use in the next sections, go to Settings, then choose API Keys in the Team and Access section.

On this page, you’ll find the Application ID, Search-Only API Key, and Admin API Key. You’ll need the Application ID and Admin API Key for the Medusa backend. As for the storefront, you’ll need the Application ID and Search-Only API Key.
:::note
If you have more than one application in your Algolia account, make sure you’re viewing the keys of the correct application by checking the Application dropdown at the top left.
:::

Install the Algolia Plugin
In the directory of your Medusa backend, run the following command to install the Algolia plugin:
npm install medusa-plugin-algolia
Then, add the following environment variables to your Medusa backend:
ALGOLIA_APP_ID=<YOUR_APP_ID>
ALGOLIA_ADMIN_API_KEY=<YOUR_ADMIN_API_KEY>
Where <YOUR_APP_ID> and <YOUR_ADMIN_API_KEY> are respectively the Application ID and Admin API Key found on the API Keys page.
Finally, in medusa-config.js add the following item into the plugins array:
const plugins = [
  // ...
  {
    resolve: `medusa-plugin-algolia`,
    options: {
      applicationId: process.env.ALGOLIA_APP_ID,
      adminApiKey: process.env.ALGOLIA_ADMIN_API_KEY,
      settings: {
        // index settings...
      },
    },
  },
]
Index Settings
Under the settings key of the plugin's options, you can add settings specific to each index. The settings are of the following format:
const plugins = [
  // ...
  {
    resolve: `medusa-plugin-algolia`,
    options: {
      // other options...
    settings: {
      indexName: {
        indexSettings: {
          searchableAttributes,
          attributesToRetrieve,
        },
        transformer,
      },
    },
    },
  },
]
Where:
indexName: the name of the index to create in Algolia. For example,products. Its value is an object containing the following properties:indexSettings: an object that includes the following properties:searchableAttributes: an array of strings indicating the attributes in the product entity that can be searched.attributesToRetrieve: an array of strings indicating the attributes in the product entity that should be retrieved in the search results.
transformer: an optional function that accepts a product as a parameter and returns an object to be indexed. This allows you to have more control over what you're indexing. For example, you can add details related to variants or custom relations, or you can filter out certain products.
Using this index settings structure, you can add more than one index.
:::tip
These settings are just examples of what you can pass to the Algolia provider. If you need to pass more settings to the Algolia SDK you can pass it inside indexSettings.
:::
Here's an example of the settings you can use:
const plugins = [
  // ...
  {
    resolve: `medusa-plugin-algolia`,
    options: {
      // other options...
      settings: {
        products: {
          indexSettings: {
            searchableAttributes: ["title", "description"],
            attributesToRetrieve: [
              "id",
              "title",
              "description",
              "handle",
              "thumbnail",
              "variants",
              "variant_sku",
              "options",
              "collection_title",
              "collection_handle",
              "images",
            ],
          },
          transformer: (product) => ({
            objectID: product.id,
            // other attributes...
          }),
        },
      },
    },
  },
]
Test the Algolia Plugin
Run your Medusa backend with the following command:
npx medusa develop
The quickest way to test that the integration is working is by sending a POST request to /store/products/search. This endpoint accepts a q body parameter of the query to search for and returns in the result the products that match this query.

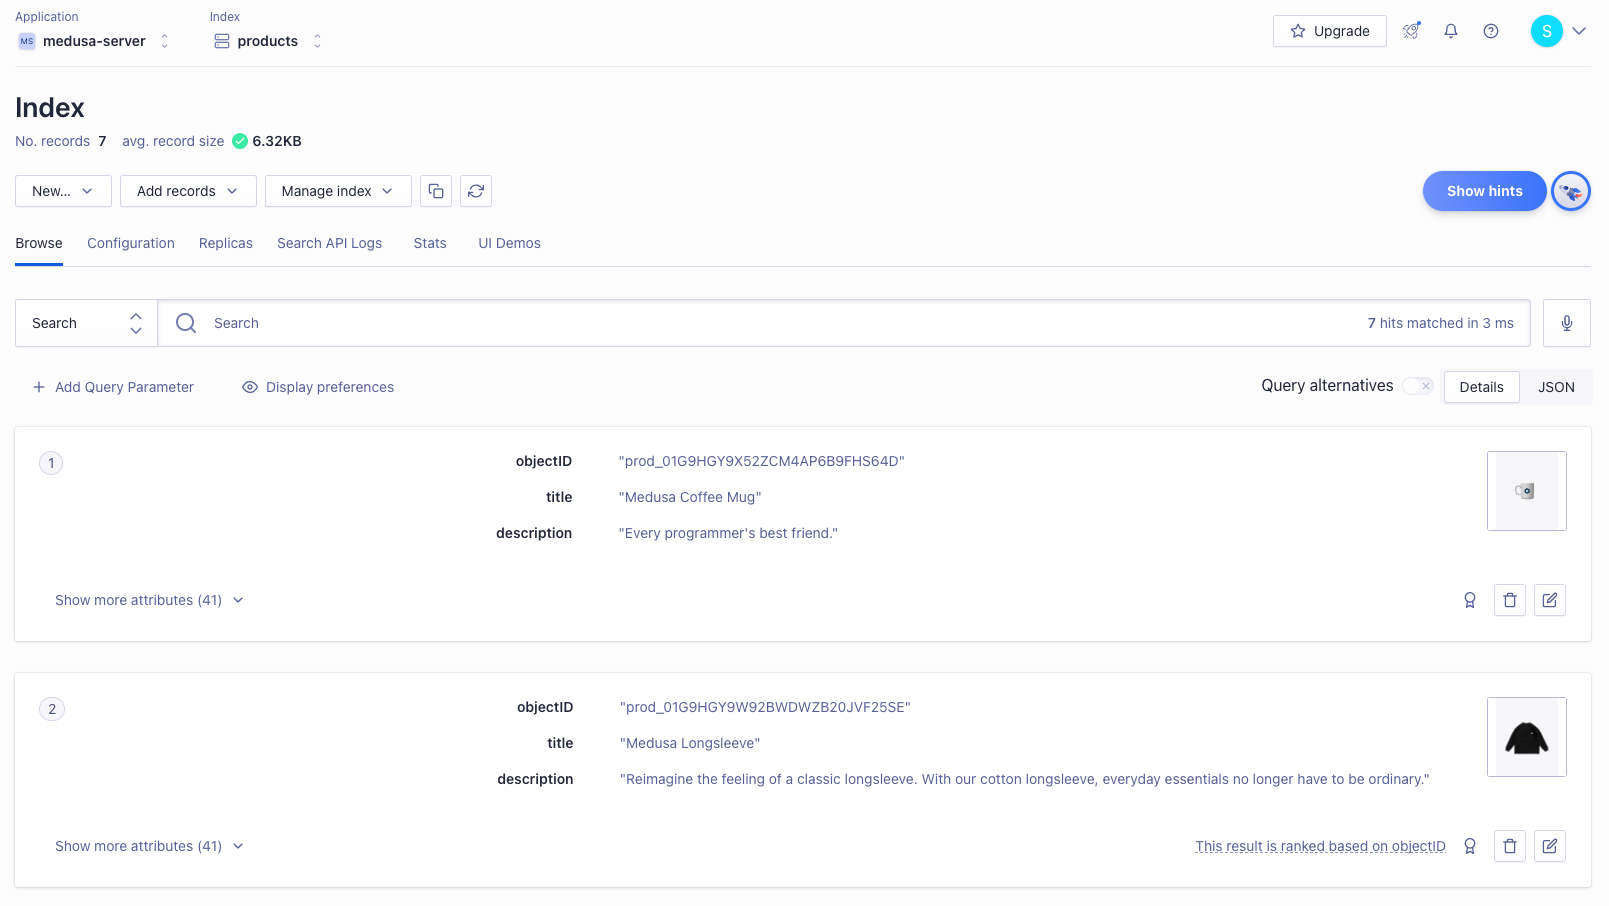
You can also check that the products are properly indexed by opening your Algolia dashboard and choosing Search from the left sidebar. You’ll find your products that are on your Medusa backend added there.
:::note
If you have more than one application on your Algolia account, make sure you’re viewing the keys of the correct one by checking the Application dropdown at the top left.
:::
Add or Update Products
If you add or update products on your Medusa backend, the addition or update will be reflected in the Algolia indices.
:::note
This feature is only available if you have an event module installed in your Medusa backend, as explained in the Prerequisites section.
:::
Add Search to your Storefront
In this section, you’ll learn how to add the UI on your storefront to allow searching with Algolia. This section has instructions for Medusa’s Next.js Starter Template as well as React-based frameworks.
Storefront Prerequisites
It is assumed you already have a storefront set up and working with the Medusa backend, as this section only covers how to add the search UI.
:::tip
If you don’t have a storefront set up, you can use the Next.js Starter Template that Medusa provides.
:::
Add to Next.js Starter Template
The Next.js Starter Template has the Algolia integration available out of the box. To get it working, you just need to follow three steps.
First, ensure that the search feature is enabled in store.config.json:
{
  "features": {
    "search": true
  }
}
Then, add the necessary environment variables:
NEXT_PUBLIC_SEARCH_APP_ID=<YOUR_APP_ID>
NEXT_PUBLIC_SEARCH_API_KEY=<YOUR_SEARCH_API_KEY>
NEXT_PUBLIC_SEARCH_INDEX_NAME=products
Where <YOUR_APP_ID> and <YOUR_SEARCH_API_KEY> are respectively the Application ID and Search-Only API Key on the API Keys page.
Finally, change the code in src/lib/search-client.ts to the following:
import algoliasearch from "algoliasearch/lite"

const appId = process.env.NEXT_PUBLIC_SEARCH_APP_ID || ""

const apiKey =
  process.env.NEXT_PUBLIC_SEARCH_API_KEY || "test_key"

export const searchClient = algoliasearch(appId, apiKey)

export const SEARCH_INDEX_NAME =
  process.env.NEXT_PUBLIC_SEARCH_INDEX_NAME || "products"
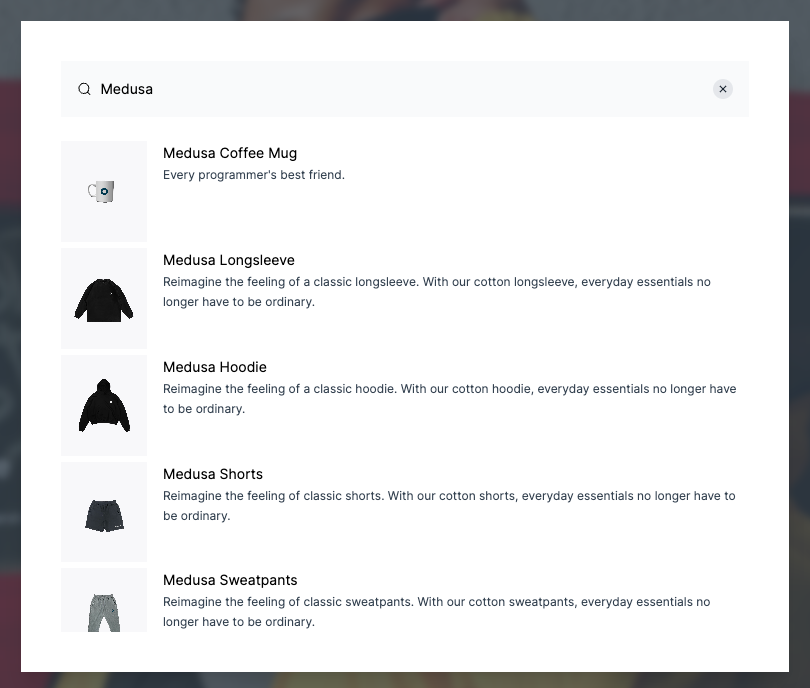
If you run your Next.js Starter Template now while the Medusa backend is running, the search functionality will be available in your storefront.
:::note
To make sure the Next.js Starter Template properly displays the products in the search result, include in the attributesToRetrieve setting of the Algolia plugin on the Medusa backend at least the fields title, handle, description, and thumbnail.
:::
Add to Other Storefronts
To integrate Algolia's search functionalities in your storefront, please refer to Algolia's InstantSearch.js documentation. You'll find packages for different frontend frameworks and how you can use them.