* add tags

* docs: add tags for user guide + links in commerce modules sidebar

* generate sidebar
187 lines
6.7 KiB
Plaintext
187 lines
6.7 KiB
Plaintext
---
|
||
sidebar_position: 1
|
||
sidebar_label: "Manage Customers"
|
||
tags:
|
||
- user guide
|
||
- customer
|
||
---
|
||
|
||
import { EllipsisHorizontal, ArrowUpRightOnBox, EllipsisVertical } from "@medusajs/icons"
|
||
import { Table } from "docs-ui"
|
||
|
||
export const metadata = {
|
||
title: `Manage Customers in Medusa Admin`,
|
||
}
|
||
|
||
# {metadata.title}
|
||
|
||
In this guide, you’ll learn how to create and manage customers and their details.
|
||
|
||
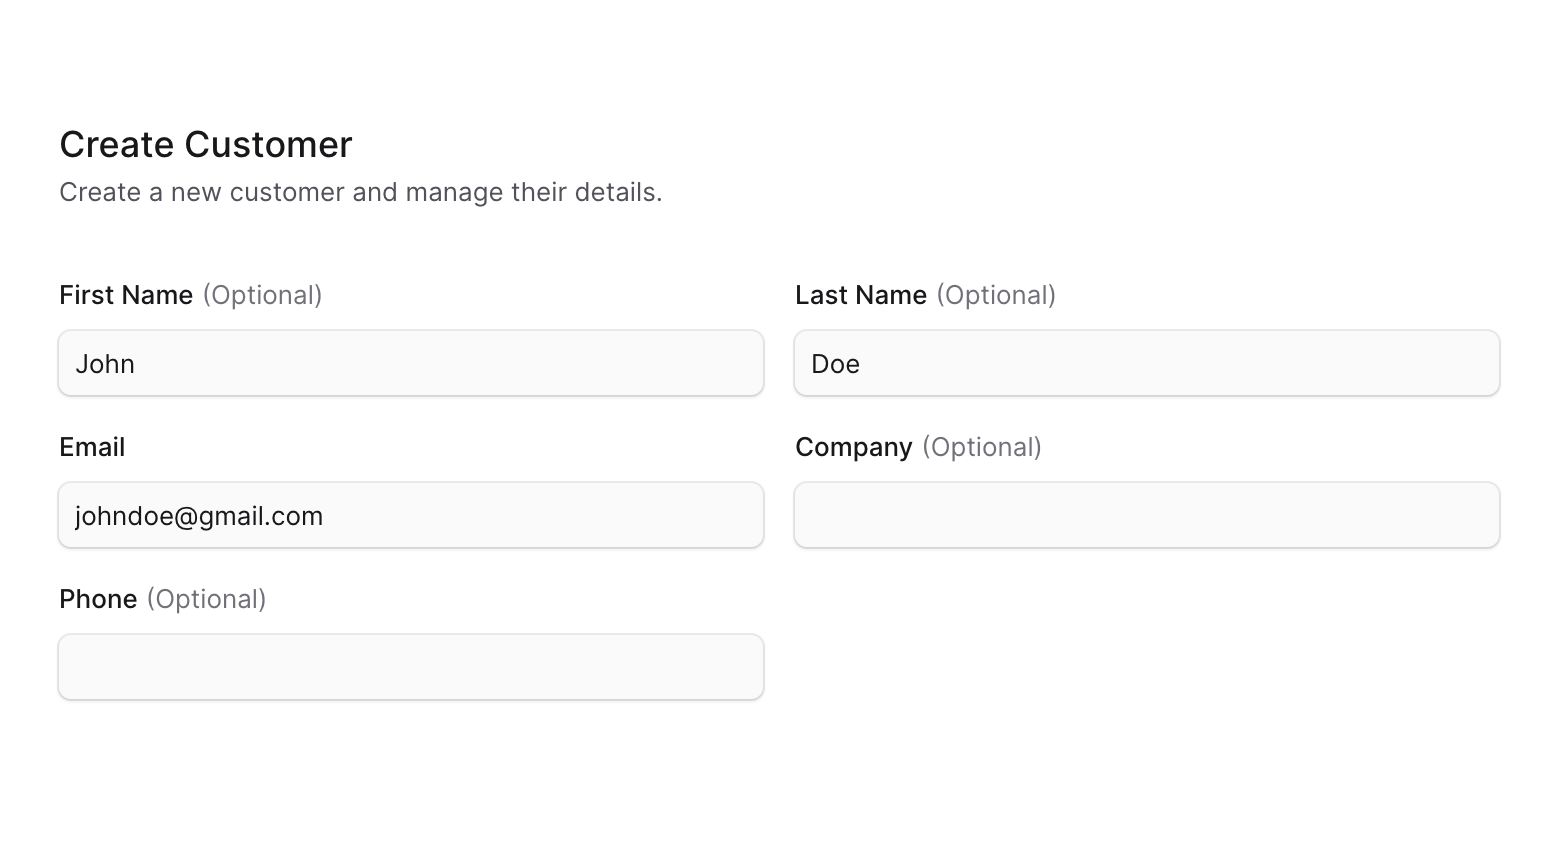
## Create a Customer
|
||
|
||
You can create a customer through the Medusa Admin, which is useful if a customer is creating an order offline. The customer will be a guest customer; to register, the customer must register through the storefront.
|
||
|
||
To create a customer from the Medusa Admin:
|
||
|
||
1. Go to the Customers page.
|
||
2. Click the Create button at the top right.
|
||
3. In the form that opens, enter the customer's email, and optionally their first and last name, company name, and phone number.
|
||
4. Once you're done, click the Create button.
|
||
|
||
|
||
|
||
---
|
||
|
||
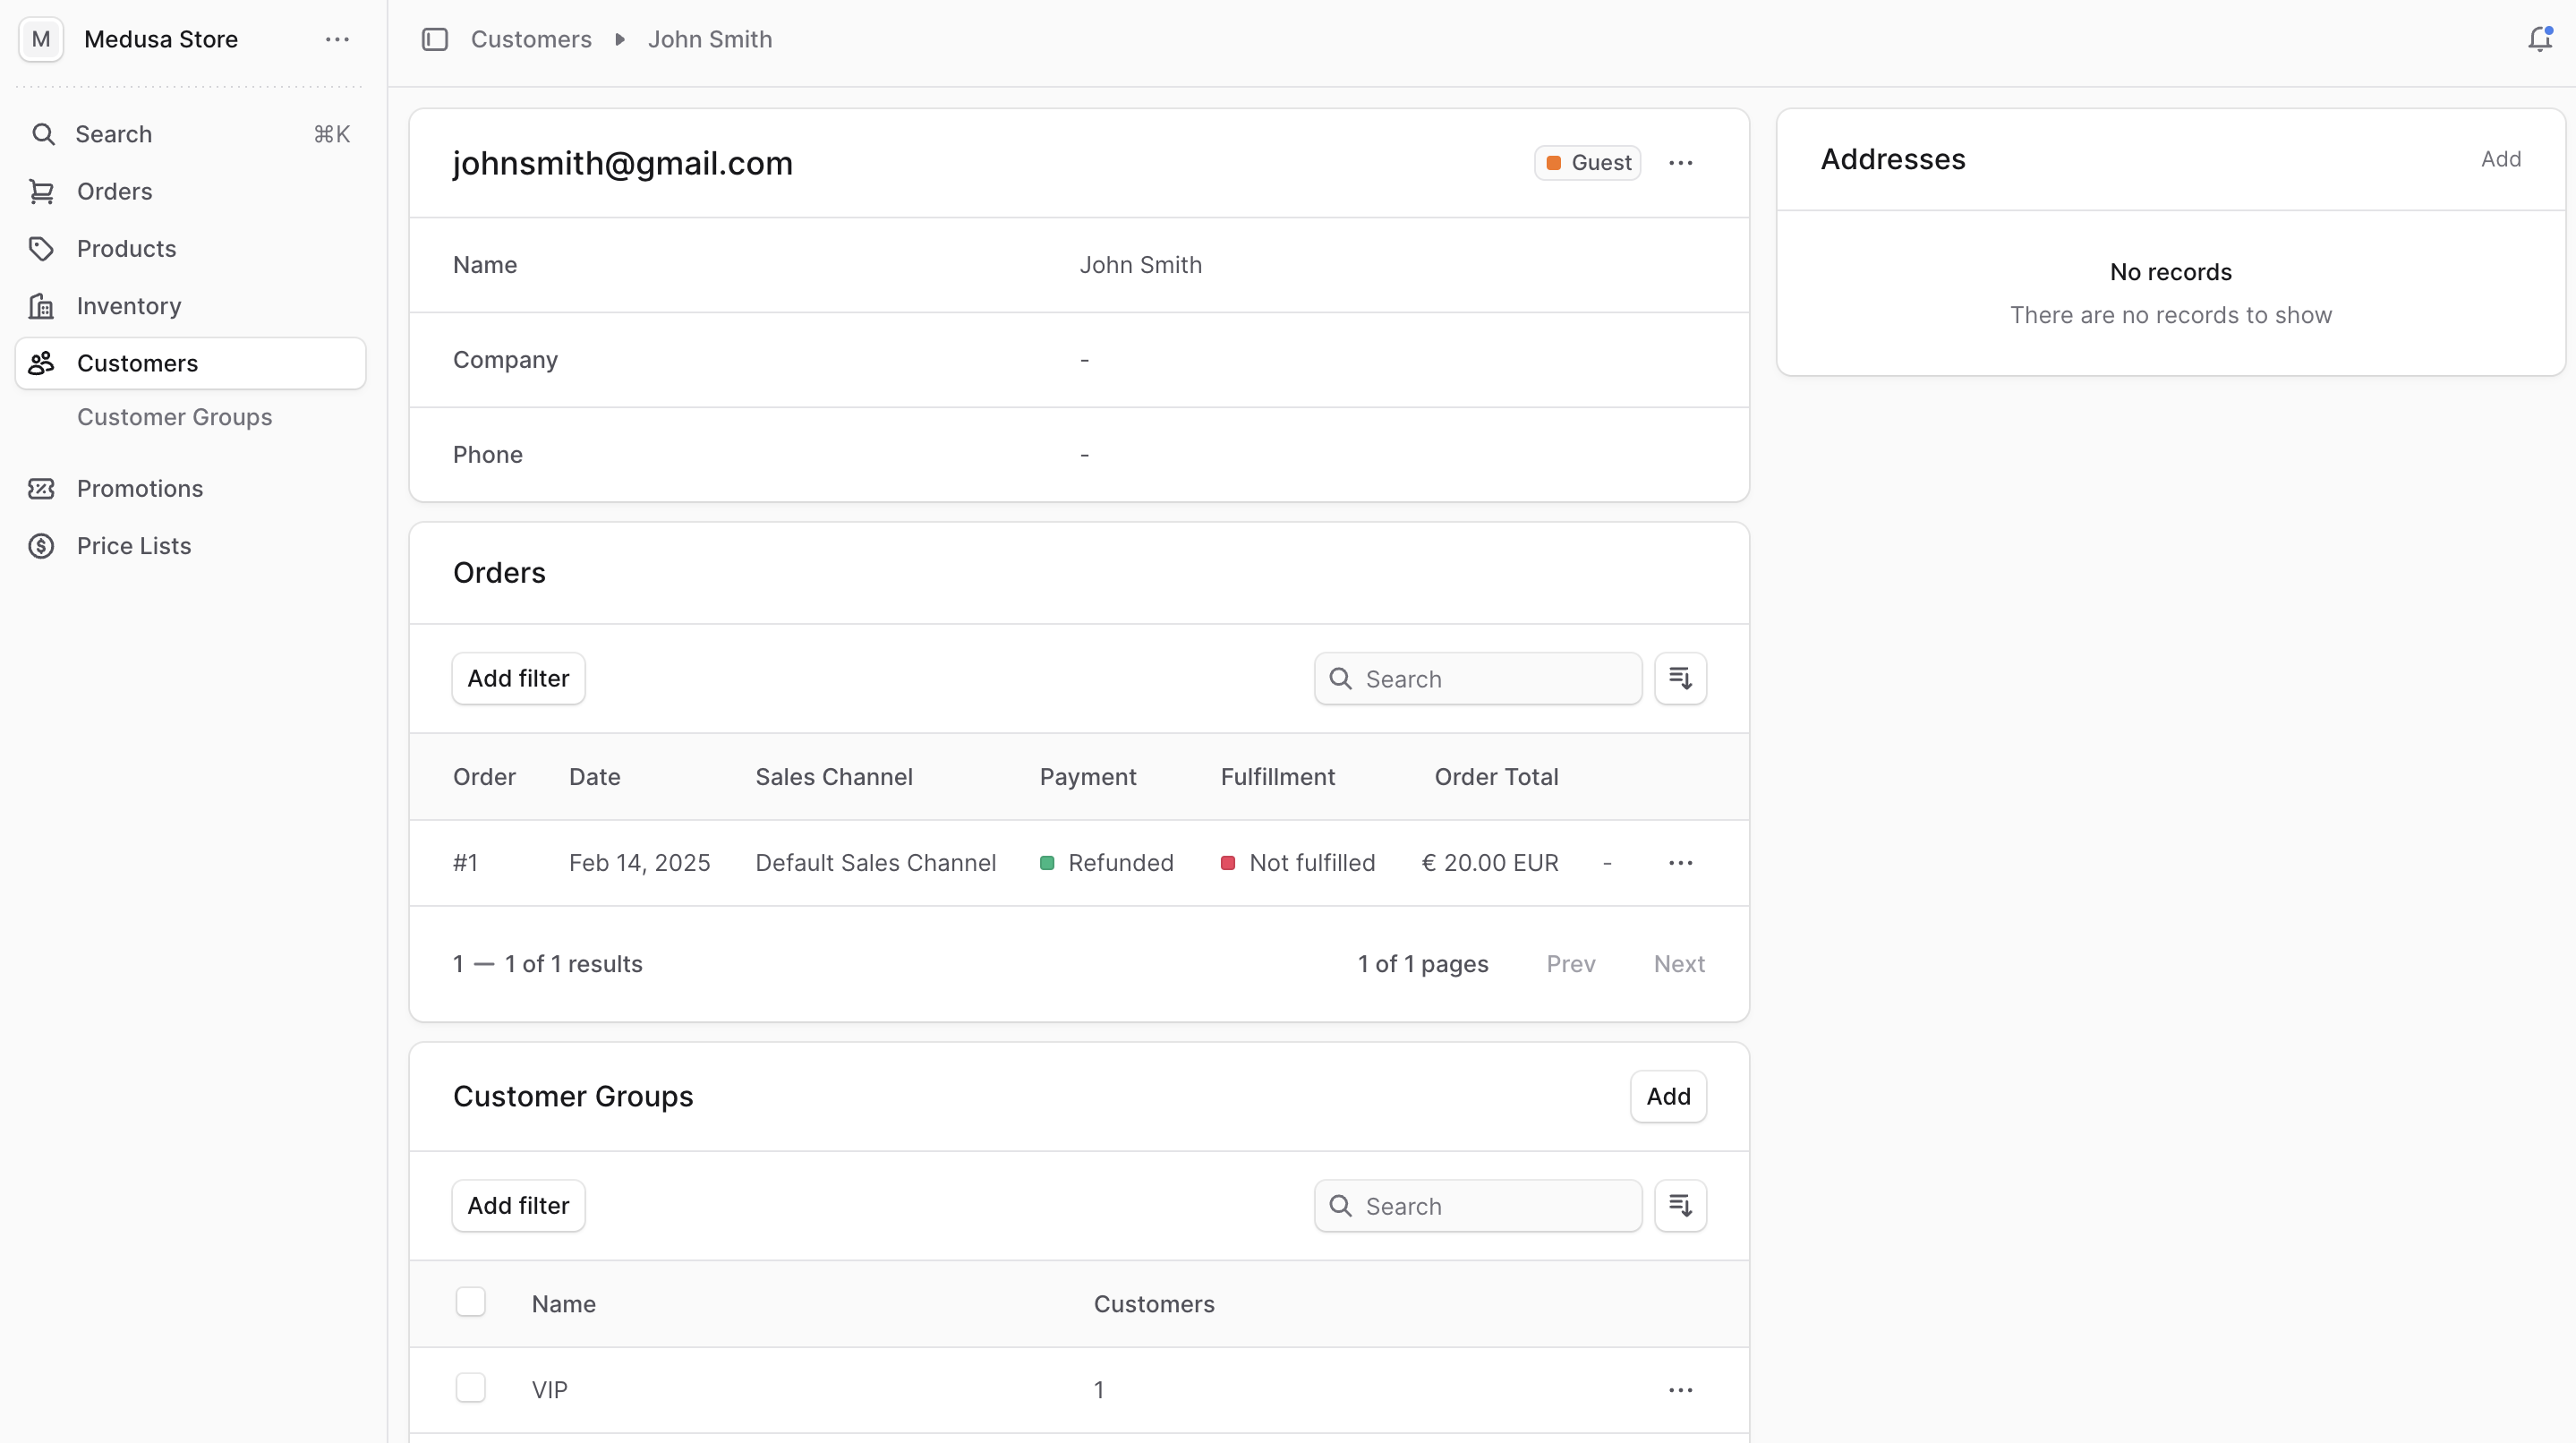
## View Customer Details
|
||
|
||
To view a customer’s details:
|
||
|
||
1. Go to the Customers page.
|
||
2. Click on the customer you want to view.
|
||
|
||
|
||
|
||
### Customer Type
|
||
|
||
At the top right of the first section, you can see a badge with the customer's type:
|
||
|
||
<Table>
|
||
<Table.Header>
|
||
<Table.Row>
|
||
<Table.HeaderCell>Customer Type</Table.HeaderCell>
|
||
<Table.HeaderCell>Description</Table.HeaderCell>
|
||
</Table.Row>
|
||
</Table.Header>
|
||
<Table.Body>
|
||
<Table.Row>
|
||
<Table.Cell>Registered</Table.Cell>
|
||
<Table.Cell>A customer that has registered in your store.</Table.Cell>
|
||
</Table.Row>
|
||
<Table.Row>
|
||
<Table.Cell>Guest</Table.Cell>
|
||
<Table.Cell>A customer that has placed an order but hasn't registered in your store, or a customer that you created through the admin dashboard.</Table.Cell>
|
||
</Table.Row>
|
||
</Table.Body>
|
||
</Table>
|
||
|
||
---
|
||
|
||
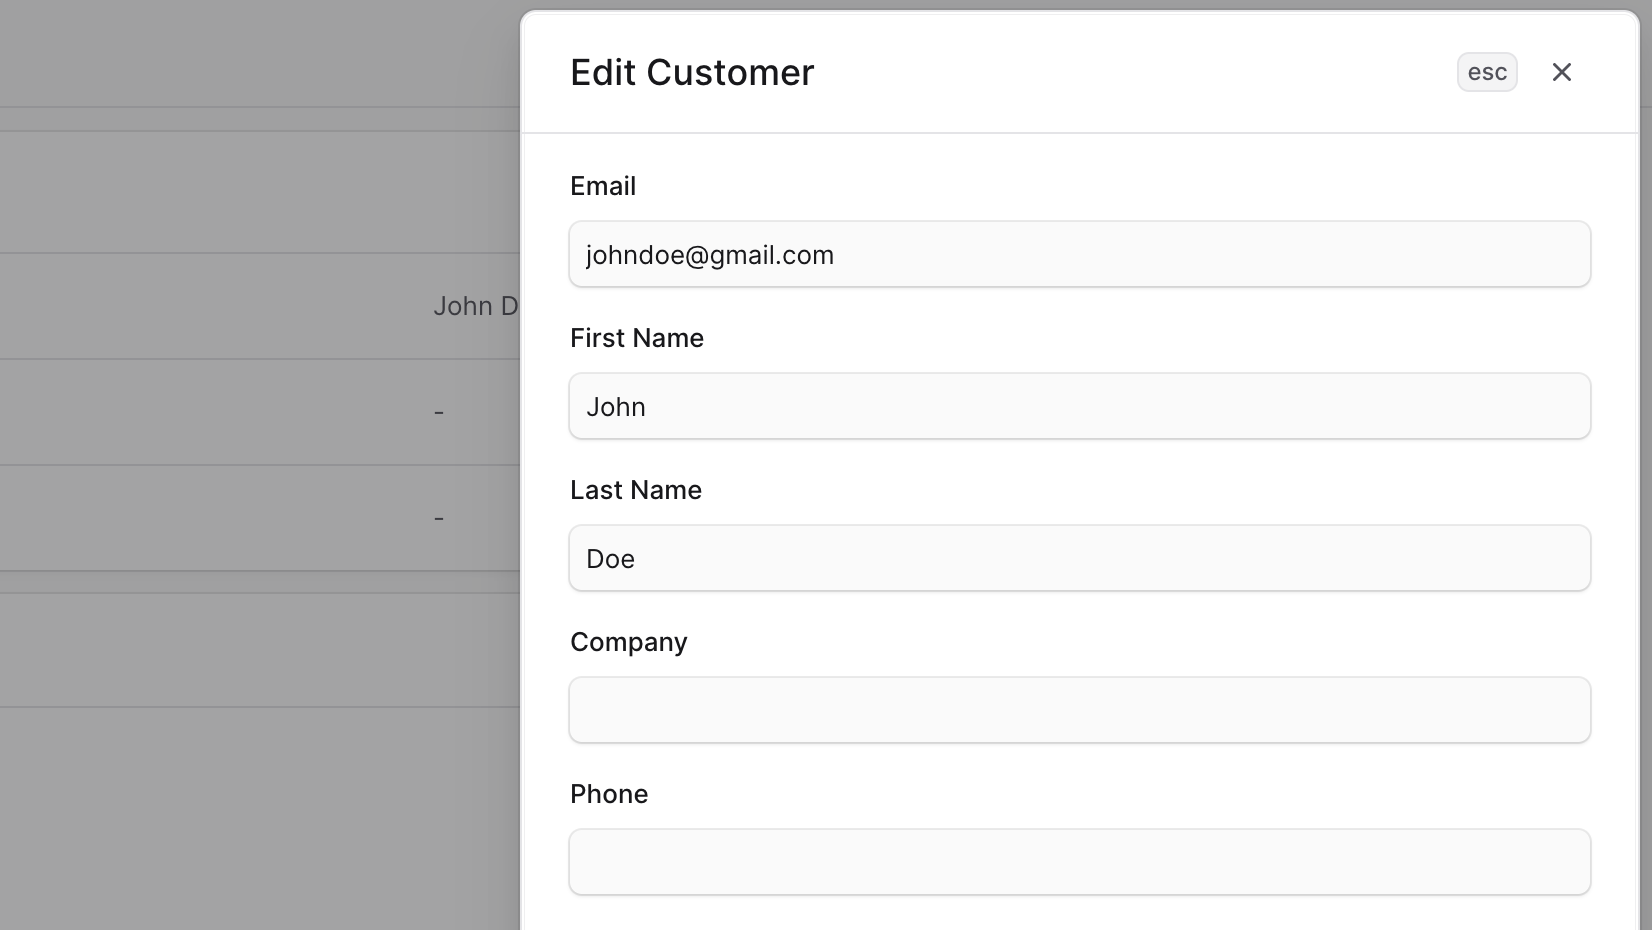
## Edit Customer Details
|
||
|
||
<Note>
|
||
|
||
You can't edit a customer's password from the Medusa Admin. The customer has to reset it from the storefront.
|
||
|
||
</Note>
|
||
|
||
To edit a customer’s details:
|
||
|
||
1. Go to a customer’s details page.
|
||
2. Click on the <InlineIcon Icon={EllipsisHorizontal} alt="three dots" /> icon in the first section.
|
||
3. Choose Edit from the dropdown.
|
||
4. In the side window that opens, you can edit the customer's email, first and last name, company name, and phone number.
|
||
5. Once you’re done, click the Save button.
|
||
|
||
|
||
|
||
---
|
||
|
||
## View Customer Orders
|
||
|
||
You can view a customer’s orders from their details page in the Orders section. By clicking on an order, you can view its details.
|
||
|
||
### Transfer Order to Another Customer
|
||
|
||
You can transfer an order to another customer. For example, a guest customer registered, or a customer created an order offline.
|
||
|
||
When you transfer the ownership of an order, the original customer will receive a notification, such as an email, requesting their approval for the transfer. The order is transferred to the new customer only after the original customer approves the transfer.
|
||
|
||
<Note>
|
||
|
||
You can't transfer ownership to a guest customer, and that includes customers you create through the admin dashboard.
|
||
|
||
</Note>
|
||
|
||
To transfer a customer's order ownership to another:
|
||
|
||
1. Go to the customer's details page.
|
||
2. In the Orders section, click on the <InlineIcon Icon={EllipsisHorizontal} alt="three dots" /> icon on the right of the order.
|
||
3. Choose Transfer ownership from the dropdown.
|
||
4. In the side window that opens, choose the customer to transfer the order to in the "New owner" field.
|
||
5. Once you're done, click the Save button.
|
||
|
||
The original customer will then receive a notification requesting their approval for the transfer.
|
||
|
||
<Note>
|
||
|
||
If a notification isn't sent, check with your technical team to debug the integrated notification service.
|
||
|
||
</Note>
|
||
|
||

|
||
|
||
---
|
||
|
||
## Manage Customer's Groups
|
||
|
||
You can add a customer to multiple groups, allowing you to offer different promotions or pricing based on the group they belong to.
|
||
|
||
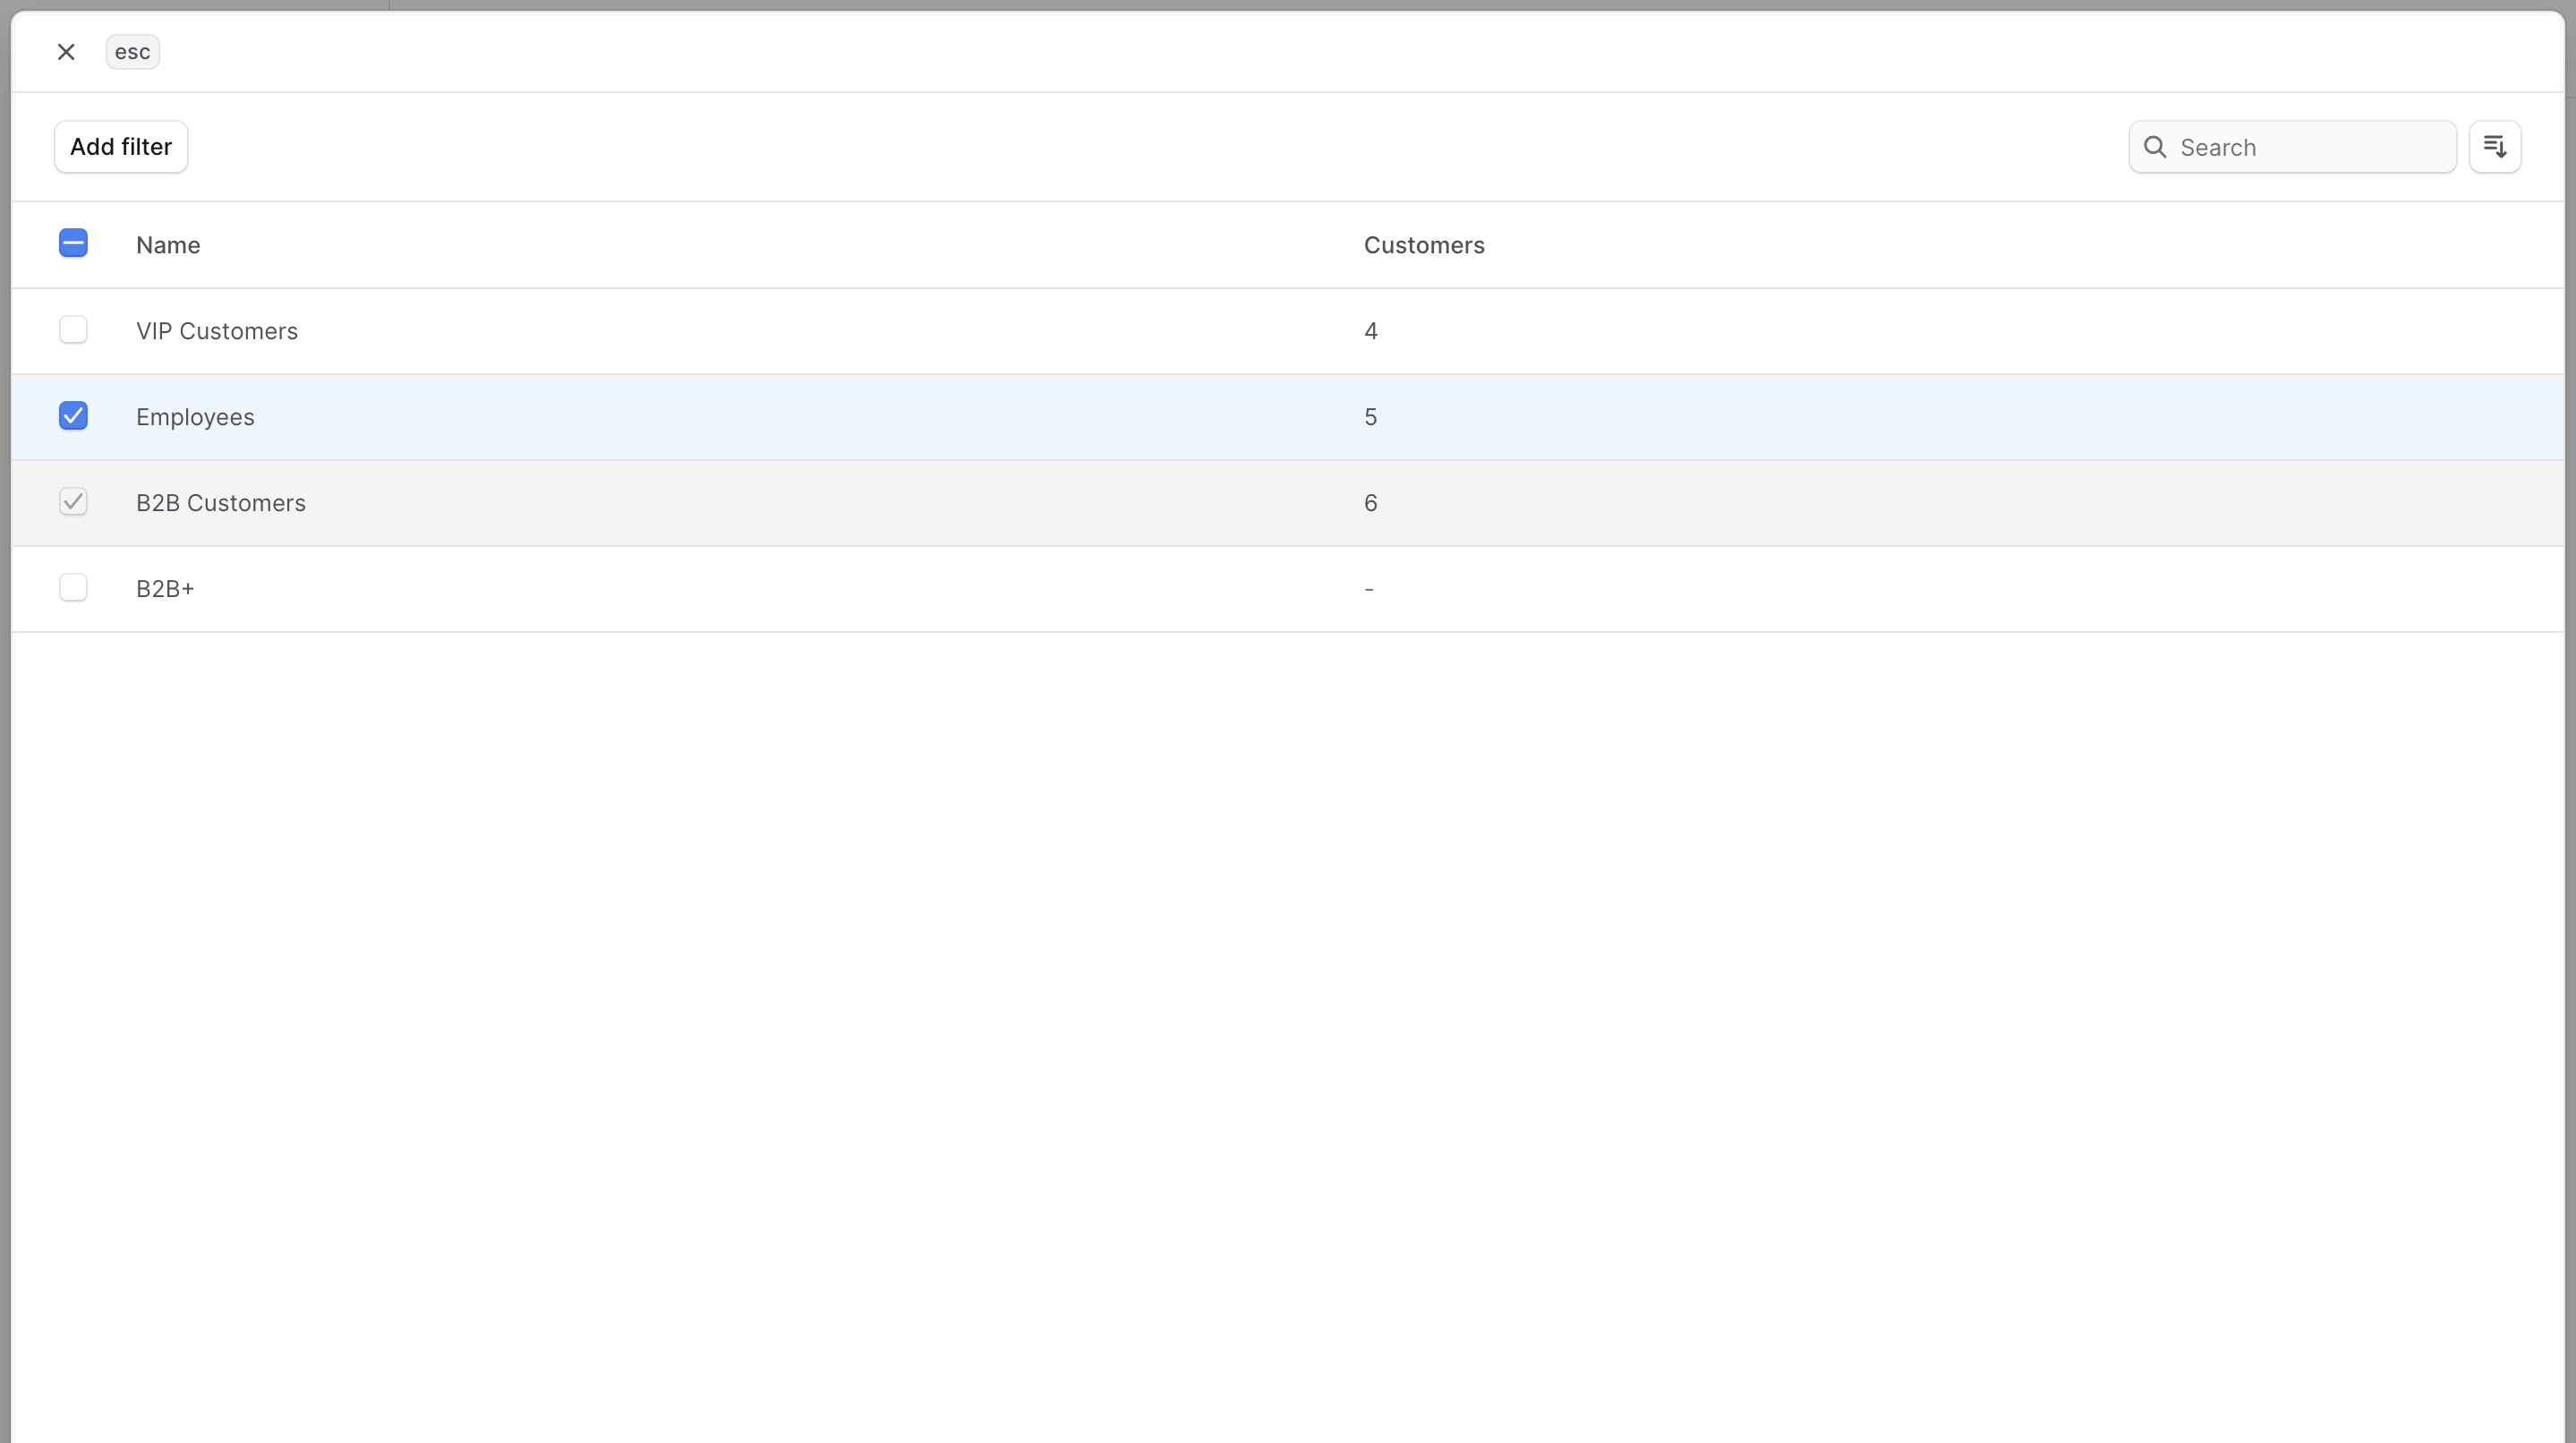
### Add Customer to Groups
|
||
|
||
To add a customer to customer groups:
|
||
|
||
1. Go to the customer's details page.
|
||
2. In the "Customer Groups" section, click on the "Add" button.
|
||
3. In the list that opens, check the groups you want to add the customer to.
|
||
4. Once you're done, click the Save button.
|
||
|
||
|
||
|
||
### Remove Customer from Groups
|
||
|
||
To remove a customer from customer groups:
|
||
|
||
1. Go to the customer's details page.
|
||
2. In the "Customer Groups" section, check the groups you want to remove the customer from.
|
||
3. Once you're done, either press <Kbd>R</Kbd> or click "Remove" at the bottom center of the page.
|
||
4. Confirm removing the groups by clicking the "Remove" button in the pop-up.
|
||
|
||

|
||
|
||
---
|
||
|
||
## Edit Customer Metadata
|
||
|
||
Metadata is custom data that can be associated with the customer in key-value pairs. This is usually used by developers for custom integrations or to store additional information about the customer.
|
||
|
||
To edit the customer's metadata:
|
||
|
||
1. Go to the customer's details page.
|
||
2. Click the <InlineIcon Icon={ArrowUpRightOnBox} alt="arrow" /> icon at the right of the "Metadata" section.
|
||
3. In the side window that opens:
|
||
- Manage the key-value pairs in the table.
|
||
- To add a new row of key-value pairs before or after a row:
|
||
- Hover over the row and click the <InlineIcon Icon={EllipsisVertical} alt="three-dots" /> icon at its right.
|
||
- Choose "Insert row above" or "Insert row below" from the dropdown.
|
||
- To delete a row of key-value pairs:
|
||
- Hover over the row and click the <InlineIcon Icon={EllipsisVertical} alt="three-dots" /> icon at its right.
|
||
- Choose "Delete row" from the dropdown.
|
||
4. Once you're done, click the Save button.
|
||
|
||
---
|
||
|
||
## Delete a Customer
|
||
|
||
<Note type="warning">
|
||
|
||
Deleting a customer is irreversible.
|
||
|
||
</Note>
|
||
|
||
To delete a customer:
|
||
|
||
1. Go to the customer's details page.
|
||
2. Click on the <InlineIcon Icon={EllipsisHorizontal} alt="three dots" /> icon at the top right of the first section.
|
||
3. Choose Delete from the dropdown.
|
||
4. In the pop-up, enter the customer's email and click the "Delete" button.
|