369 lines
16 KiB
Plaintext
369 lines
16 KiB
Plaintext
export const metadata = {
|
||
title: `${pageNumber} Modules`,
|
||
}
|
||
|
||
# {metadata.title}
|
||
|
||
In this chapter, you’ll learn about modules and how to create them.
|
||
|
||
## What is a Module?
|
||
|
||
A module is a reusable package of functionalities related to a single domain or integration. Medusa comes with multiple pre-built modules for core commerce needs, such as the [Cart Module](!resources!/commerce-modules/cart) that holds the data models and business logic for cart operations.
|
||
|
||
When building a commerce application, you often need to introduce custom behavior specific to your products, tech stack, or your general ways of working. In other commerce platforms, introducing custom business logic and data models requires setting up separate applications to manage these customizations.
|
||
|
||
Medusa removes this overhead by allowing you to easily write custom modules that integrate into the Medusa application without affecting the existing setup. You can also re-use your modules across Medusa projects.
|
||
|
||
As you learn more about Medusa, you will see that modules are central to customizations and integrations. With modules, your Medusa application can turn into a middleware solution for your commerce ecosystem.
|
||
|
||
<Note title="Use a module if" type="success">
|
||
|
||
- You want to build a custom feature related to a single domain or integrate a third-party service.
|
||
|
||
</Note>
|
||
|
||
<Note title="Don't use a module if" type="error">
|
||
|
||
- You want to create a reusable package of customizations that include not only modules, but also API routes, workflows, and other customizations. Instead, use a [plugin](../plugins/page.mdx).
|
||
|
||
</Note>
|
||
|
||
---
|
||
|
||
## How to Create a Module?
|
||
|
||
In a module, you define data models that represent new tables in the database, and you manage these models in a class called a service. Then, the Medusa application registers the module's service in the [Medusa container](../../fundamentals/medusa-container/page.mdx) so that you can build commerce flows and features around the functionalities provided by the module.
|
||
|
||
In this section, you'll build a Blog Module that has a `Post` data model and a service to manage that data model. You'll also expose an API endpoint to create a blog post.
|
||
|
||
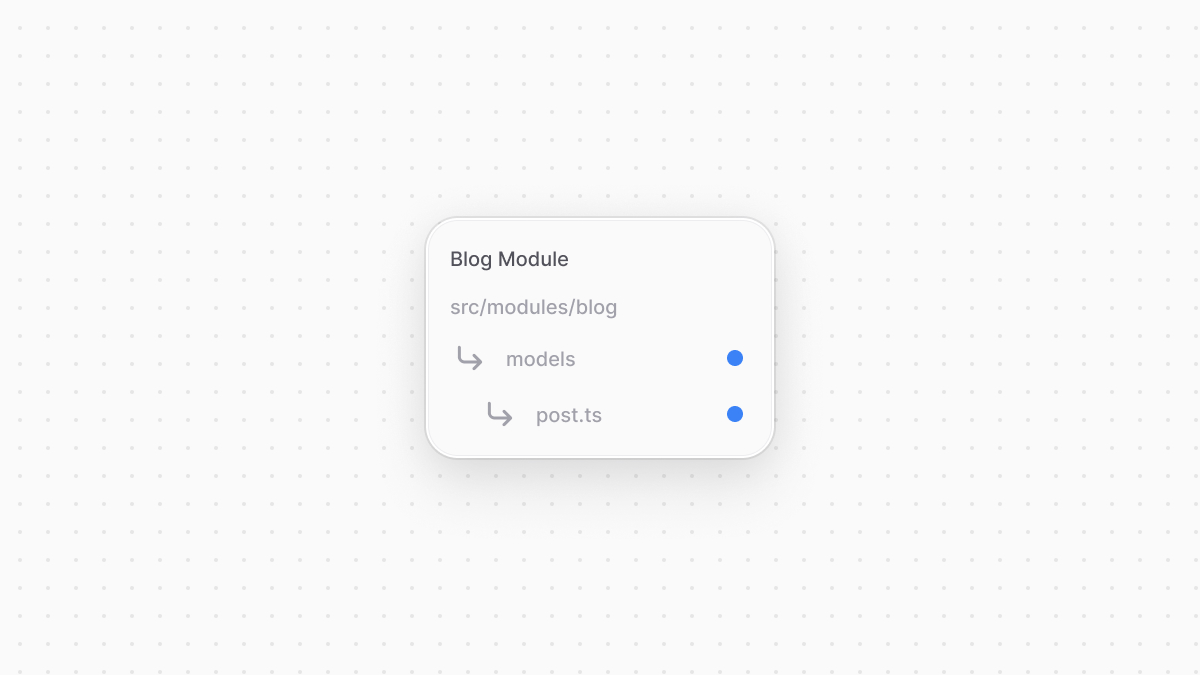
Modules are created in a sub-directory of `src/modules`. So, start by creating the directory `src/modules/blog`.
|
||
|
||
### 1. Create Data Model
|
||
|
||
A data model represents a table in the database. You create data models using Medusa's data modeling language (DML). It simplifies defining a table's columns, relations, and indexes with straightforward methods and configurations.
|
||
|
||
You create a data model in a TypeScript or JavaScript file under the `models` directory of a module. So, to create a `Post` data model in the Blog Module, create the file `src/modules/blog/models/post.ts` with the following content:
|
||
|
||
|
||
|
||
```ts title="src/modules/blog/models/post.ts"
|
||
import { model } from "@medusajs/framework/utils"
|
||
|
||
const Post = model.define("post", {
|
||
id: model.id().primaryKey(),
|
||
title: model.text(),
|
||
})
|
||
|
||
export default Post
|
||
```
|
||
|
||
You define the data model using the `define` method of the DML. It accepts two parameters:
|
||
|
||
1. The first one is the name of the data model's table in the database. Use snake-case names.
|
||
2. The second is an object, which is the data model's schema. The schema's properties are defined using the `model`'s methods, such as `text` and `id`.
|
||
- Data models automatically have the date properties `created_at`, `updated_at`, and `deleted_at`, so you don't need to add them manually.
|
||
|
||
<Note title="Tip">
|
||
|
||
Learn about other property types in [this chapter](../../fundamentals/data-models/properties/page.mdx#property-types).
|
||
|
||
</Note>
|
||
|
||
The code snippet above defines a `Post` data model with `id` and `title` properties.
|
||
|
||
### 2. Create Service
|
||
|
||
You perform database operations on your data models in a service, which is a class exported by the module and acts like an interface to its functionalities. Medusa registers the service in its [container](../../fundamentals/medusa-container/page.mdx), allowing you to resolve and use it when building custom commerce flows.
|
||
|
||
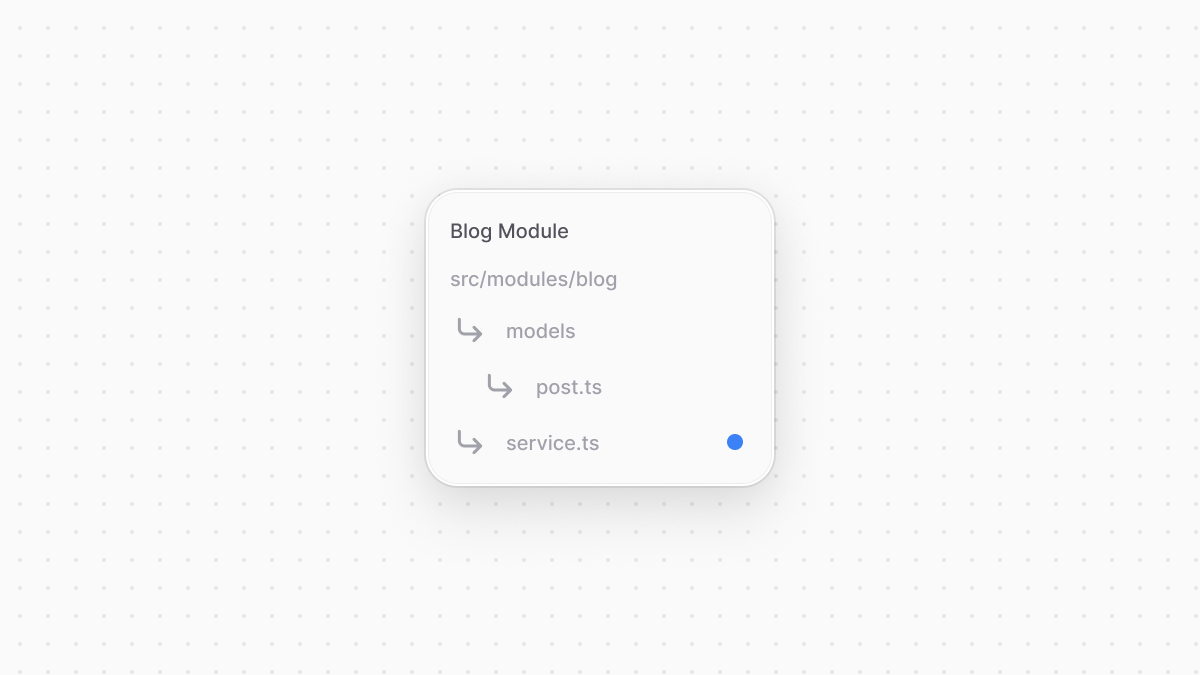
You define a service in a `service.ts` or `service.js` file at the root of your module's directory. So, to create the Blog Module's service, create the file `src/modules/blog/service.ts` with the following content:
|
||
|
||
|
||
|
||
export const highlights = [
|
||
["4", "MedusaService", "The service factory function."],
|
||
["5", "Post", "The data models to generate data-management methods for."]
|
||
]
|
||
|
||
```ts title="src/modules/blog/service.ts" highlights={highlights}
|
||
import { MedusaService } from "@medusajs/framework/utils"
|
||
import Post from "./models/post"
|
||
|
||
class BlogModuleService extends MedusaService({
|
||
Post,
|
||
}){
|
||
}
|
||
|
||
export default BlogModuleService
|
||
```
|
||
|
||
Your module's service extends a class generated by `MedusaService` from the Modules SDK. This class comes with generated methods for data-management Create, Read, Update, and Delete (CRUD) operations on each of your modules, saving you time that can be spent on building custom business logic.
|
||
|
||
The `MedusaService` function accepts an object of data models to generate methods for. You can pass all data models in your module in this object.
|
||
|
||
For example, the `BlogModuleService` now has a `createPosts` method to create post records, and a `retrievePost` method to retrieve a post record. The suffix of each method (except for `retrieve`) is the pluralized name of the data model.
|
||
|
||
<Note>
|
||
|
||
Find all methods generated by the `MedusaService` in [this reference](!resources!/service-factory-reference)
|
||
|
||
</Note>
|
||
|
||
If a module doesn't have data models, such as when it's integrating a third-party service, it doesn't need to extend `MedusaService`.
|
||
|
||
### 3. Export Module Definition
|
||
|
||
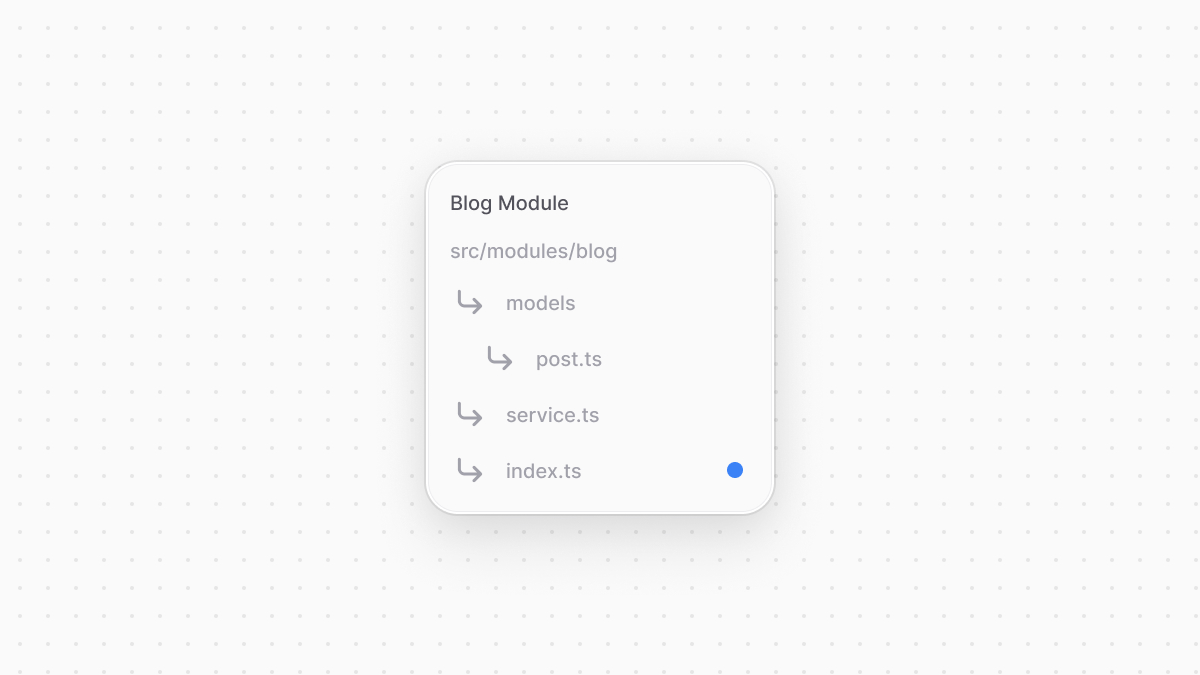
The final piece to a module is its definition, which is exported in an `index.ts` file at its root directory. This definition tells Medusa the name of the module and its main service. Medusa will then register the main service in the container under the module's name.
|
||
|
||
So, to export the definition of the Blog Module, create the file `src/modules/blog/index.ts` with the following content:
|
||
|
||
|
||
|
||
export const moduleDefinitionHighlights = [
|
||
["4", "BLOG_MODULE", "Export the module's name to reference it in other customizations."],
|
||
["6", "BLOG_MODULE", "Specify the module's name."],
|
||
["7", "service", "Specify the module's main service."]
|
||
]
|
||
|
||
```ts title="src/modules/blog/index.ts" highlights={moduleDefinitionHighlights}
|
||
import BlogModuleService from "./service"
|
||
import { Module } from "@medusajs/framework/utils"
|
||
|
||
export const BLOG_MODULE = "blog"
|
||
|
||
export default Module(BLOG_MODULE, {
|
||
service: BlogModuleService,
|
||
})
|
||
```
|
||
|
||
You use `Module` from the Modules SDK to create the module's definition. It accepts two parameters:
|
||
|
||
1. The name that the module's main service is registered under (`blog`). The module name can contain only alphanumeric characters and underscores.
|
||
2. An object with a required property `service` indicating the module's main service.
|
||
|
||
<Note title="Tip">
|
||
|
||
You export `BLOG_MODULE` to reference the module's name more reliably when resolving its service in other customizations.
|
||
|
||
</Note>
|
||
|
||
### 4. Add Module to Medusa's Configurations
|
||
|
||
<Note>
|
||
|
||
If you're creating the module in a plugin, this step isn't required as the module is registered when the plugin is registered. Learn more about plugins in [this documentation](../plugins/page.mdx).
|
||
|
||
</Note>
|
||
|
||
Once you finish building the module, add it to Medusa's configurations to start using it. Medusa will then register the module's main service in the Medusa container, allowing you to resolve and use it in other customizations.
|
||
|
||
In `medusa-config.ts`, add a `modules` property and pass an array with your custom module:
|
||
|
||
```ts title="medusa-config.ts" highlights={[["7"]]}
|
||
module.exports = defineConfig({
|
||
projectConfig: {
|
||
// ...
|
||
},
|
||
modules: [
|
||
{
|
||
resolve: "./src/modules/blog",
|
||
},
|
||
],
|
||
})
|
||
```
|
||
|
||
Each object in the `modules` array has a `resolve` property, whose value is either a path to the module's directory, or an `npm` package’s name.
|
||
|
||
### 5. Generate Migrations
|
||
|
||
Since data models represent tables in the database, you define how they're created in the database with migrations. A migration is a TypeScript or JavaScript file that defines database changes made by a module.
|
||
|
||
Migrations are useful when you re-use a module or you're working in a team, so that when one member of a team makes a database change, everyone else can reflect it on their side by running the migrations.
|
||
|
||
You don't have to write migrations yourself. Medusa's CLI tool has a command that generates the migrations for you. You can also use this command again when you make changes to the module at a later point, and it will generate new migrations for that change.
|
||
|
||
To generate a migration for the Blog Module, run the following command in your Medusa application's directory:
|
||
|
||
<Note>
|
||
|
||
If you're creating the module in a plugin, use the [plugin\:db\:generate command](!resources!/medusa-cli/commands/plugin#plugindbgenerate) instead.
|
||
|
||
</Note>
|
||
|
||
```bash
|
||
npx medusa db:generate blog
|
||
```
|
||
|
||
The `db:generate` command of the Medusa CLI accepts one or more module names to generate the migration for. It will create a migration file for the Blog Module in the directory `src/modules/blog/migrations` similar to the following:
|
||
|
||
<Note>
|
||
|
||
As of [Medusa v2.11.0](https://github.com/medusajs/medusa/releases/tag/v2.11.0), MikroORM dependencies are included in the `@medusajs/framework` package. If you're using an older version of Medusa, change the import statement to `@mikro-orm/migrations`.
|
||
|
||
</Note>
|
||
|
||
```ts
|
||
import { Migration } from "@medusajs/framework/mikro-orm/migrations"
|
||
|
||
export class Migration20241121103722 extends Migration {
|
||
|
||
async up(): Promise<void> {
|
||
this.addSql("create table if not exists \"post\" (\"id\" text not null, \"title\" text not null, \"created_at\" timestamptz not null default now(), \"updated_at\" timestamptz not null default now(), \"deleted_at\" timestamptz null, constraint \"post_pkey\" primary key (\"id\"));")
|
||
}
|
||
|
||
async down(): Promise<void> {
|
||
this.addSql("drop table if exists \"post\" cascade;")
|
||
}
|
||
|
||
}
|
||
```
|
||
|
||
In the migration class, the `up` method creates the table `post` and defines its columns using PostgreSQL syntax. The `down` method drops the table.
|
||
|
||
### 6. Run Migrations
|
||
|
||
To reflect the changes in the generated migration file on the database, run the `db:migrate` command:
|
||
|
||
<Note>
|
||
|
||
If you're creating the module in a plugin, run this command on the Medusa application that the plugin is installed in.
|
||
|
||
</Note>
|
||
|
||
```bash
|
||
npx medusa db:migrate
|
||
```
|
||
|
||
This creates the `post` table in the database.
|
||
|
||
---
|
||
|
||
## Test the Module
|
||
|
||
Since the module's main service is registered in the Medusa container, you can resolve it in other customizations to use its methods.
|
||
|
||
To test out the Blog Module, you'll add the functionality to create a post in a [workflow](../../fundamentals/workflows/page.mdx), which is a special function that performs a task in a series of steps with rollback logic. Then, you'll expose an [API route](../api-routes/page.mdx) that creates a blog post by executing the workflow.
|
||
|
||
<Note title="Why use a workflow?">
|
||
|
||
By building a commerce feature in a workflow, you can execute it in other customizations while ensuring data consistency across systems. If an error occurs during execution, every step has its own rollback logic to undo its actions. Workflows have other special features which you can learn about in [this chapter](../../fundamentals/workflows/page.mdx).
|
||
|
||
</Note>
|
||
|
||
To create the workflow, create the file `src/workflows/create-post.ts` with the following content:
|
||
|
||
export const workflowHighlights = [
|
||
["14", "createPostStep", "Define a step that creates a post using the Blog Module."],
|
||
["17", "resolve", "Resolve the Blog Module's service from the Medusa container."],
|
||
["19", "createPosts", "Create a blog post using the Blog Module service's generated method."],
|
||
["25", "", "Add a compensation function that only runs if an error occurs in the workflow."],
|
||
["31", "deletePosts", "Delete the post if an error occurs using the Blog Module service's generated method."],
|
||
["35", "createWorkflow", "Create and workflow that can be executed to create a blog post."],
|
||
["38", "createPostStep", "Execute the `createPostStep` to create the post."]
|
||
]
|
||
|
||
```ts title="src/workflows/create-post.ts" highlights={workflowHighlights}
|
||
import {
|
||
createStep,
|
||
createWorkflow,
|
||
StepResponse,
|
||
WorkflowResponse,
|
||
} from "@medusajs/framework/workflows-sdk"
|
||
import { BLOG_MODULE } from "../modules/blog"
|
||
import BlogModuleService from "../modules/blog/service"
|
||
|
||
type CreatePostWorkflowInput = {
|
||
title: string
|
||
}
|
||
|
||
const createPostStep = createStep(
|
||
"create-post",
|
||
async ({ title }: CreatePostWorkflowInput, { container }) => {
|
||
const blogModuleService: BlogModuleService = container.resolve(BLOG_MODULE)
|
||
|
||
const post = await blogModuleService.createPosts({
|
||
title,
|
||
})
|
||
|
||
return new StepResponse(post, post)
|
||
},
|
||
async (post, { container }) => {
|
||
if (!post) {
|
||
return
|
||
}
|
||
const blogModuleService: BlogModuleService = container.resolve(BLOG_MODULE)
|
||
|
||
await blogModuleService.deletePosts(post.id)
|
||
}
|
||
)
|
||
|
||
export const createPostWorkflow = createWorkflow(
|
||
"create-post",
|
||
(postInput: CreatePostWorkflowInput) => {
|
||
const post = createPostStep(postInput)
|
||
|
||
return new WorkflowResponse(post)
|
||
}
|
||
)
|
||
```
|
||
|
||
The workflow has a single step `createPostStep` that creates a post. In the step, you resolve the Blog Module's service from the Medusa container, which the step receives as a parameter. Then, you create the post using the method `createPosts` of the service, which was generated by `MedusaService`.
|
||
|
||
The step also has a compensation function, which is a function passed as a third-parameter to `createStep` that implements the logic to rollback the change made by a step in case an error occurs during the workflow's execution.
|
||
|
||
You'll now execute that workflow in an API route to expose the feature of creating blog posts to clients. To create an API route, create the file `src/api/blog/posts/route.ts` with the following content:
|
||
|
||
```ts title="src/api/blog/posts/route.ts"
|
||
import type {
|
||
MedusaRequest,
|
||
MedusaResponse,
|
||
} from "@medusajs/framework/http"
|
||
import {
|
||
createPostWorkflow,
|
||
} from "../../../workflows/create-post"
|
||
|
||
export async function POST(
|
||
req: MedusaRequest,
|
||
res: MedusaResponse
|
||
) {
|
||
const { result: post } = await createPostWorkflow(req.scope)
|
||
.run({
|
||
input: {
|
||
title: "My Post",
|
||
},
|
||
})
|
||
|
||
res.json({
|
||
post,
|
||
})
|
||
}
|
||
```
|
||
|
||
This adds a `POST` API route at `/blog/posts`. In the API route, you execute the `createPostWorkflow` by invoking it, passing it the Medusa container in `req.scope`, then invoking the `run` method. In the `run` method, you pass the workflow's input in the `input` property.
|
||
|
||
To test this out, start the Medusa application:
|
||
|
||
```bash npm2yarn
|
||
npm run dev
|
||
```
|
||
|
||
Then, send a `POST` request to `/blog/posts`:
|
||
|
||
```bash
|
||
curl -X POST http://localhost:9000/blog/posts
|
||
```
|
||
|
||
This will create a post and return it in the response:
|
||
|
||
```json
|
||
{
|
||
"post": {
|
||
"id": "123...",
|
||
"title": "My Post",
|
||
"created_at": "...",
|
||
"updated_at": "..."
|
||
}
|
||
}
|
||
```
|
||
|
||
You can also execute the workflow from a [subscriber](../../fundamentals/events-and-subscribers/page.mdx) when an event occurs, or from a [scheduled job](../../fundamentals/scheduled-jobs/page.mdx) to run it at a specified interval.
|