* docs: updates for storefront in cloud

* comment-out pnpm

* fix broken link

* npm prerequisites

* Update www/apps/cloud/app/storefront/page.mdx

Co-authored-by: Stevche Radevski <sradevski@live.com>

* remove global cdn

---------

Co-authored-by: Stevche Radevski <sradevski@live.com>
117 lines
5.1 KiB
Plaintext
117 lines
5.1 KiB
Plaintext
---
|
|
keywords:
|
|
- deploy
|
|
- deployment
|
|
- production
|
|
- cloud
|
|
---
|
|
|
|
export const metadata = {
|
|
title: `Sign Up for Cloud`,
|
|
keywords: ["deploy", "deployment", "production", "cloud"],
|
|
}
|
|
|
|
# {metadata.title}
|
|
|
|
In this guide, you'll learn how to sign up for Cloud. You'll create an organization, choose a plan, and set up billing.
|
|
|
|
After creating an organization, you can start deploying your Medusa applications and storefronts on Cloud.
|
|
|
|
<Note>
|
|
|
|
If you already have a Cloud account and you want to create a new organization, refer to the [Create an Organization](../organizations/page.mdx#create-or-join-an-organization) guide instead.
|
|
|
|
</Note>
|
|
|
|
## Step 1: Create a Cloud Account
|
|
|
|
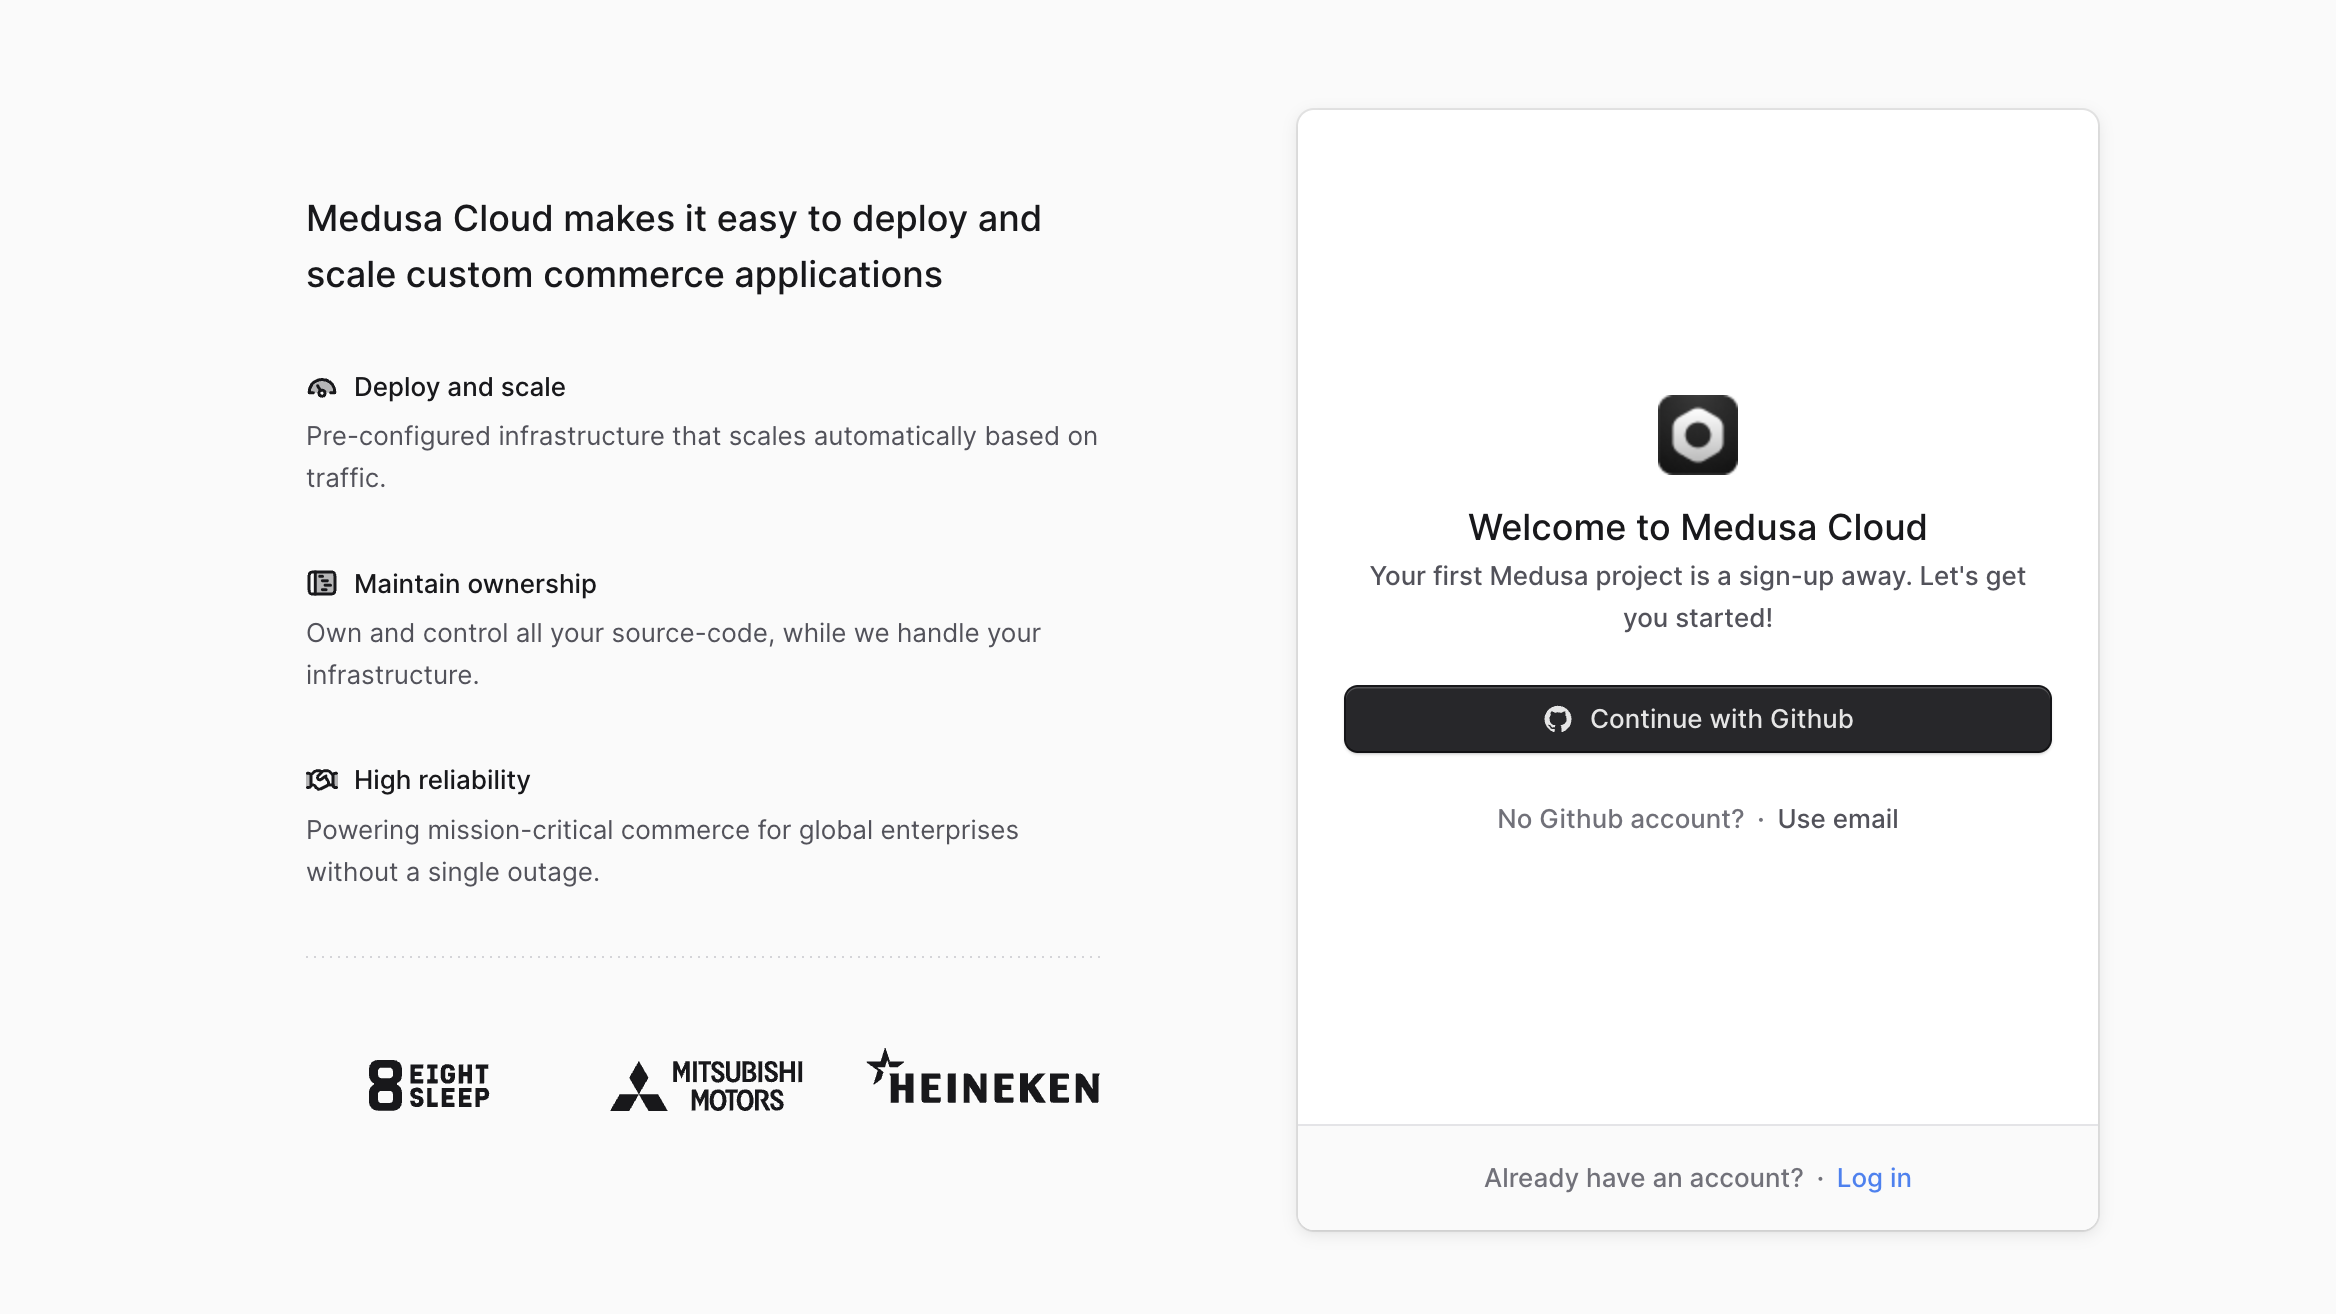
To sign up for Cloud, go to [cloud.medusajs.com/signup](https://cloud.medusajs.com/signup?utm_source=docs&utm_medium=website&utm_campaign=cloud_signup_guide).
|
|
|
|
On this page, you can choose to either sign up with your GitHub account or with your email address.
|
|
|
|
|
|
|
|
---
|
|
|
|
## Step 2: Set Up Your Account
|
|
|
|
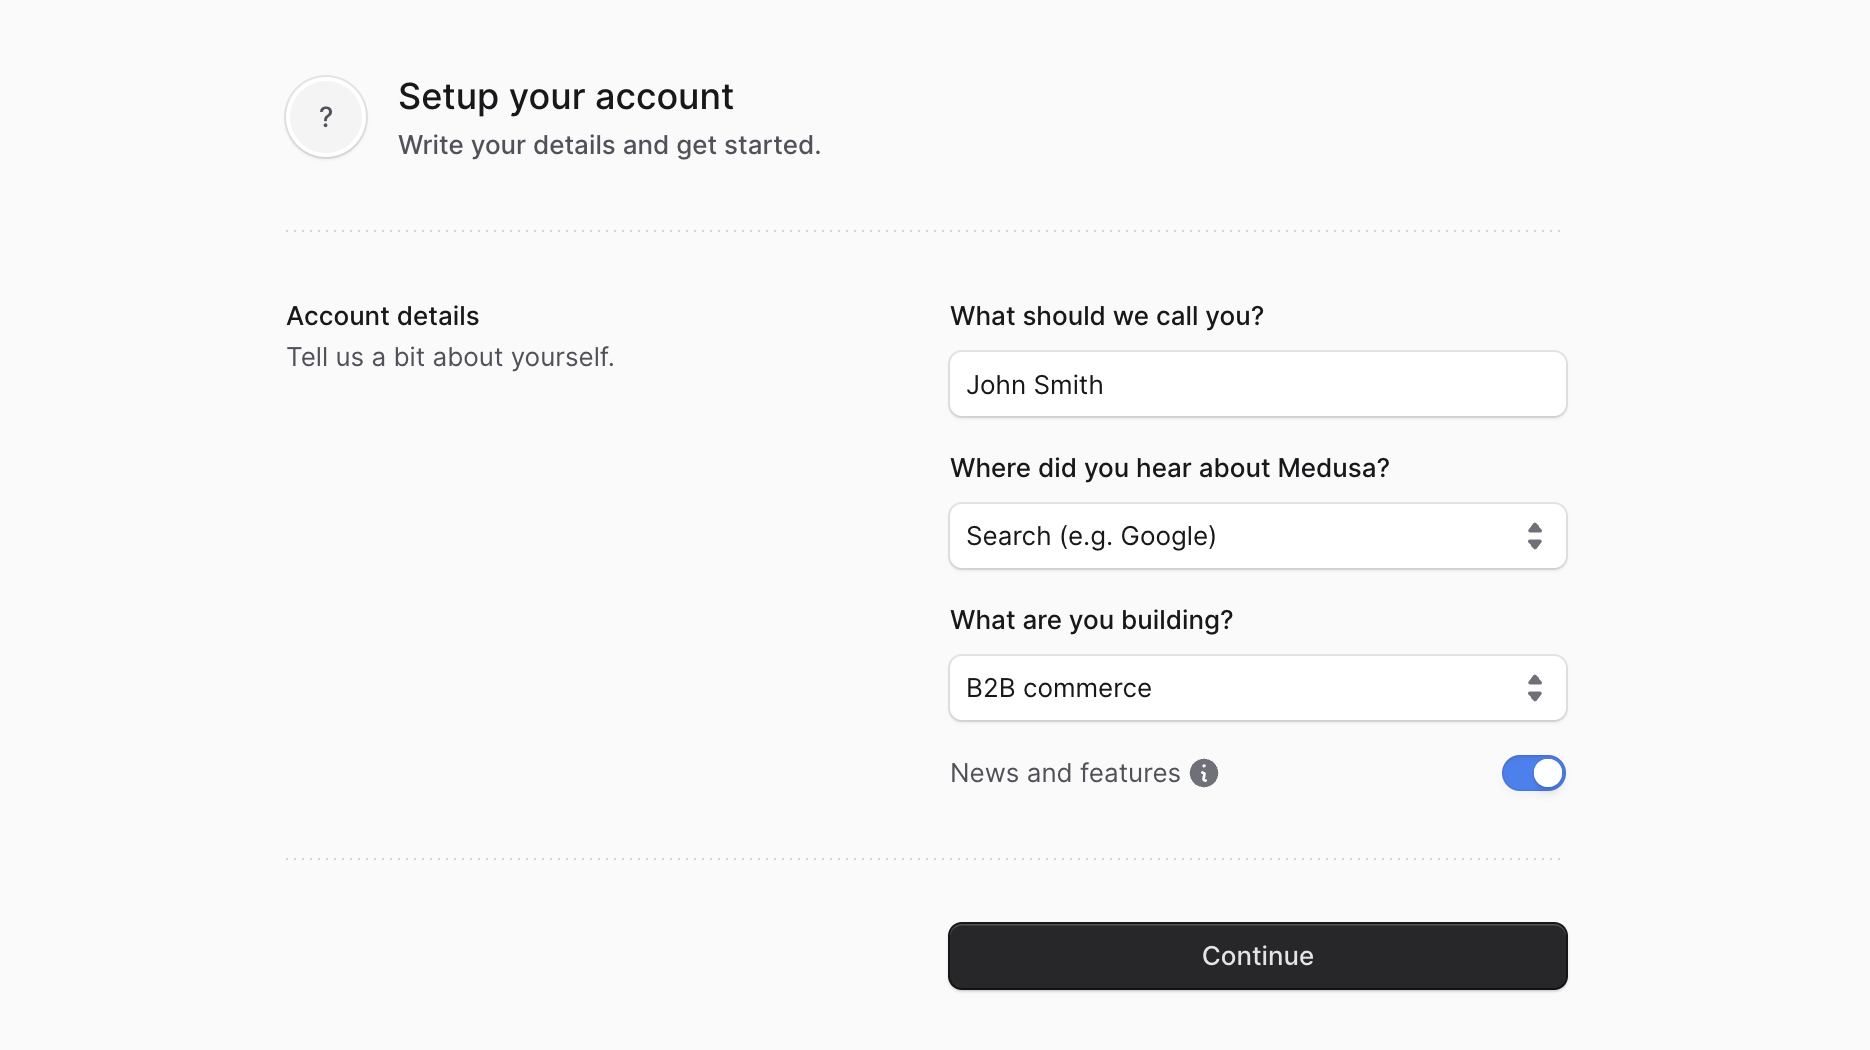
In the next step, you need to enter your account details. These details will be used for your organization as well.
|
|
|
|
Enter the following details:
|
|
|
|
- **What should we call you?**: Enter your full name.
|
|
- This name will be used as the organization's name. You can change the organization name later in the [organization settings](../organizations/page.mdx#edit-organization-details).
|
|
- **Where did you hear about Medusa?**: Select an option from the dropdown menu. This helps us understand how users find out about Medusa.
|
|
- **What are you building?**: Select an option from the dropdown menu. This helps us understand what users are building with Medusa. If you don't see an option that fits your use case, select "Other" and provide more details in the text box that appears.
|
|
- **News and features**: Keep the switch enabled to receive updates about Medusa, including new features, improvements, and other news. You can disable this option if you prefer not to receive such updates.
|
|
|
|
Once you're done, click the **Continue** button to proceed to the next step.
|
|
|
|
|
|
|
|
---
|
|
|
|
## Step 3: Set up Payment and Billing
|
|
|
|
In the last step, you need to choose a plan, enter your payment details, and set up billing details.
|
|
|
|
### Choose a Plan
|
|
|
|
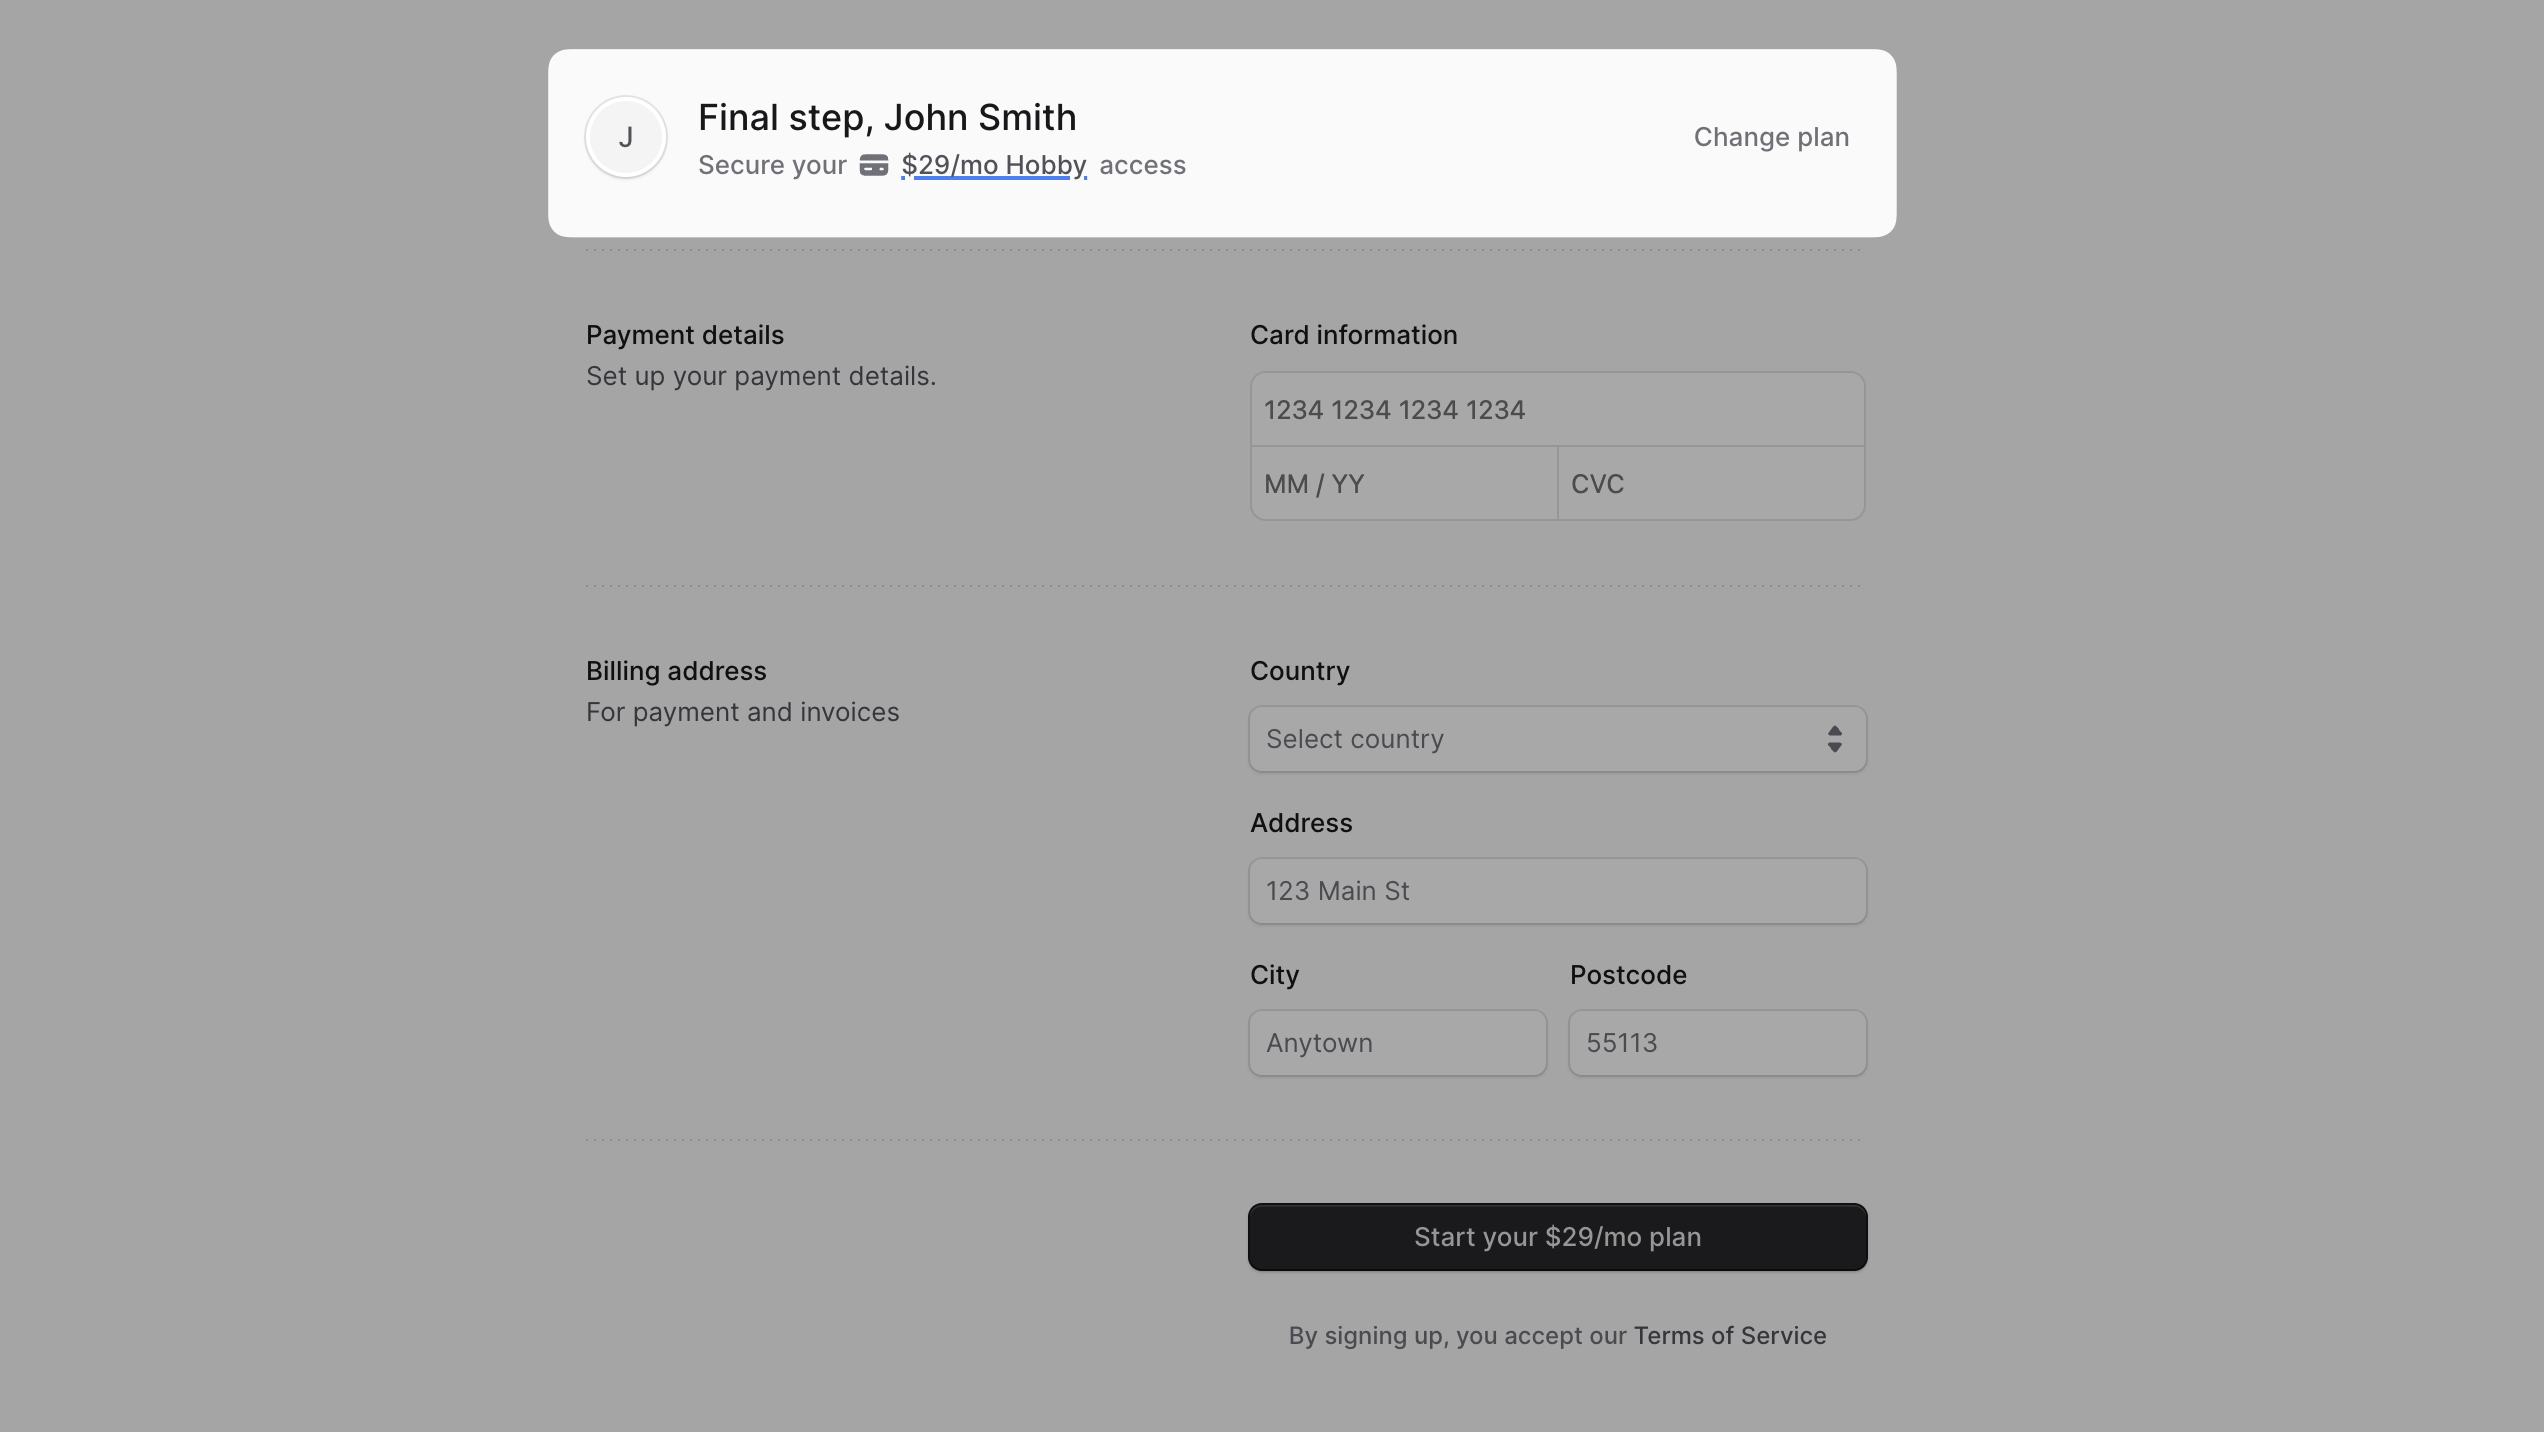
By default, the **Hobby** plan is selected. This plan is minimal and allows you to deploy a single Medusa application that is suitable for development and testing purposes.
|
|
|
|
To change the plan, click on the **Change plan** link. This will open a modal where you can select a different plan.
|
|
|
|
<Note>
|
|
|
|
Learn about the different plans and their features in the [Plans guide](../pricing/page.mdx).
|
|
|
|
</Note>
|
|
|
|
|
|
|
|
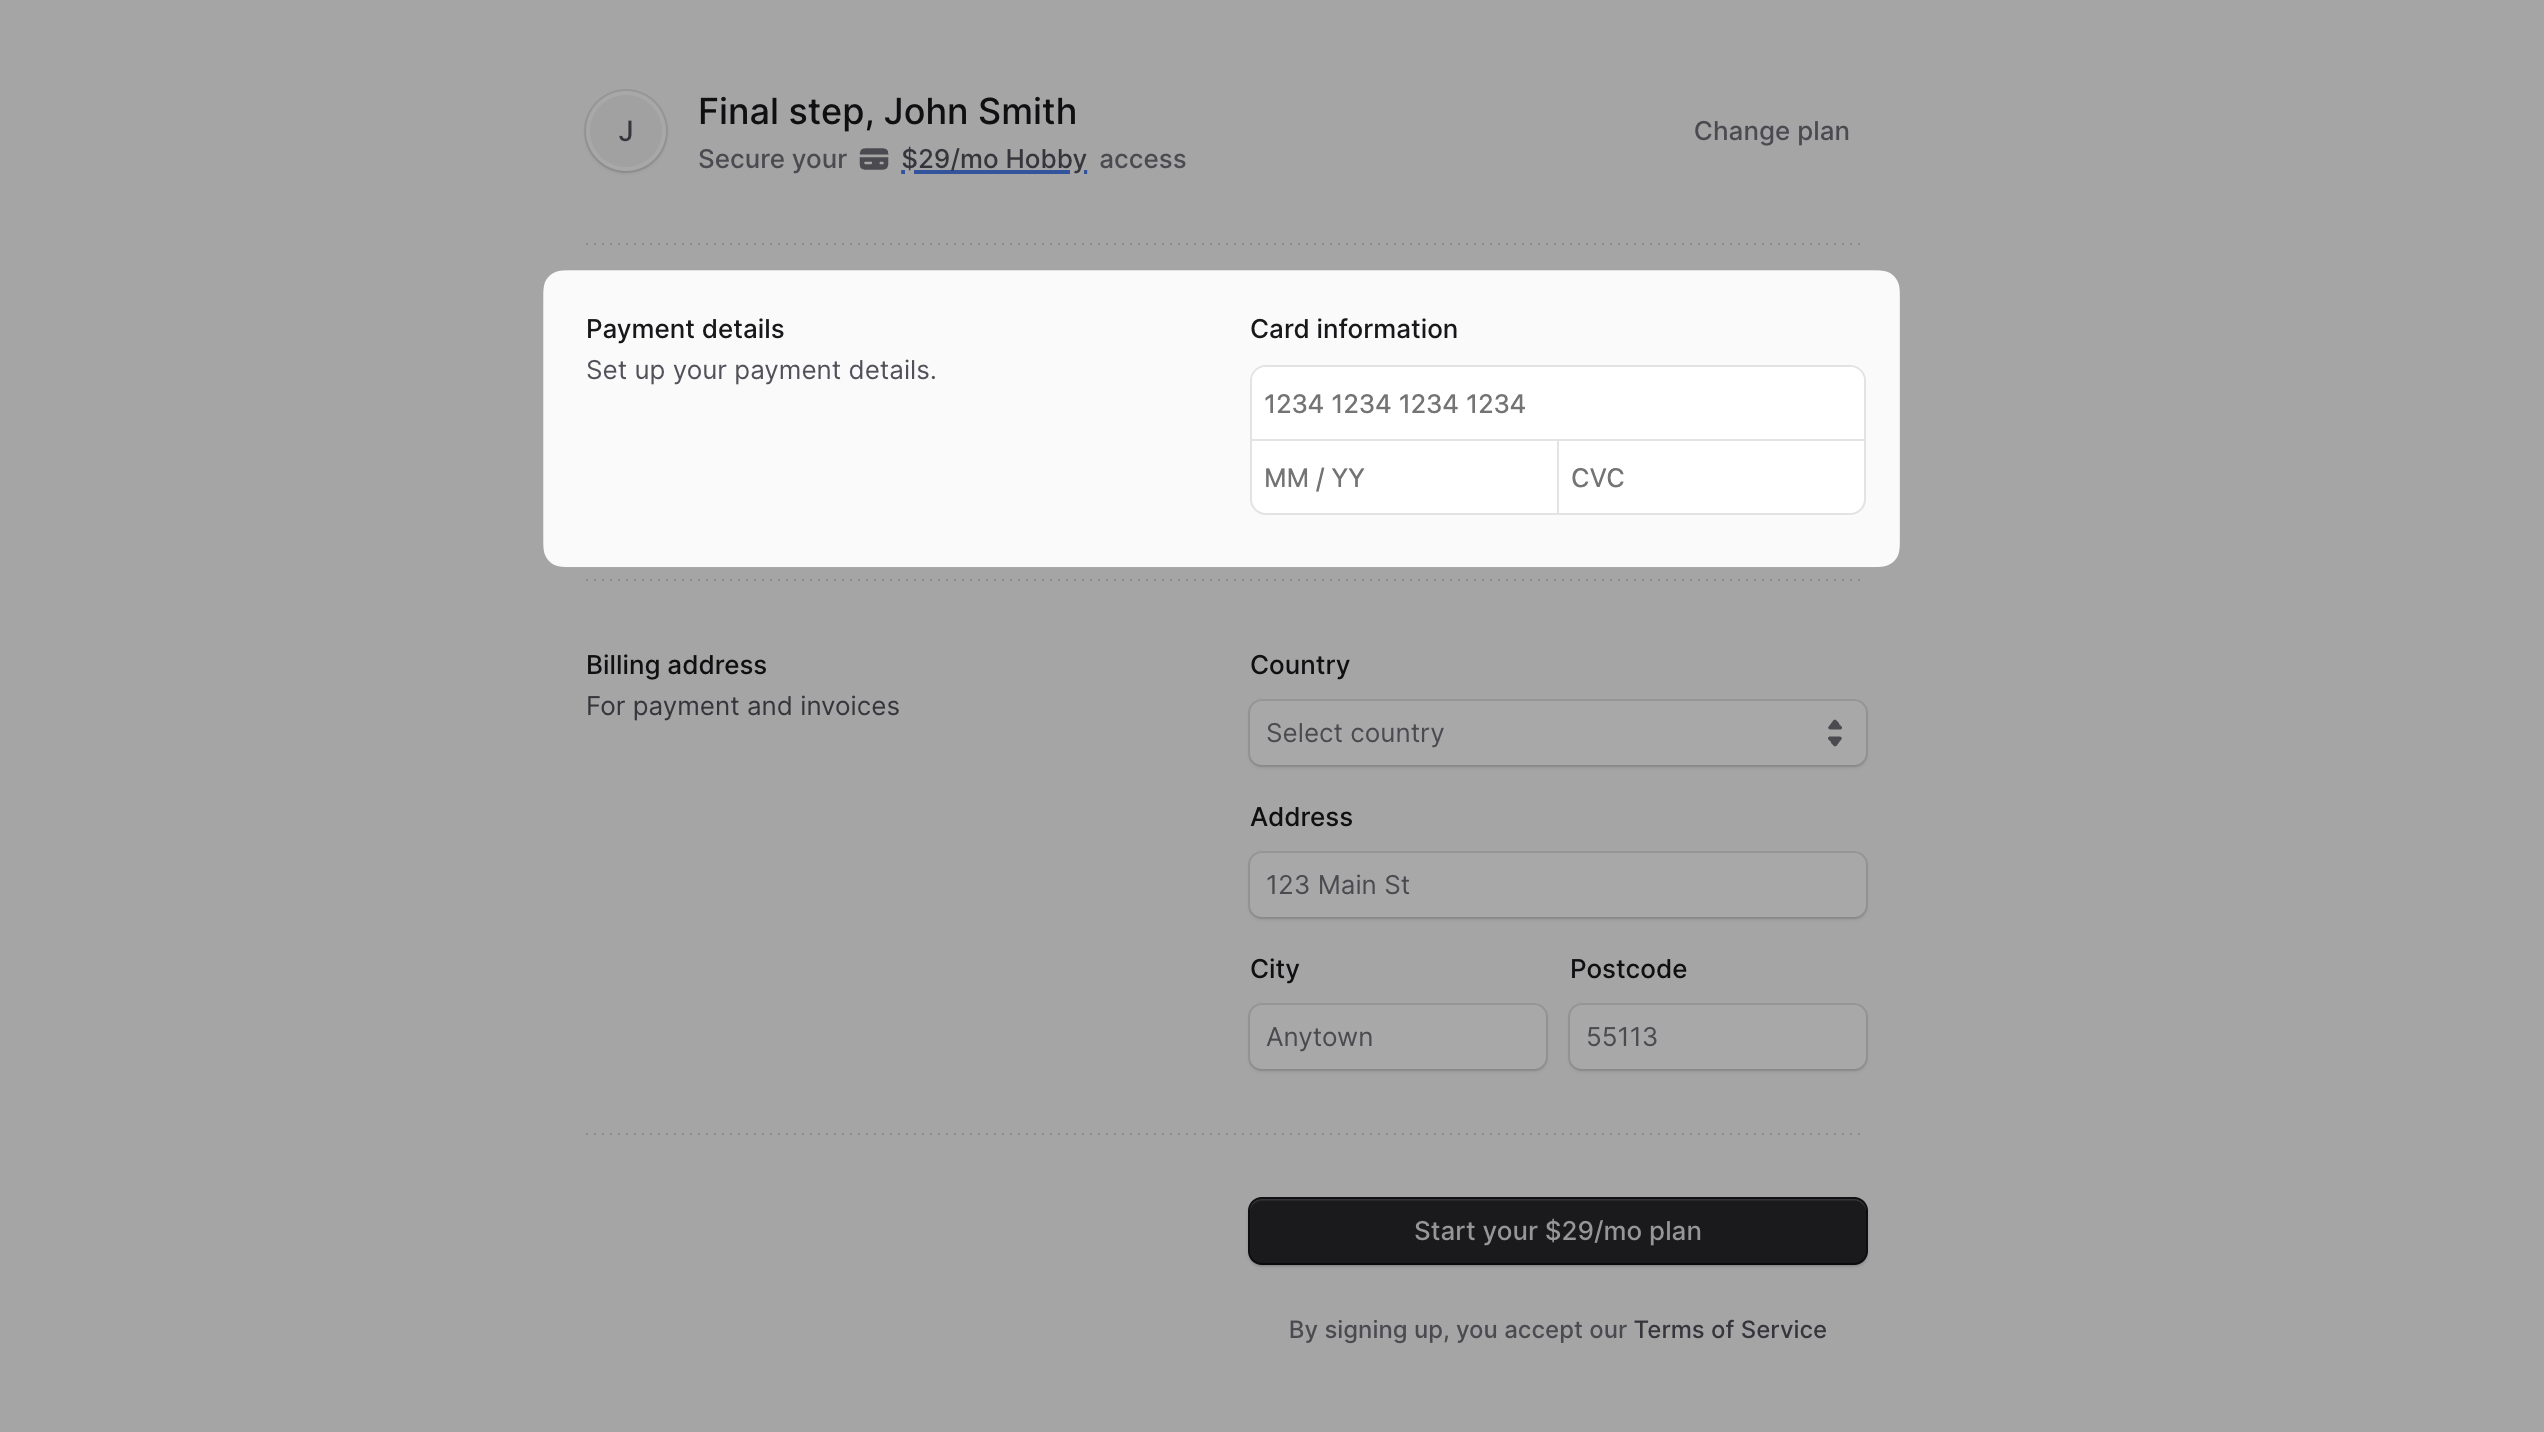
### Enter Payment Details
|
|
|
|
Next, you need to enter your card details. This is required for all plans.
|
|
|
|
<Note title="Restrictions">
|
|
|
|
Cards issued by banks in India are not supported. Please use cards issued by banks in other countries.
|
|
|
|
</Note>
|
|
|
|
Once you finish the sign-up, you will be charged upfront for the first month based on the plan you selected. You can learn more about this in the [Billing guide](../billing/page.mdx).
|
|
|
|
|
|
|
|
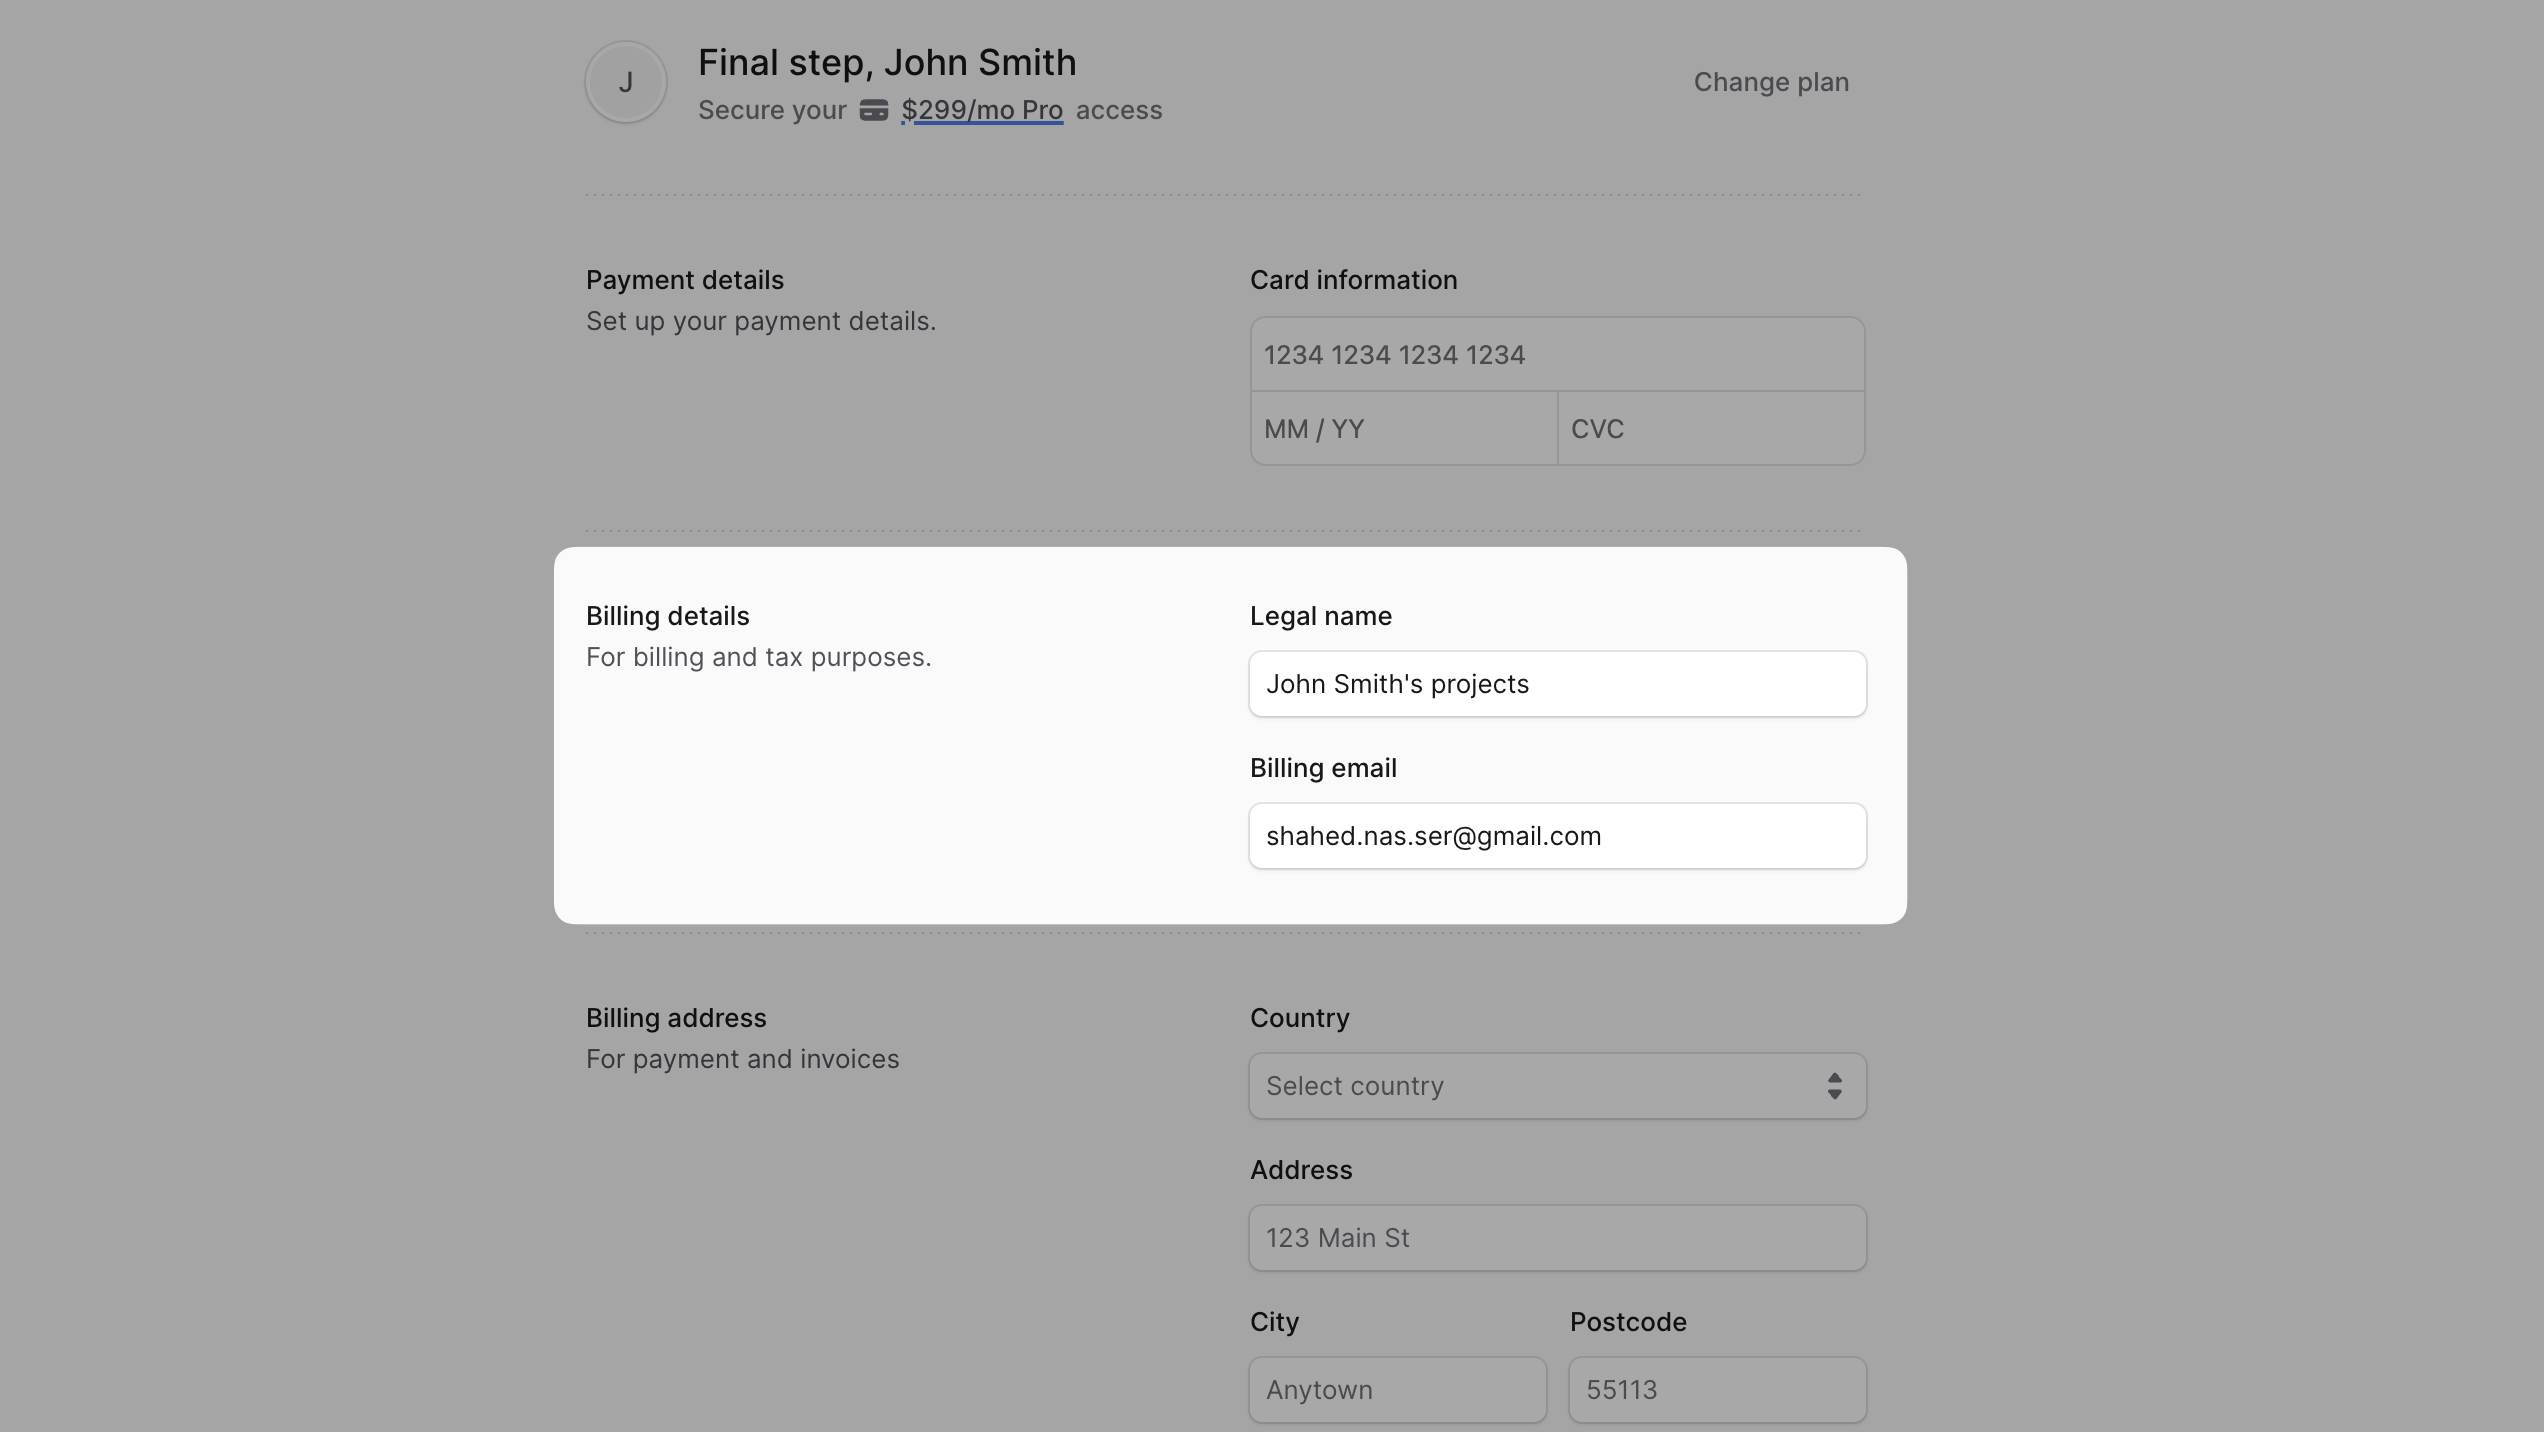
### Pro Plan: Billing Details
|
|
|
|
If you chose the **Pro** plan, you need to enter your billing details that are used for tax purposes.
|
|
|
|
Enter your legal name and billing email address in this section.
|
|
|
|
|
|
|
|
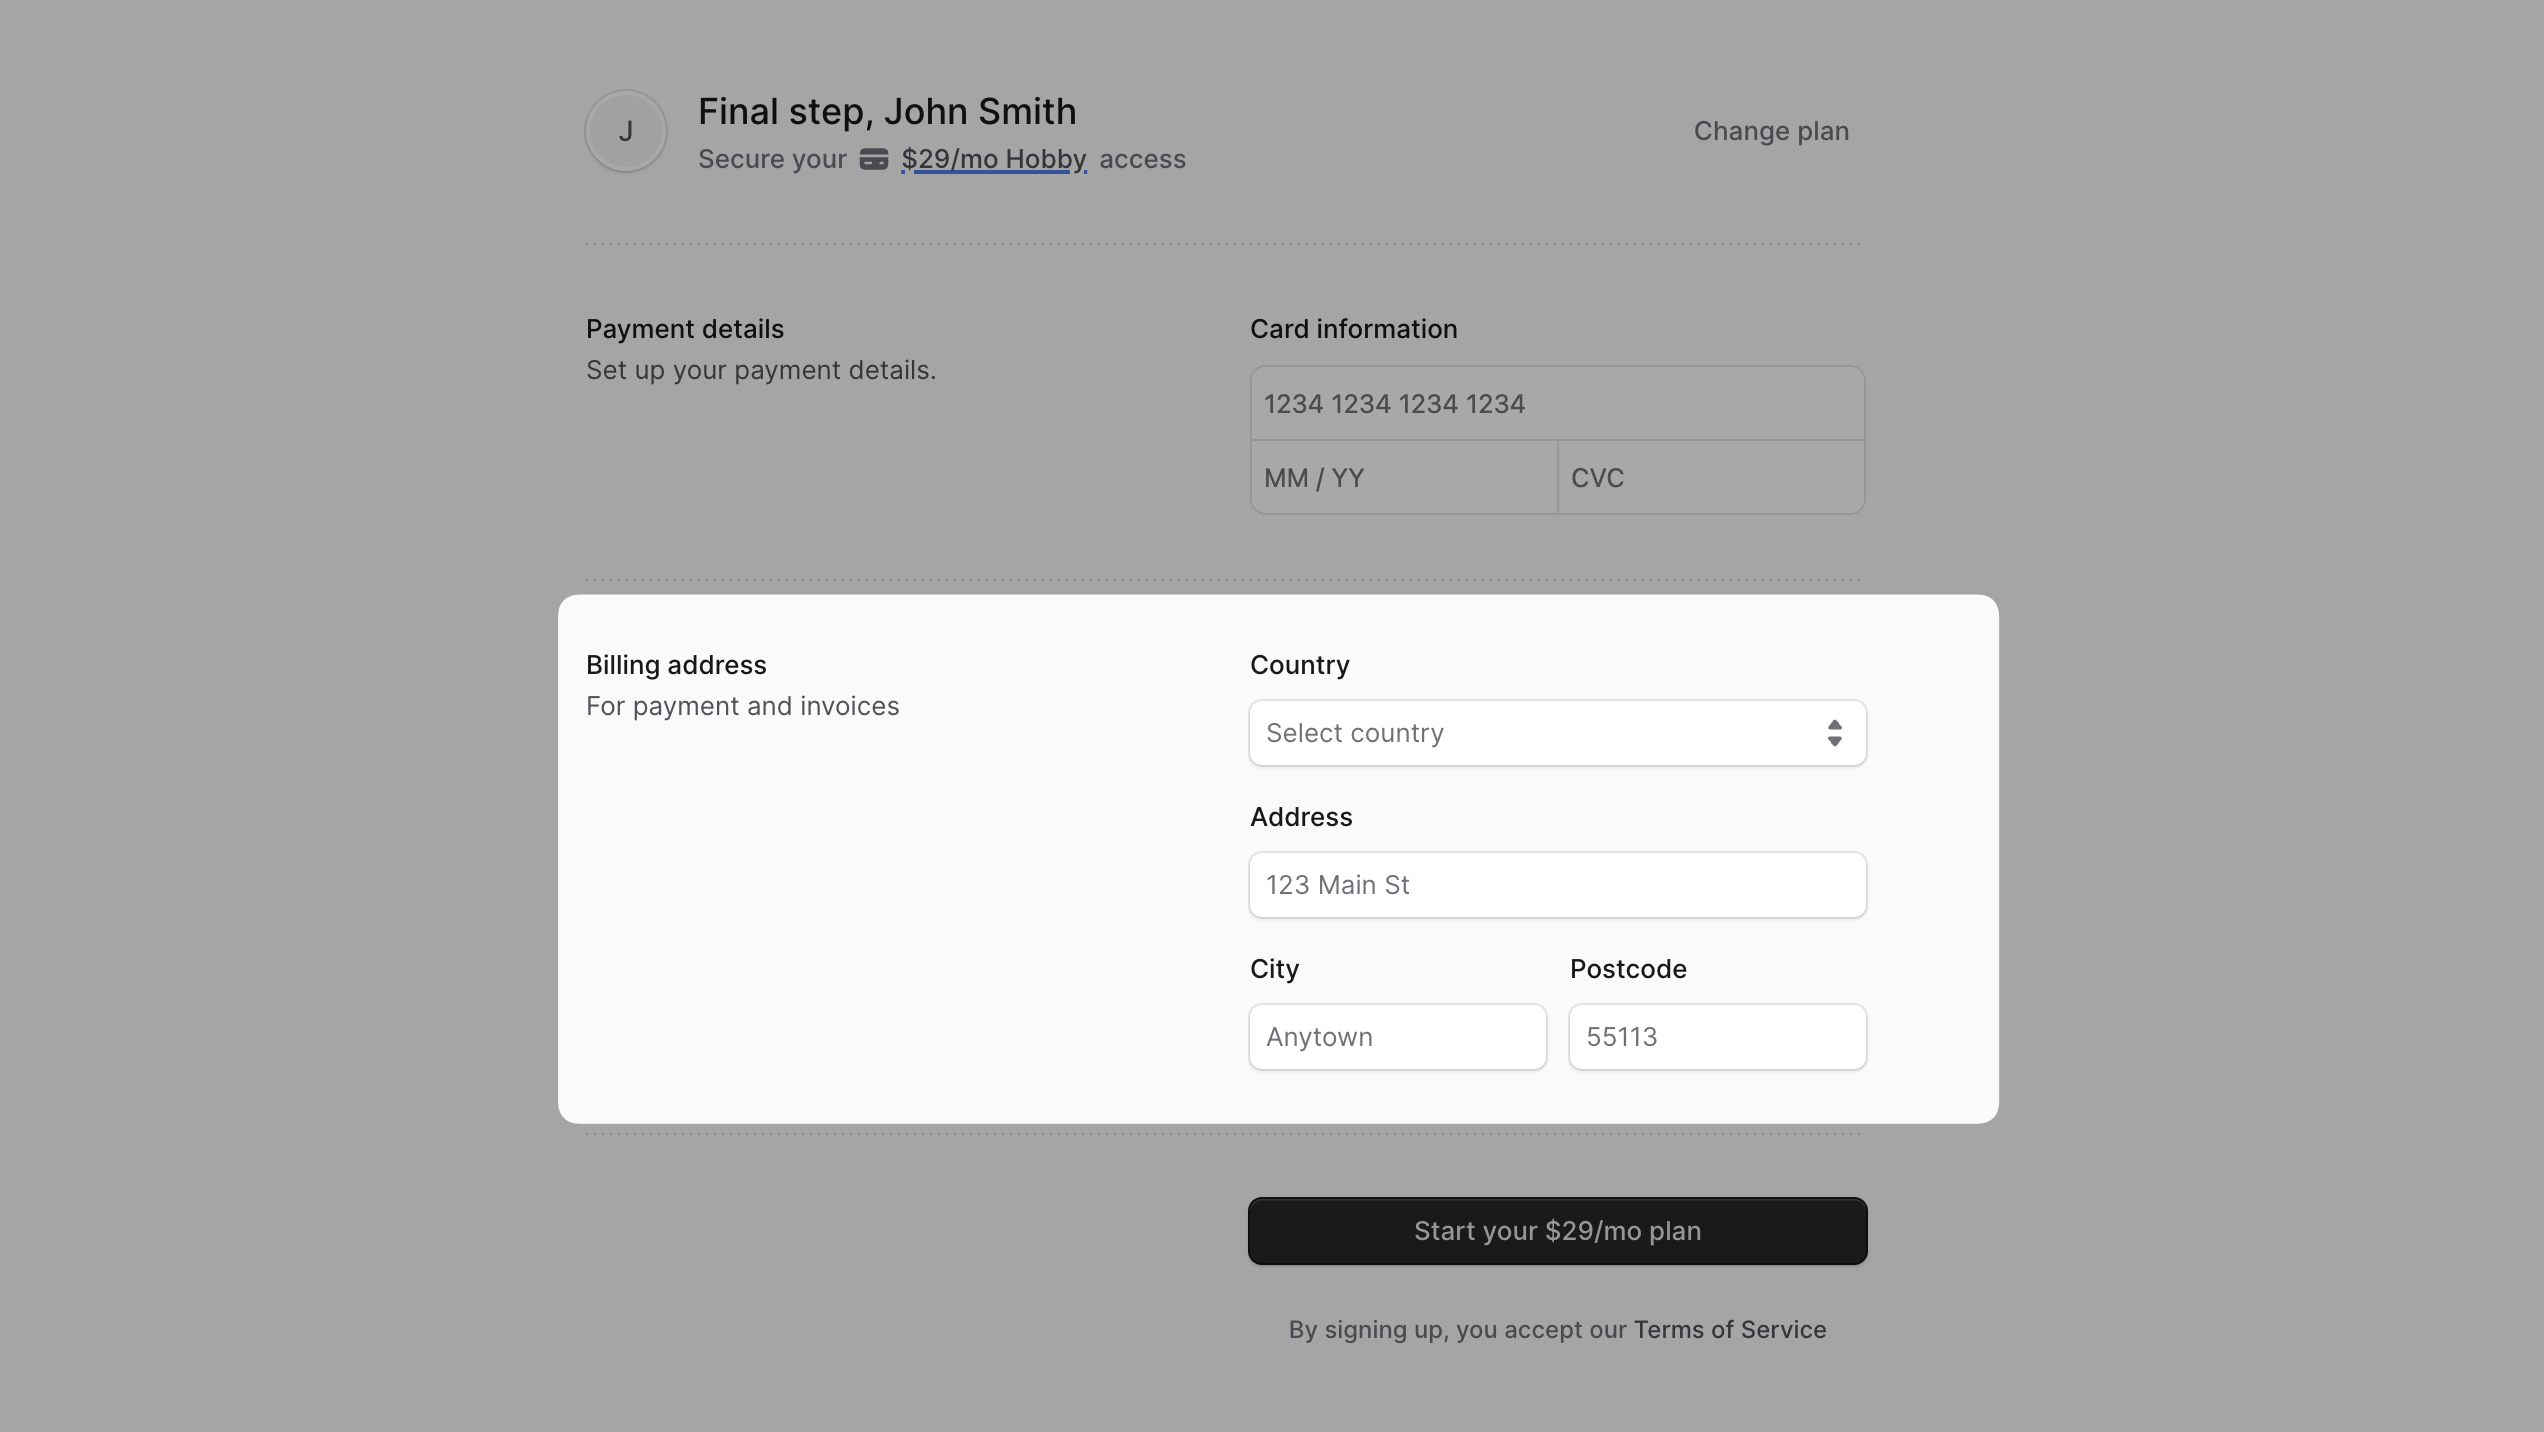
### Billing Address
|
|
|
|
Finally, enter your billing address. This is required for all plans.
|
|
|
|
Your billing address will be used for your invoices.
|
|
|
|
|
|
|
|
### Complete the Sign-Up
|
|
|
|
Once you're done, click the "Start your X/mo plan" button to complete the sign-up process. The button text will vary based on the plan you selected.
|
|
|
|
At this point, Medusa will charge your card for the first month based on the plan you selected, and you will be redirected to your organization's Cloud dashboard.
|
|
|
|
---
|
|
|
|
## Next Steps
|
|
|
|
Now that you have signed up for Cloud, you can:
|
|
|
|
- [Create projects](../projects/page.mdx) to deploy your Medusa applications and storefronts.
|
|
- [Manage your organization](../organizations/page.mdx) settings, including inviting team members.
|
|
- [Change your plan](../billing/page.mdx#change-your-organizations-plan) or update your payment details.
|