This PR includes documentation that preps for v2 docs (but doesn't introduce new docs).

_Note: The number of file changes in the PR is due to find-and-replace within the `references` which is unavoidable. Let me know if I should move it to another PR._

## Changes

- Change Medusa version in base OAS used for v2.
- Fix to docblock generator related to not catching all path parameters.
- Added typedoc plugin that generates ER Diagrams, which will be used specifically for data model references in commerce modules.
- Changed OAS tool to output references in `www/apps/api-reference/specs-v2` directory when the `--v2` option is used.
- Added a version switcher to the API reference to switch between V1 and V2. This switcher is enabled by an environment variable, so it won't be visible/usable at the moment.
- Upgraded docusaurus to v3.0.1
- Added new Vale rules to ensure correct spelling of Medusa Admin and module names.
- Added new components to the `docs-ui` package that will be used in future documentation changes.
344 lines
12 KiB
Plaintext
344 lines
12 KiB
Plaintext
---
|
||
title: 'Get started with Next.js for e-commerce'
|
||
description: 'Learn how to get started with a Next.js storefront and Medusa. The Next.js Starter includes ready-integrations with plugins like Stripe and Algolia. It offers features like customer accounts, cart and checkout flows, and more.'
|
||
---
|
||
|
||
import Feedback from '@site/src/components/Feedback';
|
||
import DetailsList from '@site/src/components/DetailsList'
|
||
import ModuleXErrorSection from '../troubleshooting/common-installation-errors/_module-x-error.mdx'
|
||
import CorsErrorSection from '../troubleshooting/cors-issues.md'
|
||
import CmaOptionSection from '../troubleshooting/nextjs/_cma-option.mdx'
|
||
|
||
# Next.js Quickstart
|
||
|
||
This document guides you to install and set up the Next.js Starter Storefront.
|
||
|
||
:::note
|
||
|
||
Check out the demo [here](https://next.medusajs.com).
|
||
|
||
:::
|
||
|
||
|
||
|
||
## Prerequisites
|
||
|
||
Before following along with this guide, make sure you have v18 or greater of Node.js:
|
||
|
||
```bash noReport
|
||
node -v
|
||
```
|
||
|
||
You can install Node from the [official website](https://nodejs.org/en/).
|
||
|
||
---
|
||
|
||
## Option 1: Install a Full Ecommerce Store
|
||
|
||
The Next.js storefront requires a Medusa backend to be installed and running to work. The Medusa backend is a headless commerce engine, so storefronts connect to it using the Store REST APIs to provide commerce features to customers.
|
||
|
||
You can use the following command to install a full ecommerce store that includes the Medusa backend, Next.js storefront, and Medusa Admin:
|
||
|
||
```bash
|
||
npx create-medusa-app@latest --with-nextjs-starter
|
||
```
|
||
|
||
Refer to the [create-medusa-app](../create-medusa-app.mdx) documentation for more details on prerequisites, steps, and troubleshooting.
|
||
|
||
---
|
||
|
||
## Option 2: Install Next.js Storefront Only
|
||
|
||
If you already have a Medusa backend installed, you can install the Next.js storefront separately.
|
||
|
||
:::warning
|
||
|
||
Your backend must have at least one active region. Otherwise, the Next.js storefront will be stuck in a redirect loop.
|
||
|
||
:::
|
||
|
||
To do that, follow these steps:
|
||
|
||
1\. Create a new Next.js project using the [Medusa starter Storefront](https://github.com/medusajs/nextjs-starter-medusa):
|
||
|
||
```bash
|
||
npx create-next-app -e https://github.com/medusajs/nextjs-starter-medusa my-medusa-storefront
|
||
```
|
||
|
||
2\. Change to the newly created directory `my-medusa-storefront` and rename the template environment variable file to use environment variables in development:
|
||
|
||
```bash
|
||
cd my-medusa-storefront
|
||
mv .env.template .env.local
|
||
```
|
||
|
||
3\. Make sure the Medusa backend is running, then run the local Next.js server:
|
||
|
||
```bash npm2yarn
|
||
npm run dev
|
||
```
|
||
|
||
Your Next.js Starter Storefront is now running at `localhost:8000`
|
||
|
||
<Feedback
|
||
event="survey_nextjs_quickstart"
|
||
question="Did you set up the storefront successfully?"
|
||
positiveQuestion="Is there anything that should improved?"
|
||
negativeQuestion="Please describe the issue you faced."
|
||
/>
|
||
|
||
---
|
||
|
||
## Troubleshooting Installation
|
||
|
||
<DetailsList
|
||
sections={[
|
||
{
|
||
title: "Next.js storefront not working using option 1",
|
||
content: <CmaOptionSection />
|
||
},
|
||
{
|
||
title: 'CORS Error',
|
||
content: <CorsErrorSection />
|
||
},
|
||
{
|
||
title: 'Resolve "Cannot find module X" Errors',
|
||
content: <ModuleXErrorSection />
|
||
},
|
||
]}
|
||
/>
|
||
|
||
---
|
||
|
||
## Storefront Features
|
||
|
||
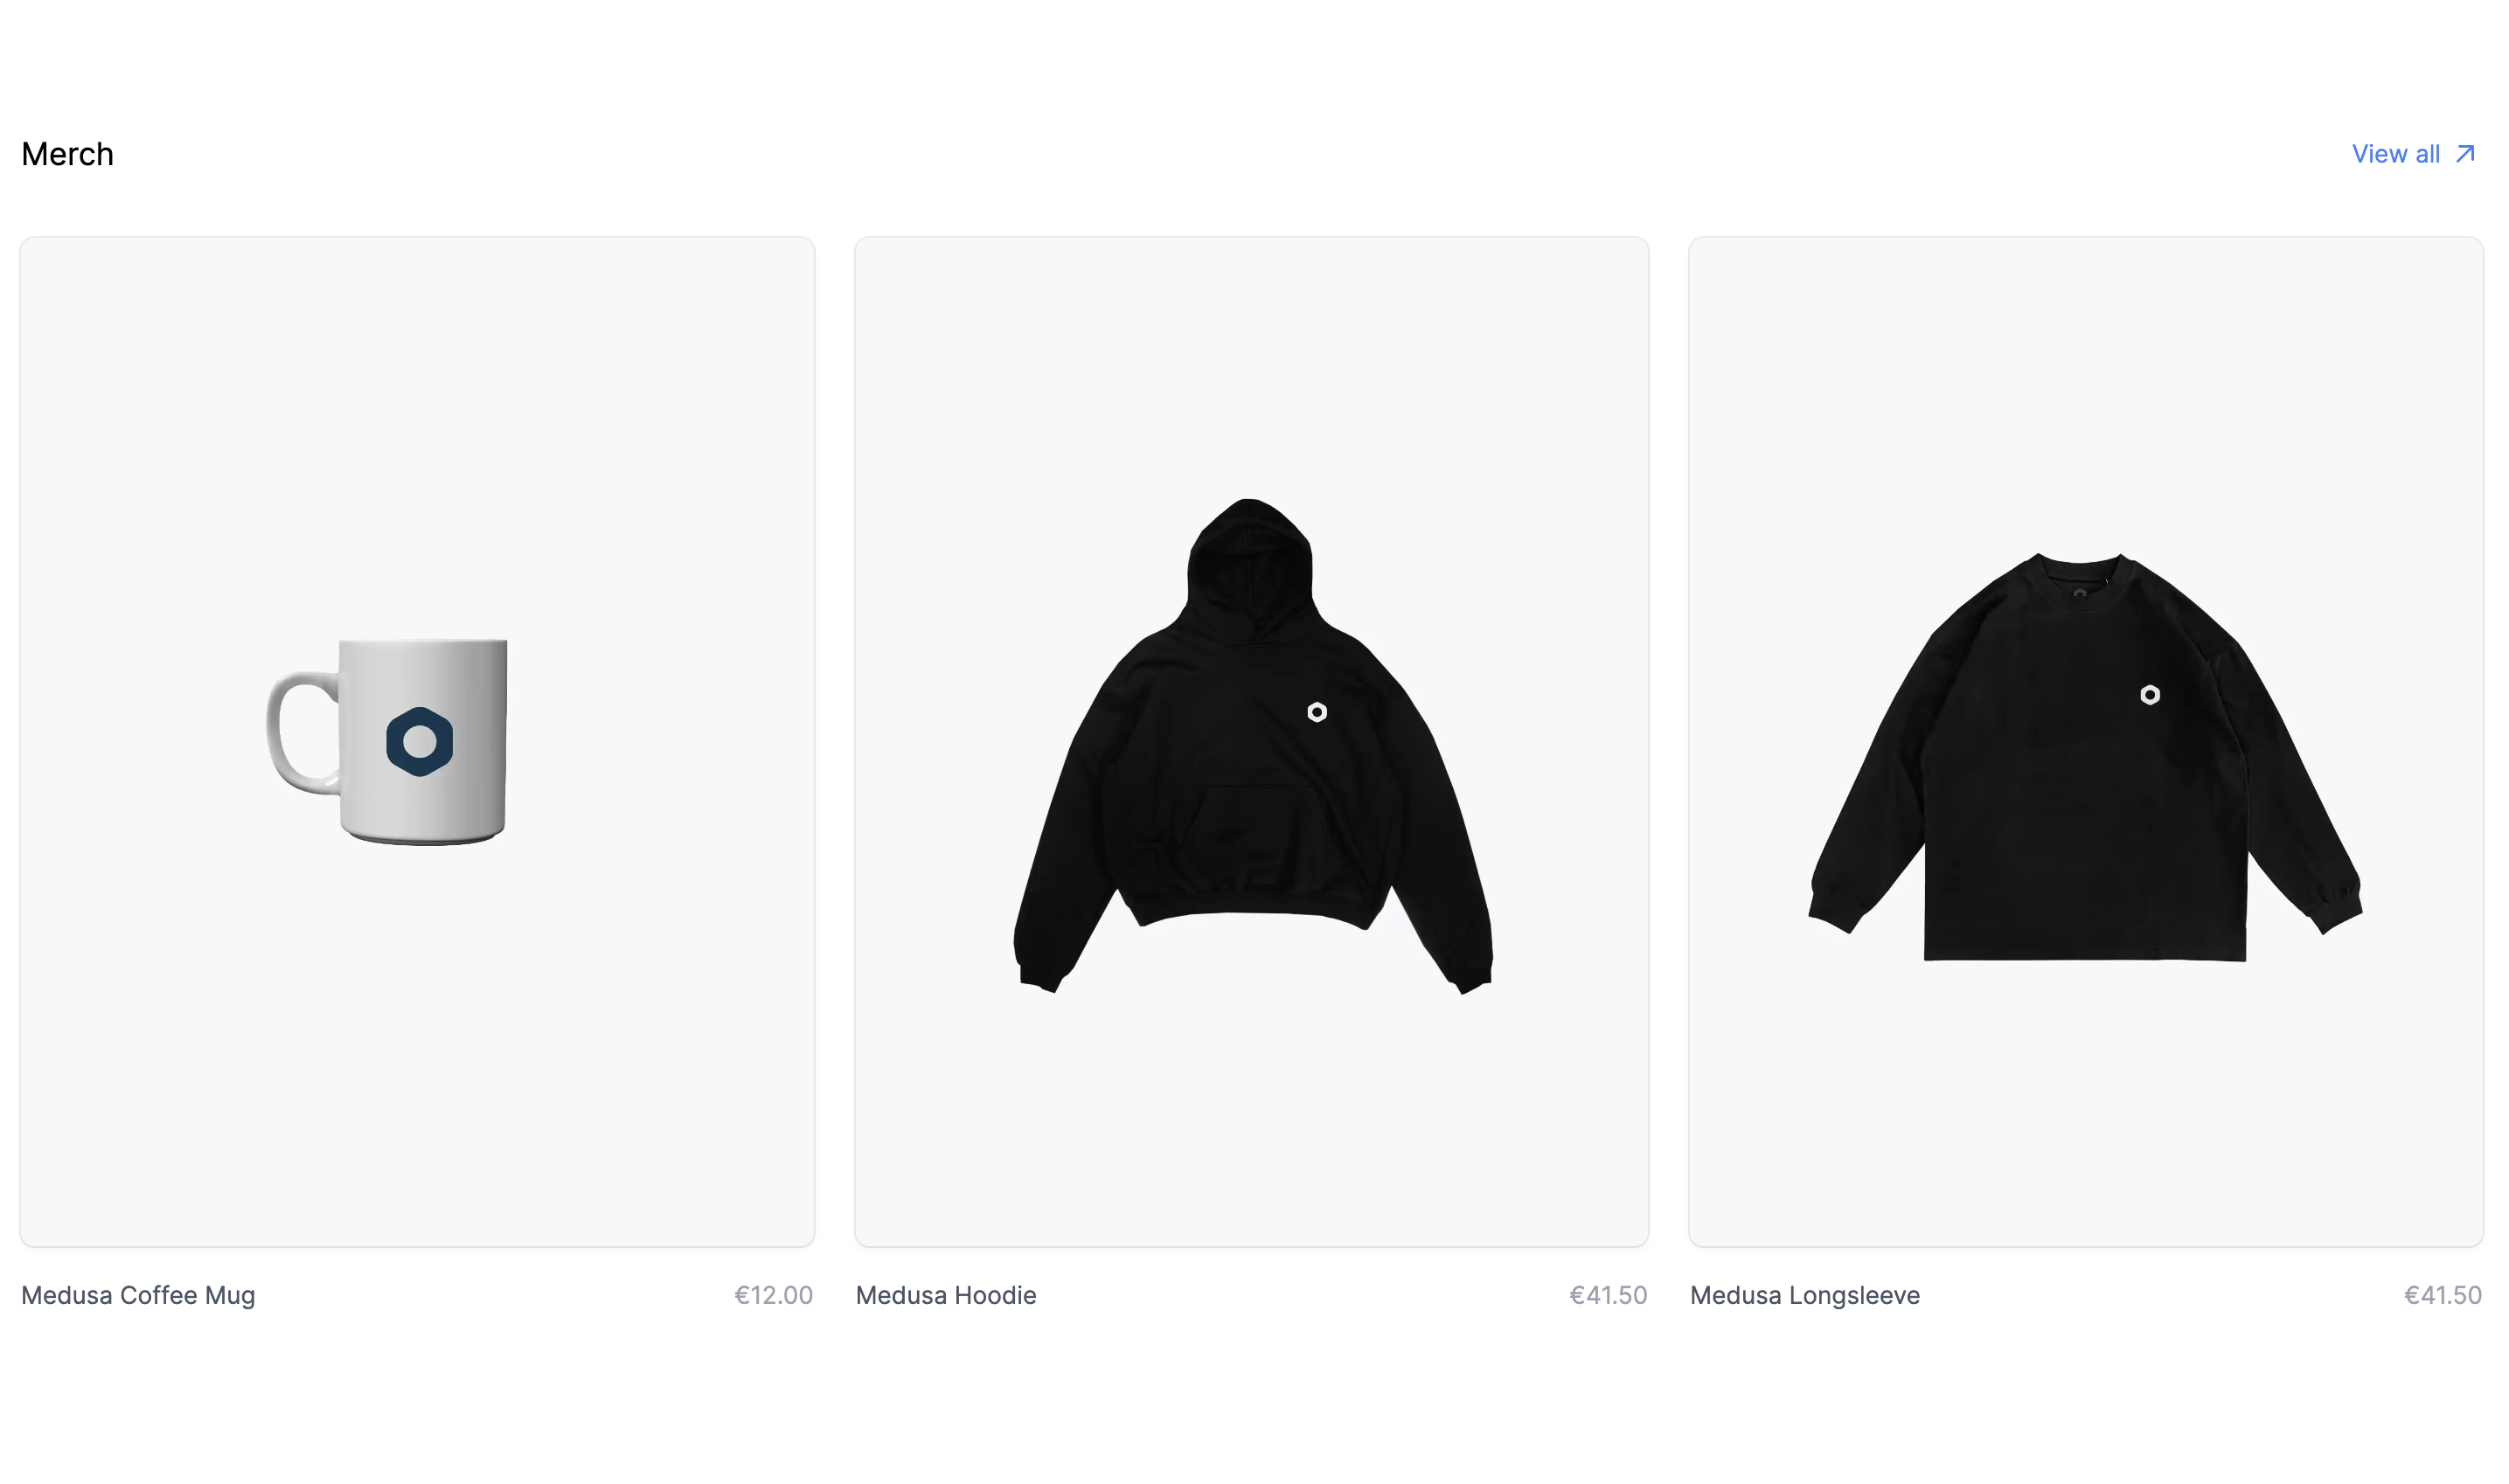
### Featured products on homepage
|
||
|
||
Your store's products are showcased on the homepage. If you don't see any products, make sure to [create collections and add products to them](../user-guide/products/collections.mdx).
|
||
|
||
|
||
|
||
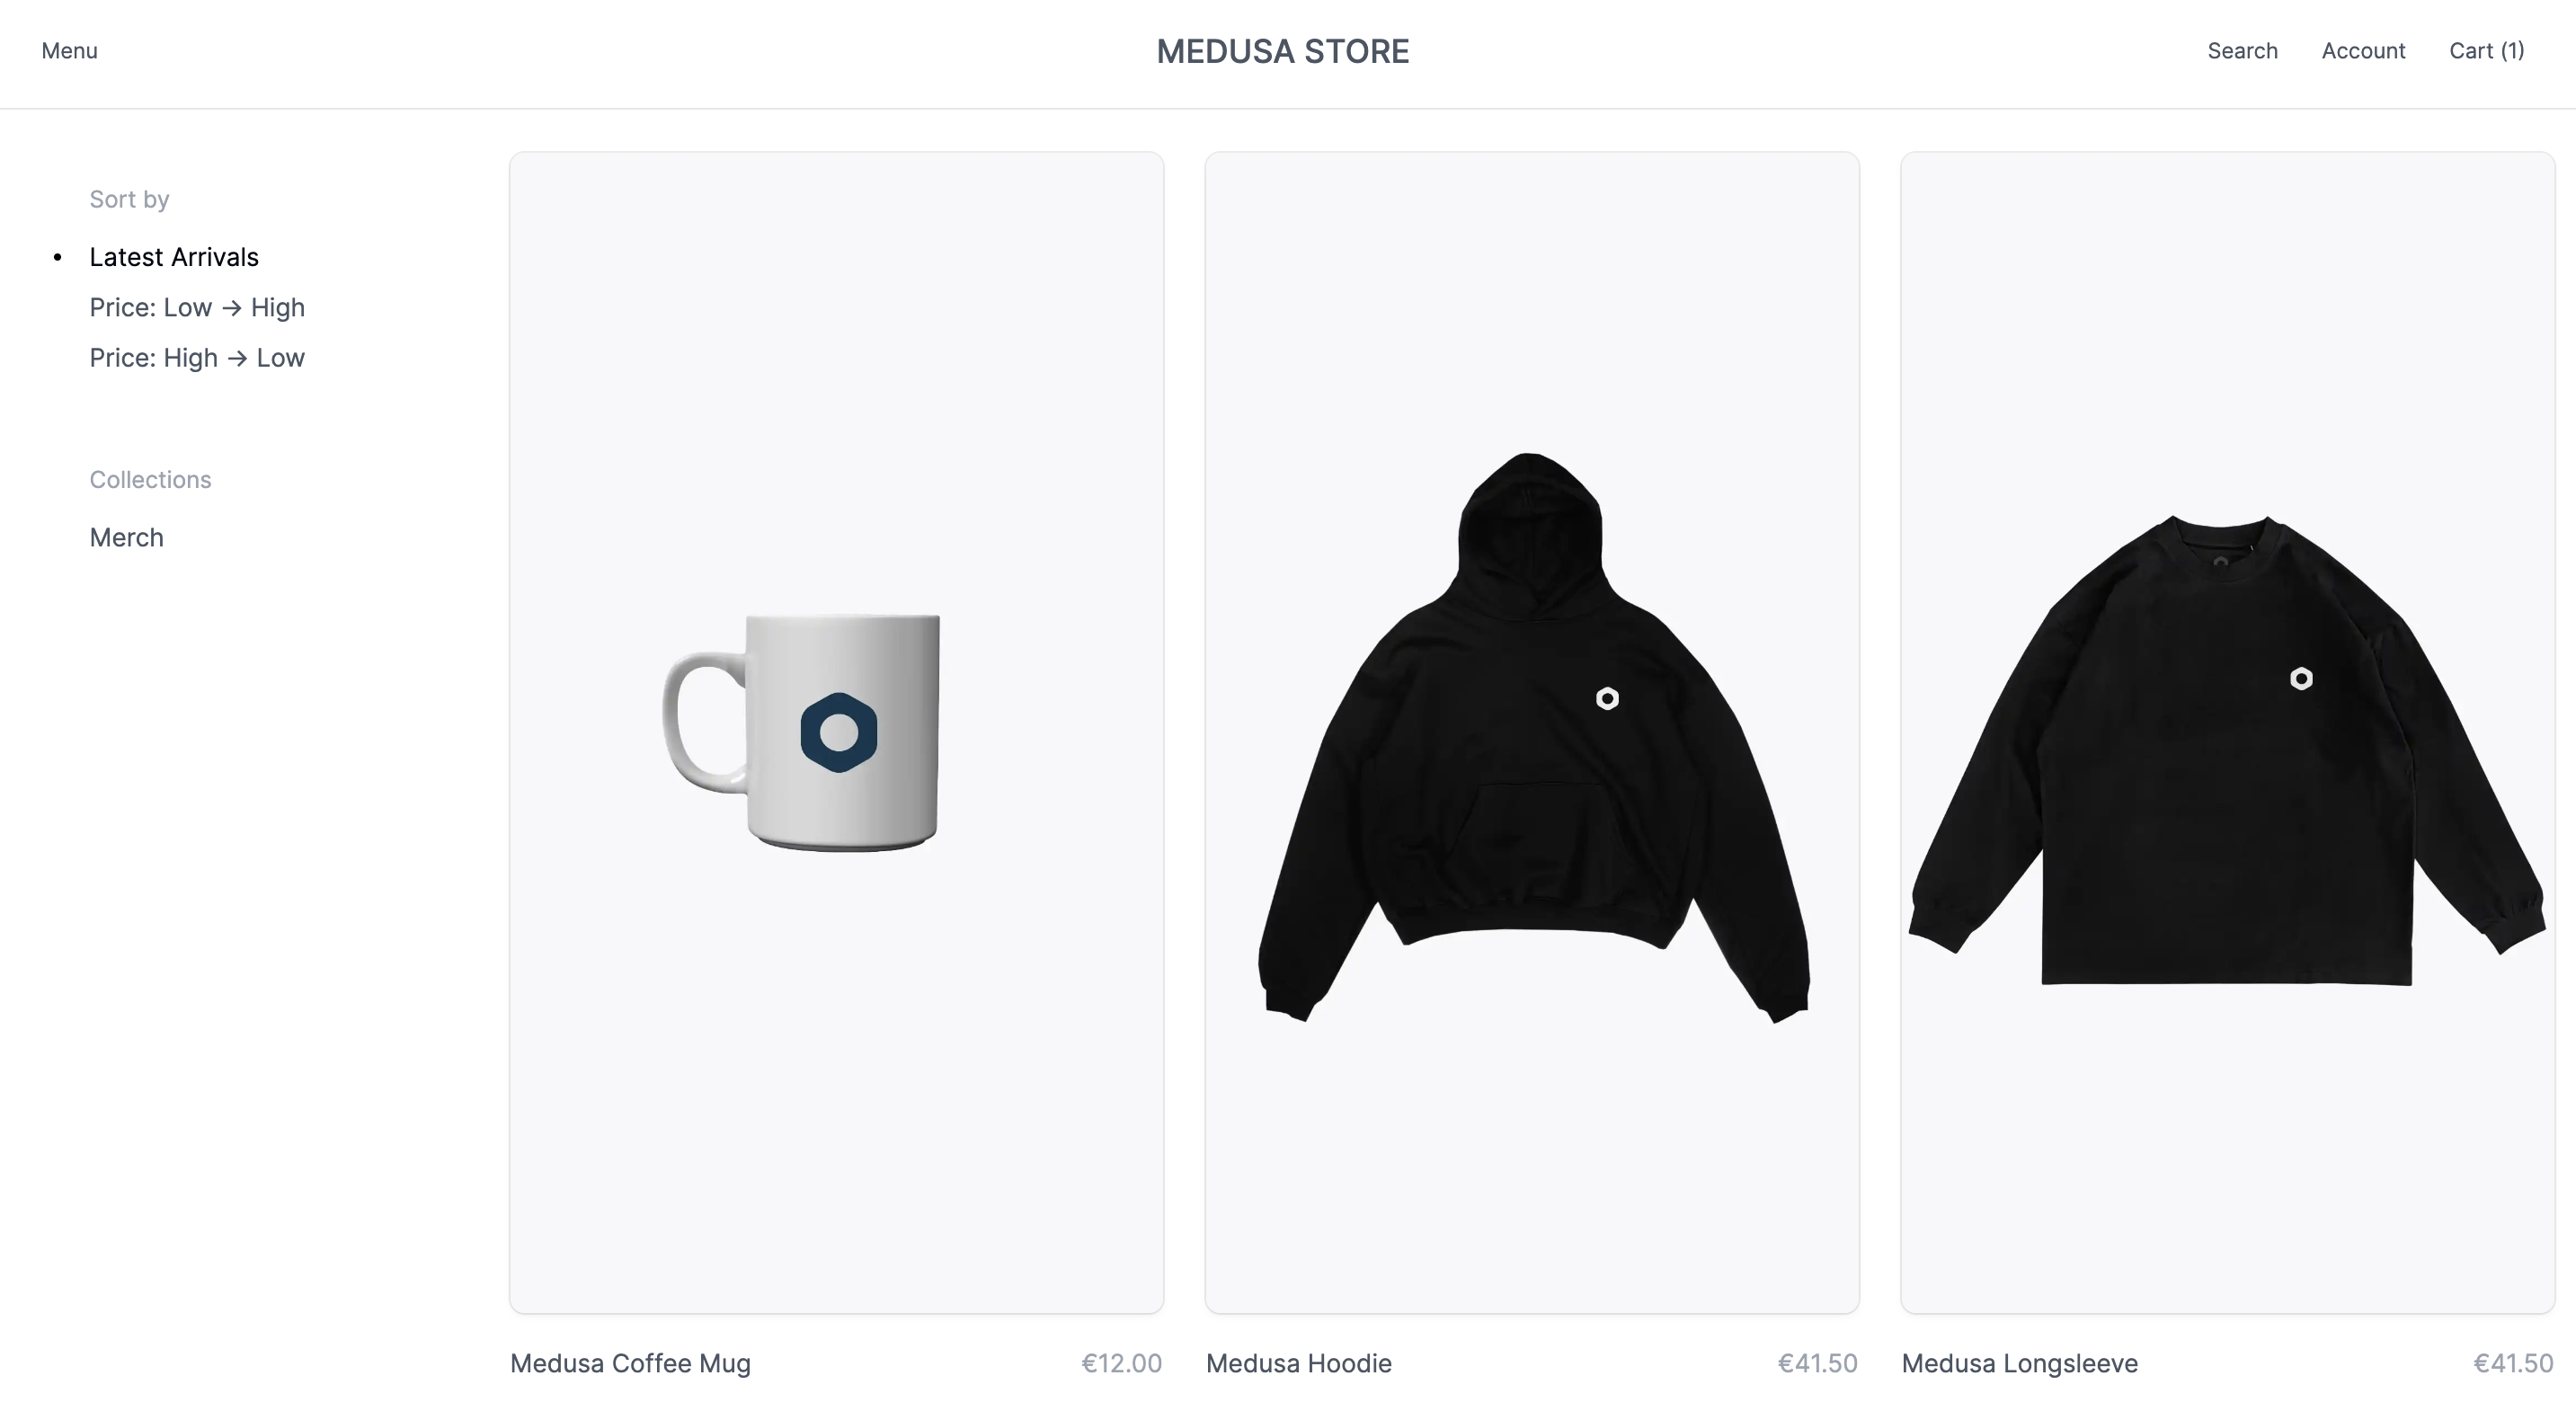
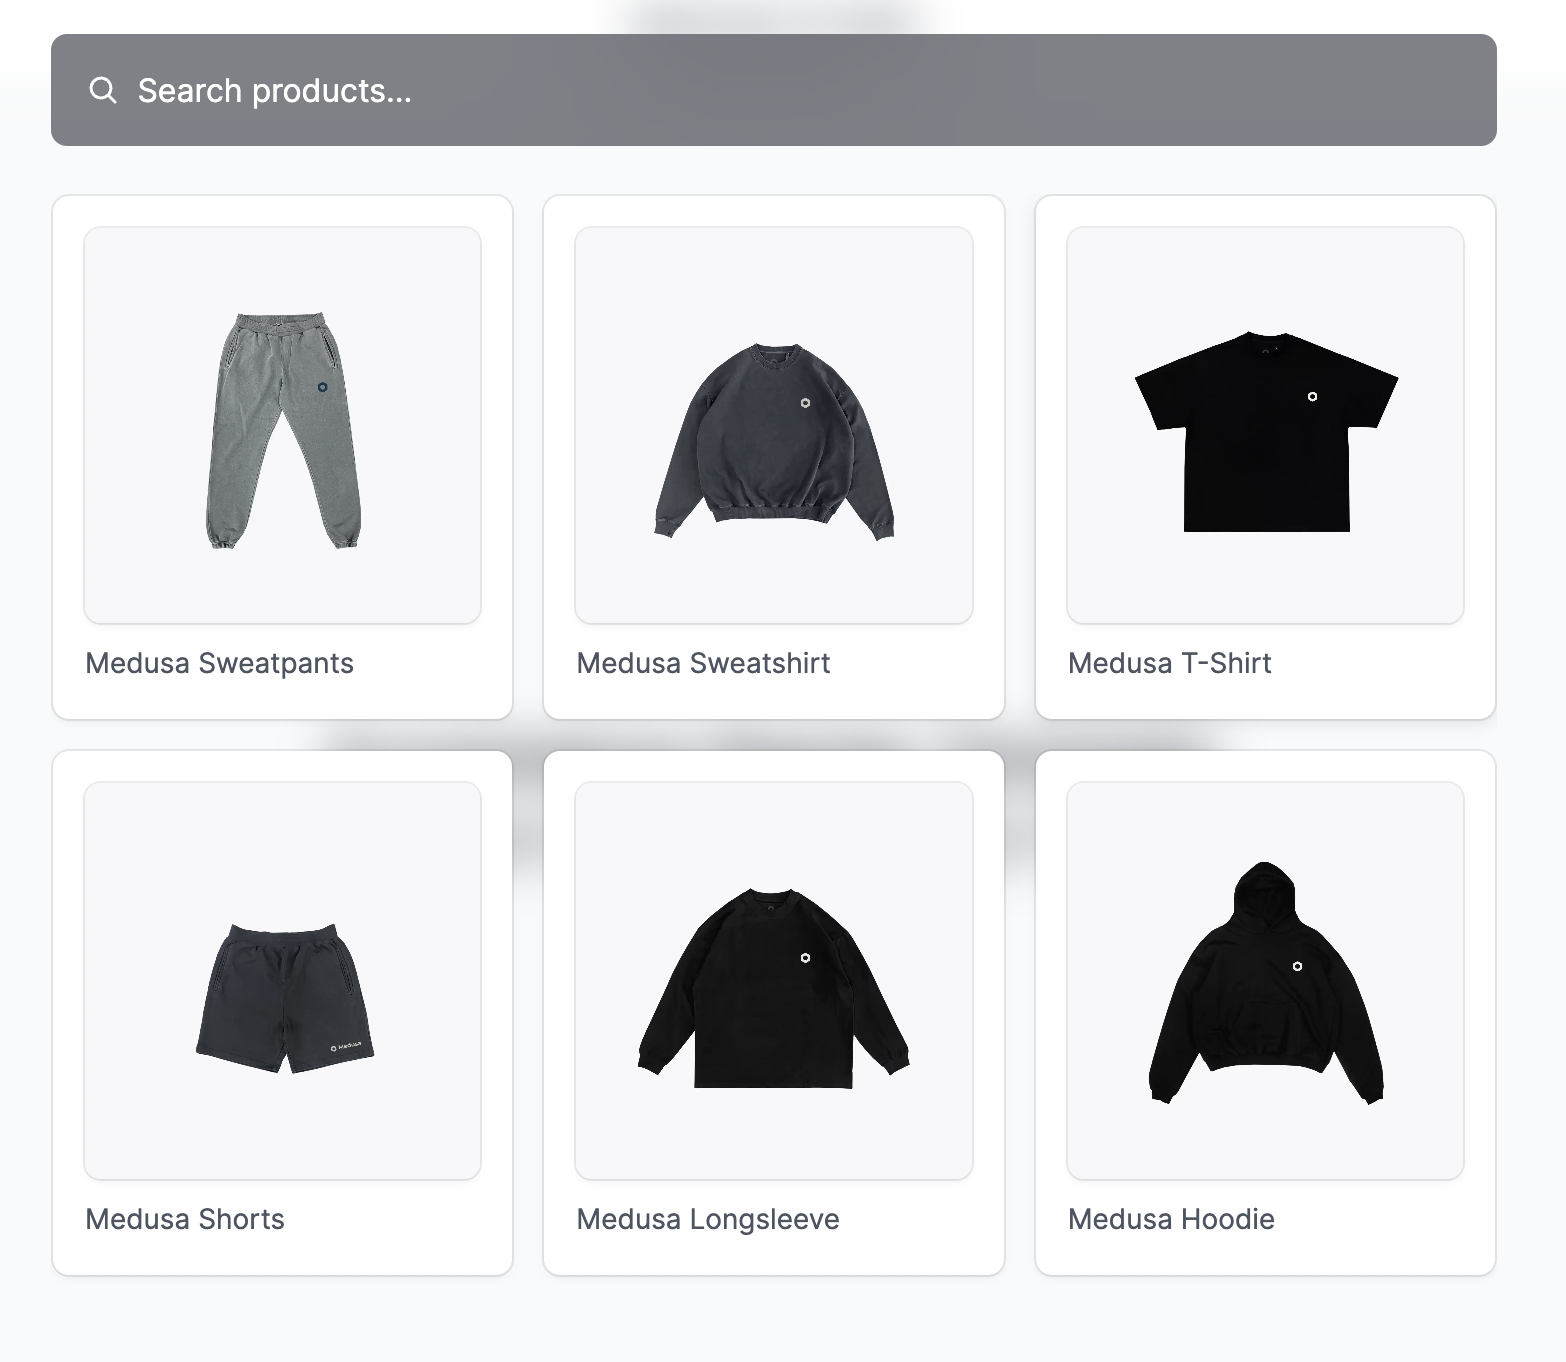
### View all products and manage your cart
|
||
|
||
|
||
|
||
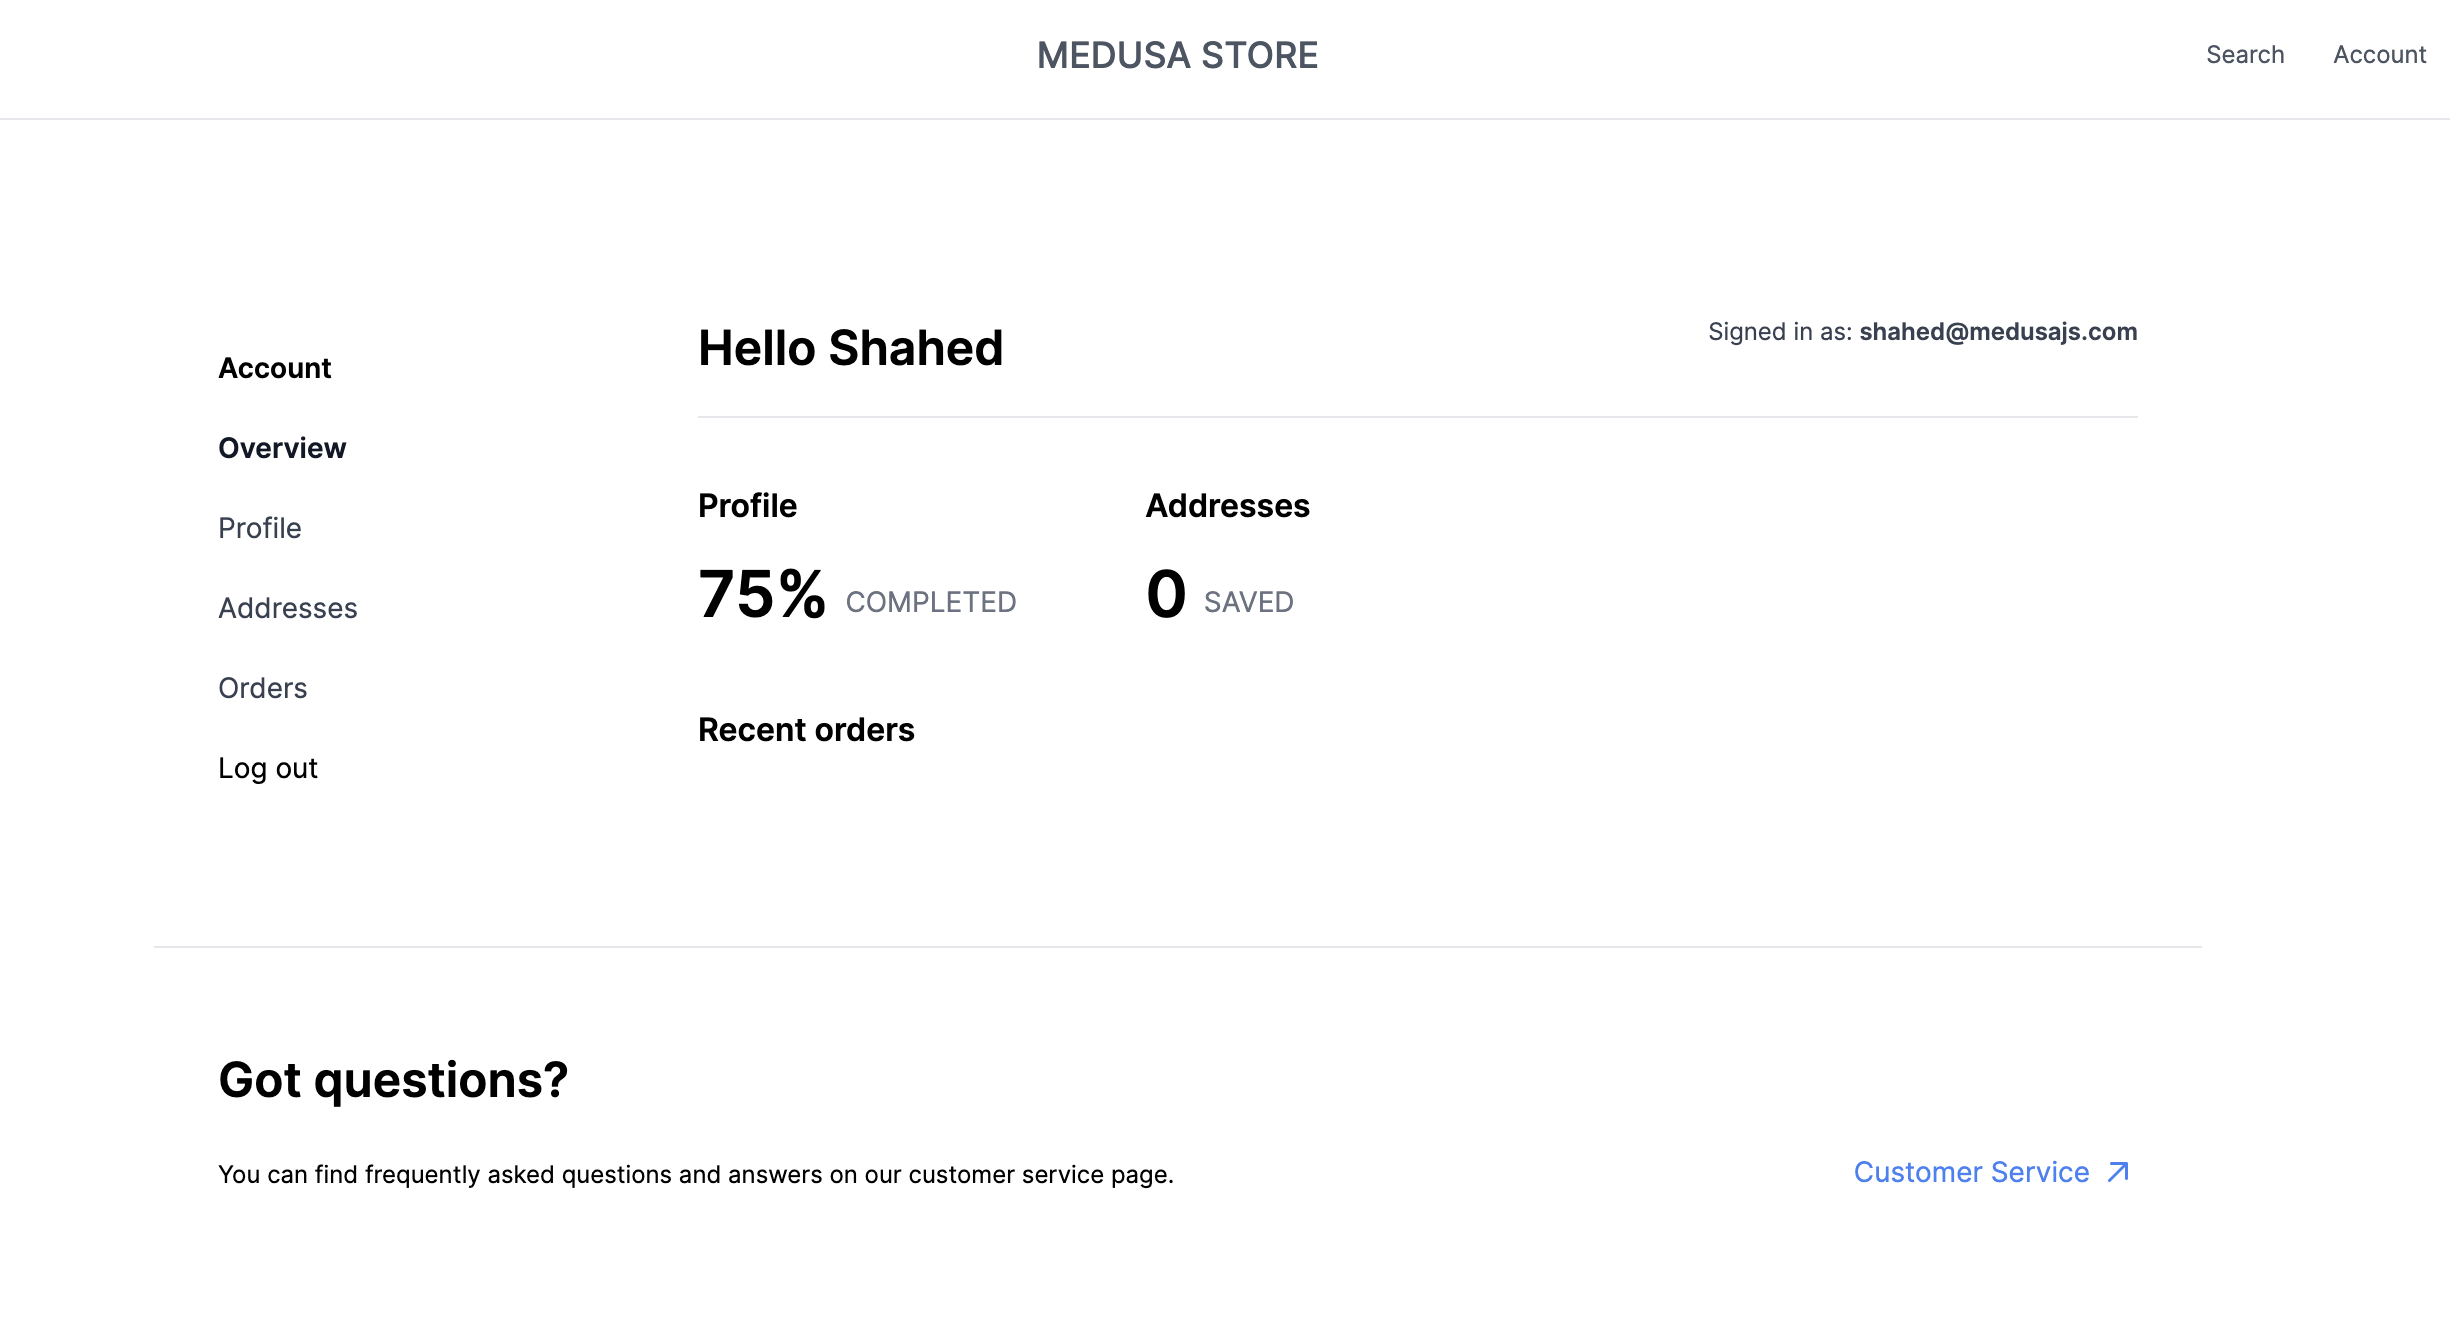
### Customer authentication and profiles
|
||
|
||
|
||
|
||
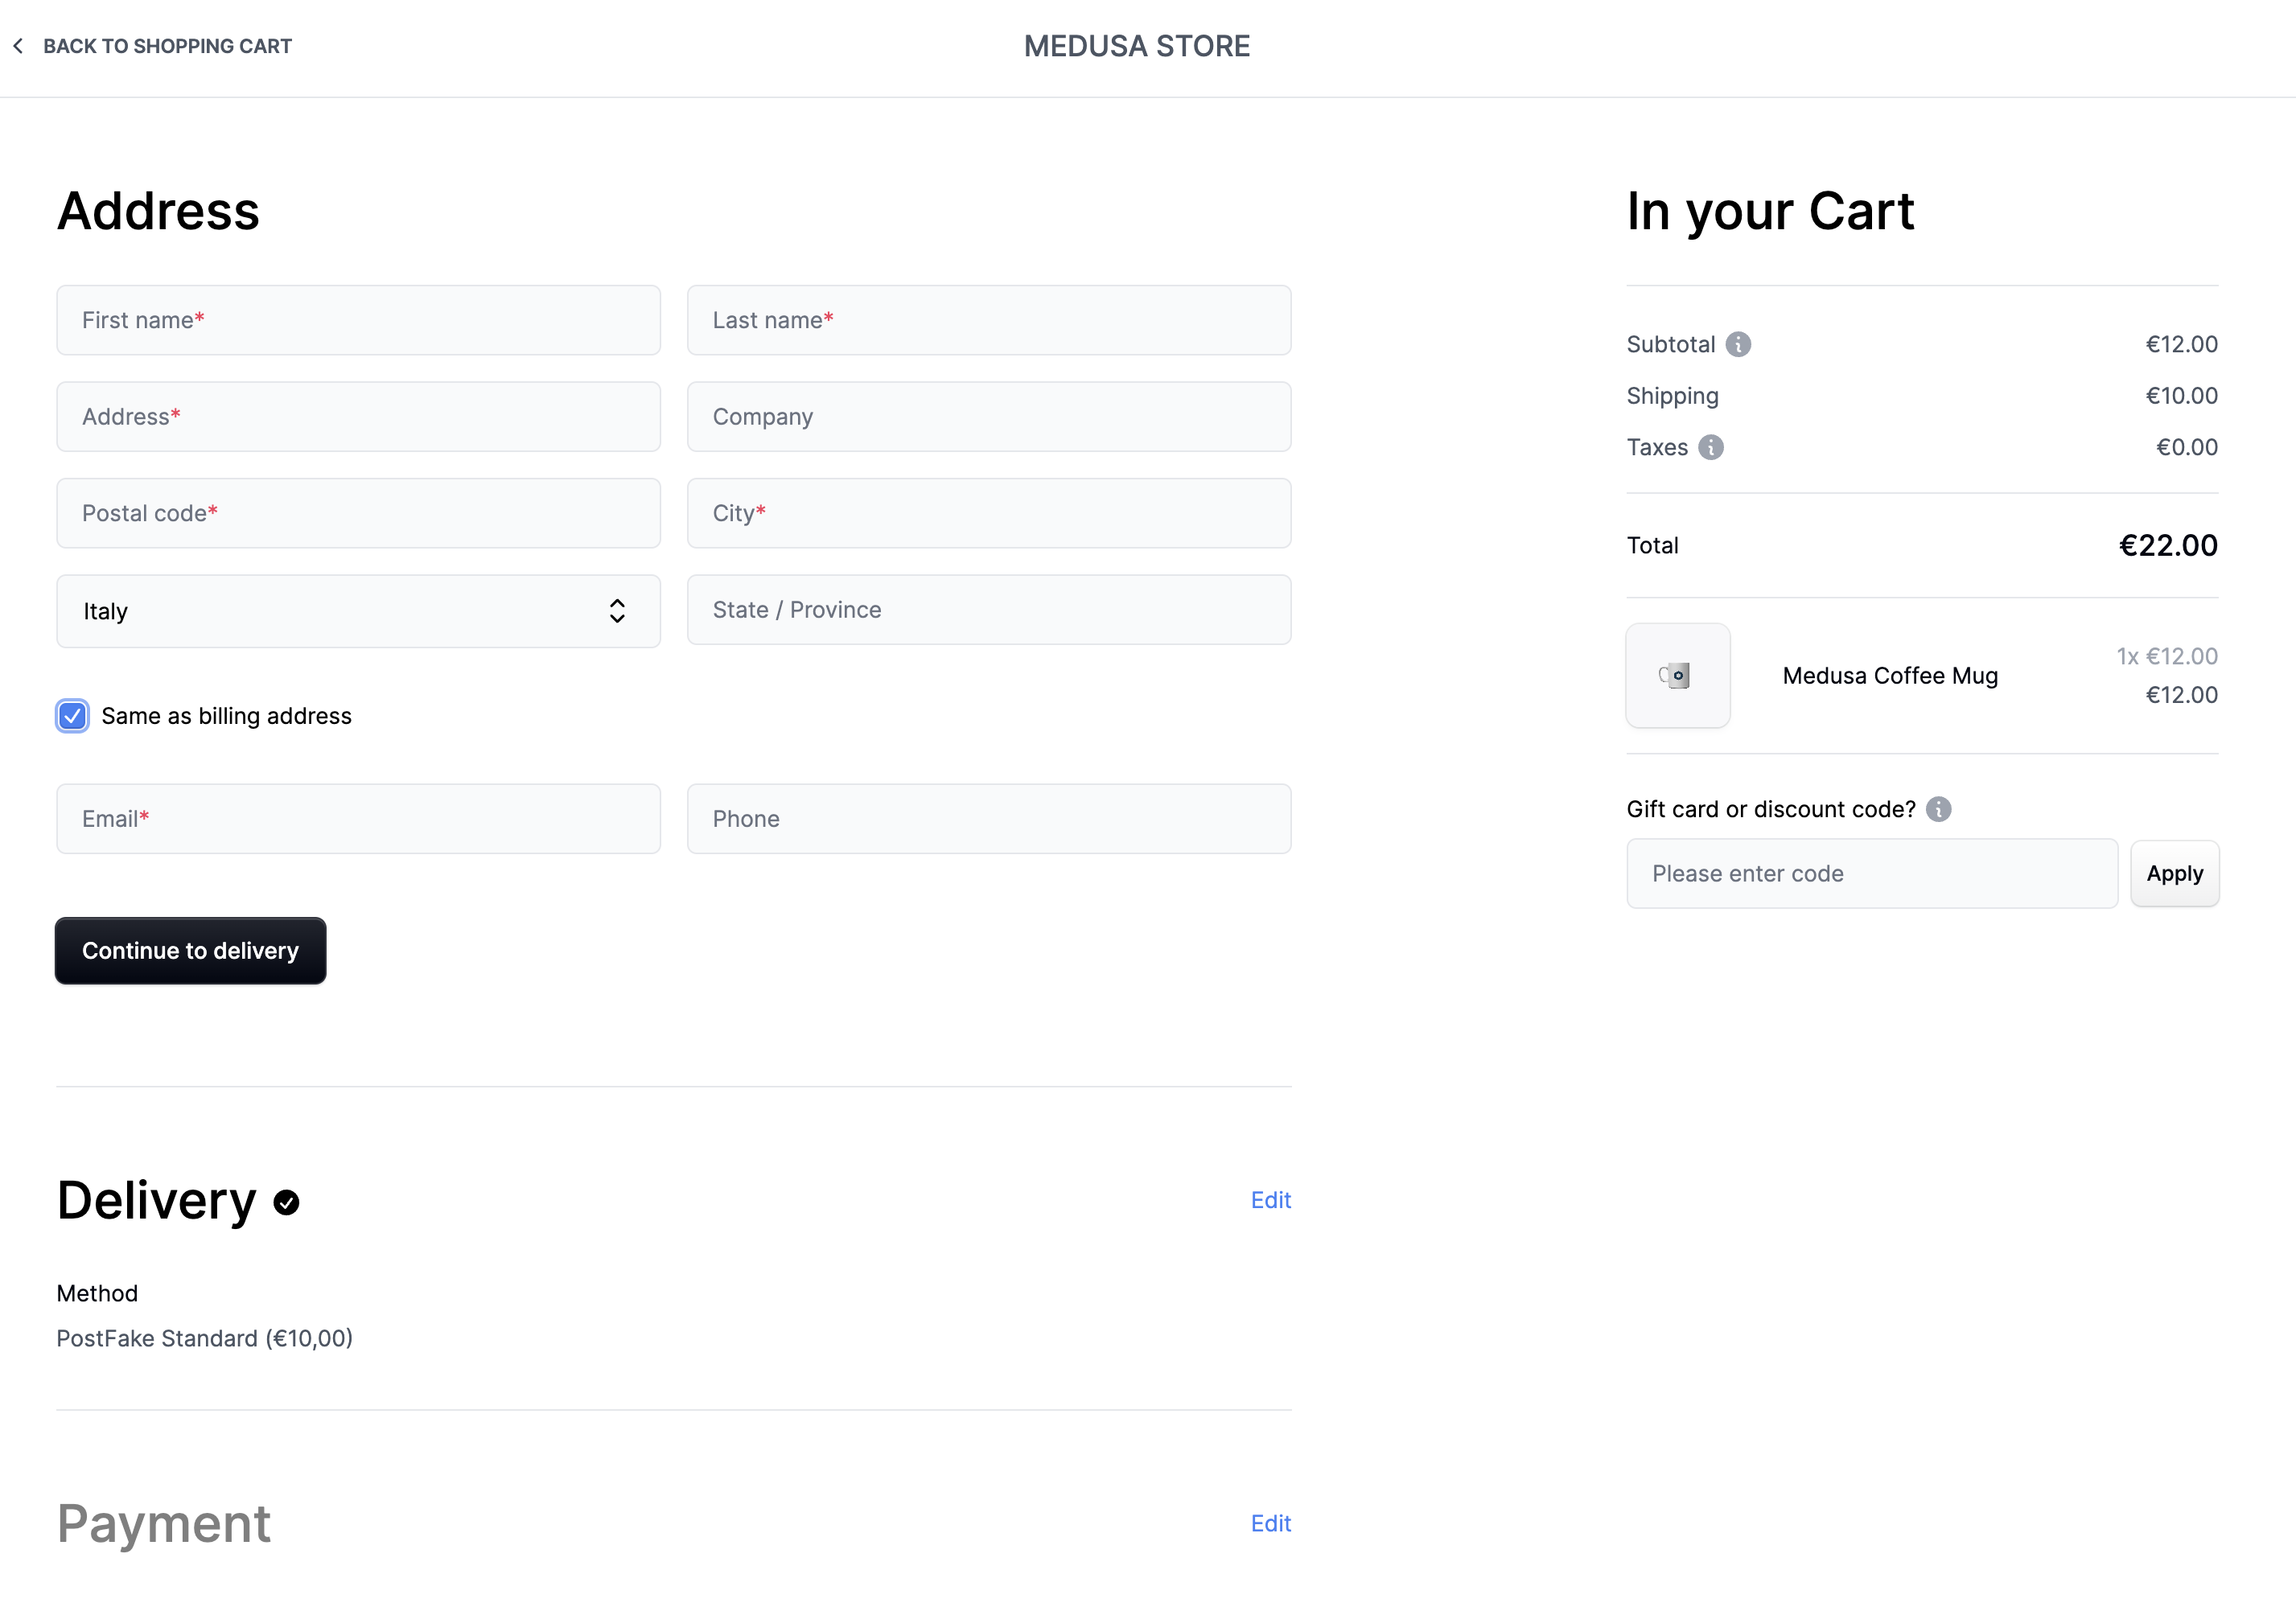
### Full checkout workflow
|
||
|
||
|
||
|
||
---
|
||
|
||
## Toggle Search Engine Feature
|
||
|
||
The Next.js Starter Storefront by default is compatible with the MeiliSearch plugin.
|
||
|
||
To enable or disable the search engine, change the value of the feature in `store.config.json`:
|
||
|
||
```json title="store.config.json"
|
||
{
|
||
"features": {
|
||
"search": false
|
||
}
|
||
}
|
||
```
|
||
|
||
Then, restart your Next.js backend. Depending on whether you enabled or disabled the search engine, the "Search" link in the navigation bar will appear or disappear accordingly.
|
||
|
||
### MeiliSearch Integration
|
||
|
||
If you have the search engine feature enabled, it's expected that you have installed the MeiliSearch plugin on your Medusa backend. If not, [follow this guide to install it](../plugins/search/meilisearch.md).
|
||
|
||
In your Next.js Starter Storefront, set the environment variables necessary for the MeiliSearch integration:
|
||
|
||
```json
|
||
NEXT_PUBLIC_SEARCH_ENDPOINT=<YOUR_MEILISEARCH_URL>
|
||
NEXT_PUBLIC_INDEX_NAME=products
|
||
NEXT_PUBLIC_SEARCH_API_KEY=<YOUR_API_KEY>
|
||
```
|
||
|
||
Where:
|
||
|
||
- `<YOUR_MEILISEARCH_URL>` is the URL MeiliSearch is running on. The default is `http://127.0.0.1:7700`.
|
||
- `NEXT_PUBLIC_INDEX_NAME` is the index name of the products in MeiliSearch. By default, it’s `products`.
|
||
- `<YOUR_API_KEY>` is the API key used to search through MeiliSearch indexes. To create a new API Key, make sure that the MeiliSearch service is running and send the following request:
|
||
|
||
```bash
|
||
curl \
|
||
-X POST '<MEILISEARCH_URL>/keys' \
|
||
-H 'Content-Type: application/json' \
|
||
-H 'Authorization: Bearer <MEILISEARCH_MASTER_KEY>' \
|
||
--data-binary '{
|
||
"description": "Search products",
|
||
"actions": ["search"],
|
||
"indexes": ["products"],
|
||
"expiresAt": "2024-01-01T00:00:00Z"
|
||
}'
|
||
```
|
||
|
||
Make sure to replace `<MEILISEARCH_URL>` with the URL MeiliSearch is running on and `<MEILISEARCH_MASTER_KEY>` with your MeiliSearch [master key](https://www.meilisearch.com/docs/learn/security/master_api_keys#protecting-a-meilisearch-instance).
|
||
|
||
Then, restart the Next.js storefront. You’ll be able to search through available products by clicking the search icon in the navigation bar.
|
||
|
||
:::tip
|
||
|
||
To make sure the Next.js Storefront properly displays the products in the search result, include in the `displayedAttributes` setting of the MeiliSearch plugin on the Medusa backend at least the fields `title`, `handle`, `description`, and `thumbnail`.
|
||
|
||
:::
|
||
|
||
|
||
|
||
### Algolia Integration
|
||
|
||
Instead of using the default MeiliSearch search engine, you can switch to using Algolia. Make sure you start by installing the Algolia plugin on your Medusa backend. You can do it by [following this guide](../plugins/search/algolia.md).
|
||
|
||
In your Next.js Starter Storefront, install the `algoliasearch` package in your Next.js storefront:
|
||
|
||
```bash npm2yarn
|
||
npm install algoliasearch
|
||
```
|
||
|
||
Then, set the environment variables necessary for the Algolia integration:
|
||
|
||
```bash
|
||
NEXT_PUBLIC_SEARCH_APP_ID=<YOUR_APP_ID>
|
||
NEXT_PUBLIC_SEARCH_API_KEY=<YOUR_SEARCH_API_KEY>
|
||
NEXT_PUBLIC_INDEX_NAME=products
|
||
```
|
||
|
||
Where:
|
||
|
||
- `<YOUR_APP_ID>` and `<YOUR_SEARCH_API_KEY>` are the Algolia App ID and Algolia Search API Key respectively. You can retrieve them from Algolia by going to [API Keys](https://www.algolia.com/account/api-keys/all) in your account settings.
|
||
- `NEXT_PUBLIC_INDEX_NAME` is the index name of the products in Algolia. By default, it’s `products`.
|
||
|
||
Next, change the content of `src/lib/search-client.ts` to the following:
|
||
|
||
```ts title="src/lib/search-client.ts"
|
||
import algoliasearch from "algoliasearch/lite"
|
||
|
||
const appId = process.env.NEXT_PUBLIC_SEARCH_APP_ID || ""
|
||
|
||
const apiKey = process.env.NEXT_PUBLIC_SEARCH_API_KEY || ""
|
||
|
||
export const searchClient = algoliasearch(appId, apiKey)
|
||
|
||
export const SEARCH_INDEX_NAME =
|
||
process.env.NEXT_PUBLIC_INDEX_NAME || "products"
|
||
```
|
||
|
||
Next, change the content of `src/app/(main)/search/actions.ts` to the following:
|
||
|
||
```ts title="src/app/(main)/search/actions.ts"
|
||
"use server"
|
||
|
||
import {
|
||
searchClient,
|
||
SEARCH_INDEX_NAME,
|
||
} from "@lib/search-client"
|
||
|
||
/**
|
||
* Uses MeiliSearch or Algolia to search for a query
|
||
* @param {string} query - search query
|
||
*/
|
||
export async function search(query: string) {
|
||
const index = searchClient.initIndex(SEARCH_INDEX_NAME)
|
||
const { hits } = await index.search(query)
|
||
|
||
return hits
|
||
}
|
||
```
|
||
|
||
Finally, restart the Next.js backend. You’ll be able to search through available products by clicking the search icon in the navigation bar.
|
||
|
||

|
||
|
||
---
|
||
|
||
## Payment Integrations
|
||
|
||
### Stripe Payment Integration
|
||
|
||
Stripe integration is supported by default. Make sure you have Stripe installed and enabled on your Medusa backend first. You can [follow this guide to learn how to install it](../plugins/payment/stripe.mdx).
|
||
|
||
Then, in your Next.js Starter Storefront, set the environment variable necessary for the Stripe integration:
|
||
|
||
```bash
|
||
NEXT_PUBLIC_STRIPE_KEY=<YOUR_PUBLISHABLE_KEY>
|
||
```
|
||
|
||
Make sure to replace `<YOUR_PUBLISHABLE_KEY>` with your Stripe publishable key. It can be retrieved from your [Stripe dashboard](https://dashboard.stripe.com/) by going to Developers → API Keys.
|
||
|
||
If you restart your Next.js backend you should be able to pay with Stripe on checkout.
|
||
|
||
### PayPal Payment Integration
|
||
|
||
PayPal integration is supported by default. Make sure you have PayPal installed and enabled on your Medusa backend first. You can [follow this guide to learn how to install it](../plugins/payment/paypal.md).
|
||
|
||
Then, in your Next.js Starter Storefront, set the environment variable necessary for the PayPal integration:
|
||
|
||
```bash
|
||
NEXT_PUBLIC_PAYPAL_CLIENT_ID=<YOUR_CLIENT_ID>
|
||
```
|
||
|
||
Make sure to replace `<YOUR_CLIENT_ID>` with your PayPal client ID. You can retrieve it from the [PayPal developer dashboard](https://developer.paypal.com/developer/applications/).
|
||
|
||
If you restart your Next.js backend you should be able to pay with PayPal on checkout.
|
||
|
||
---
|
||
|
||
## Development Notes
|
||
|
||
### Changing Medusa Backend URL
|
||
|
||
By default, the Medusa backend runs at `http://localhost:9000`. This value is defined in your Next.js starter Storefront under the environment variable `NEXT_PUBLIC_MEDUSA_BACKEND_URL`.
|
||
|
||
If you need to change the URL of your Medusa backend because you changed the backend's default port or because you deployed your backend, change the value of `NEXT_PUBLIC_MEDUSA_BACKEND_URL` (typically in `.env.local`) to your backend URL. For example:
|
||
|
||
```bash
|
||
NEXT_PUBLIC_MEDUSA_BACKEND_URL=http://localhost:9001
|
||
```
|
||
|
||
### Change Port
|
||
|
||
By default, the Next.js Starter Storefront runs on port `8000`.
|
||
|
||
To change the port, change the `develop` command in `package.json` to the following:
|
||
|
||
```json
|
||
"scripts": {
|
||
//other scripts
|
||
"dev": "next dev -p <PORT>"
|
||
}
|
||
```
|
||
|
||
Make sure to replace `<PORT>` with the port number you want the storefront to run on. For example, `3000`.
|
||
|
||
Then, on your backend, update the environment variable `STORE_CORS` to the URL with the new port:
|
||
|
||
```bash
|
||
STORE_CORS=http://localhost:<PORT>
|
||
```
|
||
|
||
### Customization
|
||
|
||
To customize the pages of the storefront, you can customize the files under the `src/app` directory.
|
||
|
||
To customize the components used in the storefront, you can customize the files under the `src/modules` directory.
|
||
|
||
To customize the styles of the storefront, you can customize the `src/styles` directory.
|
||
|
||
### Development Resources
|
||
|
||
You can learn more about development with Next.js through [their documentation](https://nextjs.org/docs/getting-started).
|
||
|
||
---
|
||
|
||
## See Also
|
||
|
||
- [Storefront API reference](https://docs.medusajs.com/api/store)
|
||
- [Install Medusa Admin](../admin/quickstart.mdx).
|
||
- [Install Stripe as a payment processor](../plugins/payment/stripe.mdx#add-to-nextjs-storefront)
|