148 lines
5.0 KiB
Plaintext
148 lines
5.0 KiB
Plaintext
import Feedback from '@site/src/components/Feedback';
|
||
|
||
# Gatsby Storefront Quickstart
|
||
|
||
This document guides you to install and set up the Gatsby Storefront for your Medusa Server.
|
||
|
||
|
||
|
||
## Instant Deployment to Netlify
|
||
|
||
Instead of manually following this guide to install then later deploy the Gatsby Storefront, you can deploy the Gatsby Storefront to Netlify with this button:
|
||
|
||
<a href="https://app.netlify.com/start/deploy?repository=https://github.com/medusajs/gatsby-starter-medusa" class="img-url">
|
||
<img src="https://www.netlify.com/img/deploy/button.svg" alt="Deploy to Netlify" class="no-zoom-img" />
|
||
</a>
|
||
|
||
---
|
||
|
||
## Prerequisites
|
||
|
||
This document assumes you already have a Medusa server installed. If you don’t, please follow the [Quickstart guide for the Medusa server](../quickstart/quick-start.mdx) to learn how to do it.
|
||
|
||
You should also have the Gatsby CLI installed:
|
||
|
||
```bash npm2yarn
|
||
npm install gatsby-cli -g
|
||
```
|
||
|
||
---
|
||
|
||
## Installation
|
||
|
||
:::tip
|
||
|
||
It is recommended to use [Yarn](https://yarnpkg.com/getting-started/install) for the installation process as it's much faster than using NPM.
|
||
|
||
:::
|
||
|
||
1\. Create a new Gatsby project using the [Medusa starter template](https://github.com/medusajs/gatsby-starter-medusa):
|
||
|
||
```bash
|
||
gatsby new my-medusa-storefront https://github.com/medusajs/gatsby-starter-medusa
|
||
```
|
||
|
||
2\. Change to the newly created directory `my-medusa-storefront` and rename the template environment variable file to use environment variables in development:
|
||
|
||
```bash
|
||
cd my-medusa-storefront
|
||
mv .env.template .env.development
|
||
```
|
||
|
||
3\. Make sure the Medusa server is running, then run the local Gatsby server:
|
||
|
||
```bash npm2yarn
|
||
npm run start
|
||
```
|
||
|
||
Your Gatsby storefront is now running at `localhost:8000`!
|
||
|
||
<Feedback
|
||
event="survey_gatsby_quickstart"
|
||
question="Did you set up the storefront successfully?"
|
||
positiveQuestion="Is there anything that should improved?"
|
||
negativeQuestion="Please describe the issue you faced."
|
||
/>
|
||
|
||
:::tip
|
||
|
||
If you run into errors during the installation, check out [this troubleshooting guide](../troubleshooting/common-installation-errors.mdx).
|
||
|
||
:::
|
||
|
||
---
|
||
|
||
## Development Notes
|
||
|
||
### Customization
|
||
|
||
To customize the components, pages, and UI of your Gatsby storefront, just edit files under the `src` directory.
|
||
|
||
### Data Refresh
|
||
|
||
The Gatsby storefront uses the [gatsby-source-medusa](https://github.com/medusajs/medusa/tree/master/packages/gatsby-source-medusa) plugin to source data from your Medusa server. This data includes products, collections, and regions, and as a result, you can query this data in the storefront starter using GraphQL queries. You can also explore the data in your store on `localhost:8000/___graphql`.
|
||
|
||
Because of this, you must rebuild the site every time you update any of this data for it to be reflected in your storefront. The Medusa team will soon be releasing a new version of the plugin which adds incremental builds, which will improve build times.
|
||
|
||
### Change Port
|
||
|
||
By default, the Gatsby storefront runs on port `8000`.
|
||
|
||
To change the port, change the `develop` command in `package.json` to the following:
|
||
|
||
```json
|
||
"scripts": {
|
||
//other scripts
|
||
"develop": "gatsby develop --port=<PORT>"
|
||
}
|
||
```
|
||
|
||
Make sure to replace `<PORT>` with the port number you want the storefront to run on. For example, `3000`.
|
||
|
||
Then, on your server, update the environment variable `STORE_CORS` to the URL with the new port:
|
||
|
||
```bash
|
||
STORE_CORS=http://localhost:<PORT>
|
||
```
|
||
|
||
:::info
|
||
|
||
For more details about the Store Cross-Origin Resource Sharing (CORS) configuration, check out the [Configure your Server documentation](../usage/configurations.md#storefront-cors).
|
||
|
||
:::
|
||
|
||
### Development Resources
|
||
|
||
If you’re not familiar with Gatsby, you can learn more about it through the following resources:
|
||
|
||
- [Documentation](https://www.gatsbyjs.com/docs)
|
||
- [Plugin Library](https://www.gatsbyjs.com/plugins/)
|
||
- [Cheat Sheet](https://www.gatsbyjs.com/docs/cheat-sheet/)
|
||
|
||
---
|
||
|
||
## Storefront Features
|
||
|
||
The Gatsby storefront comes with a lot of features out of the box including:
|
||
|
||
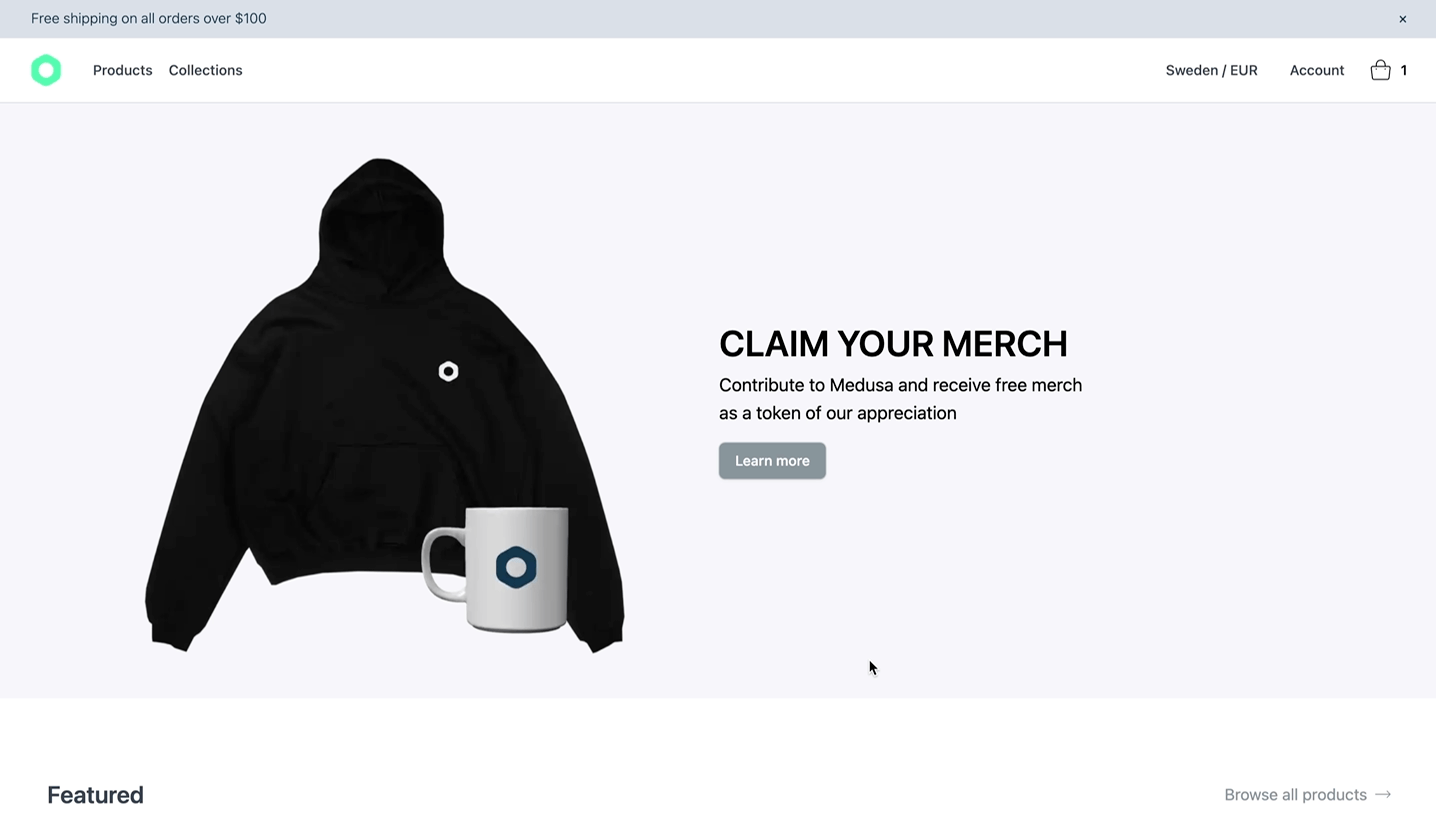
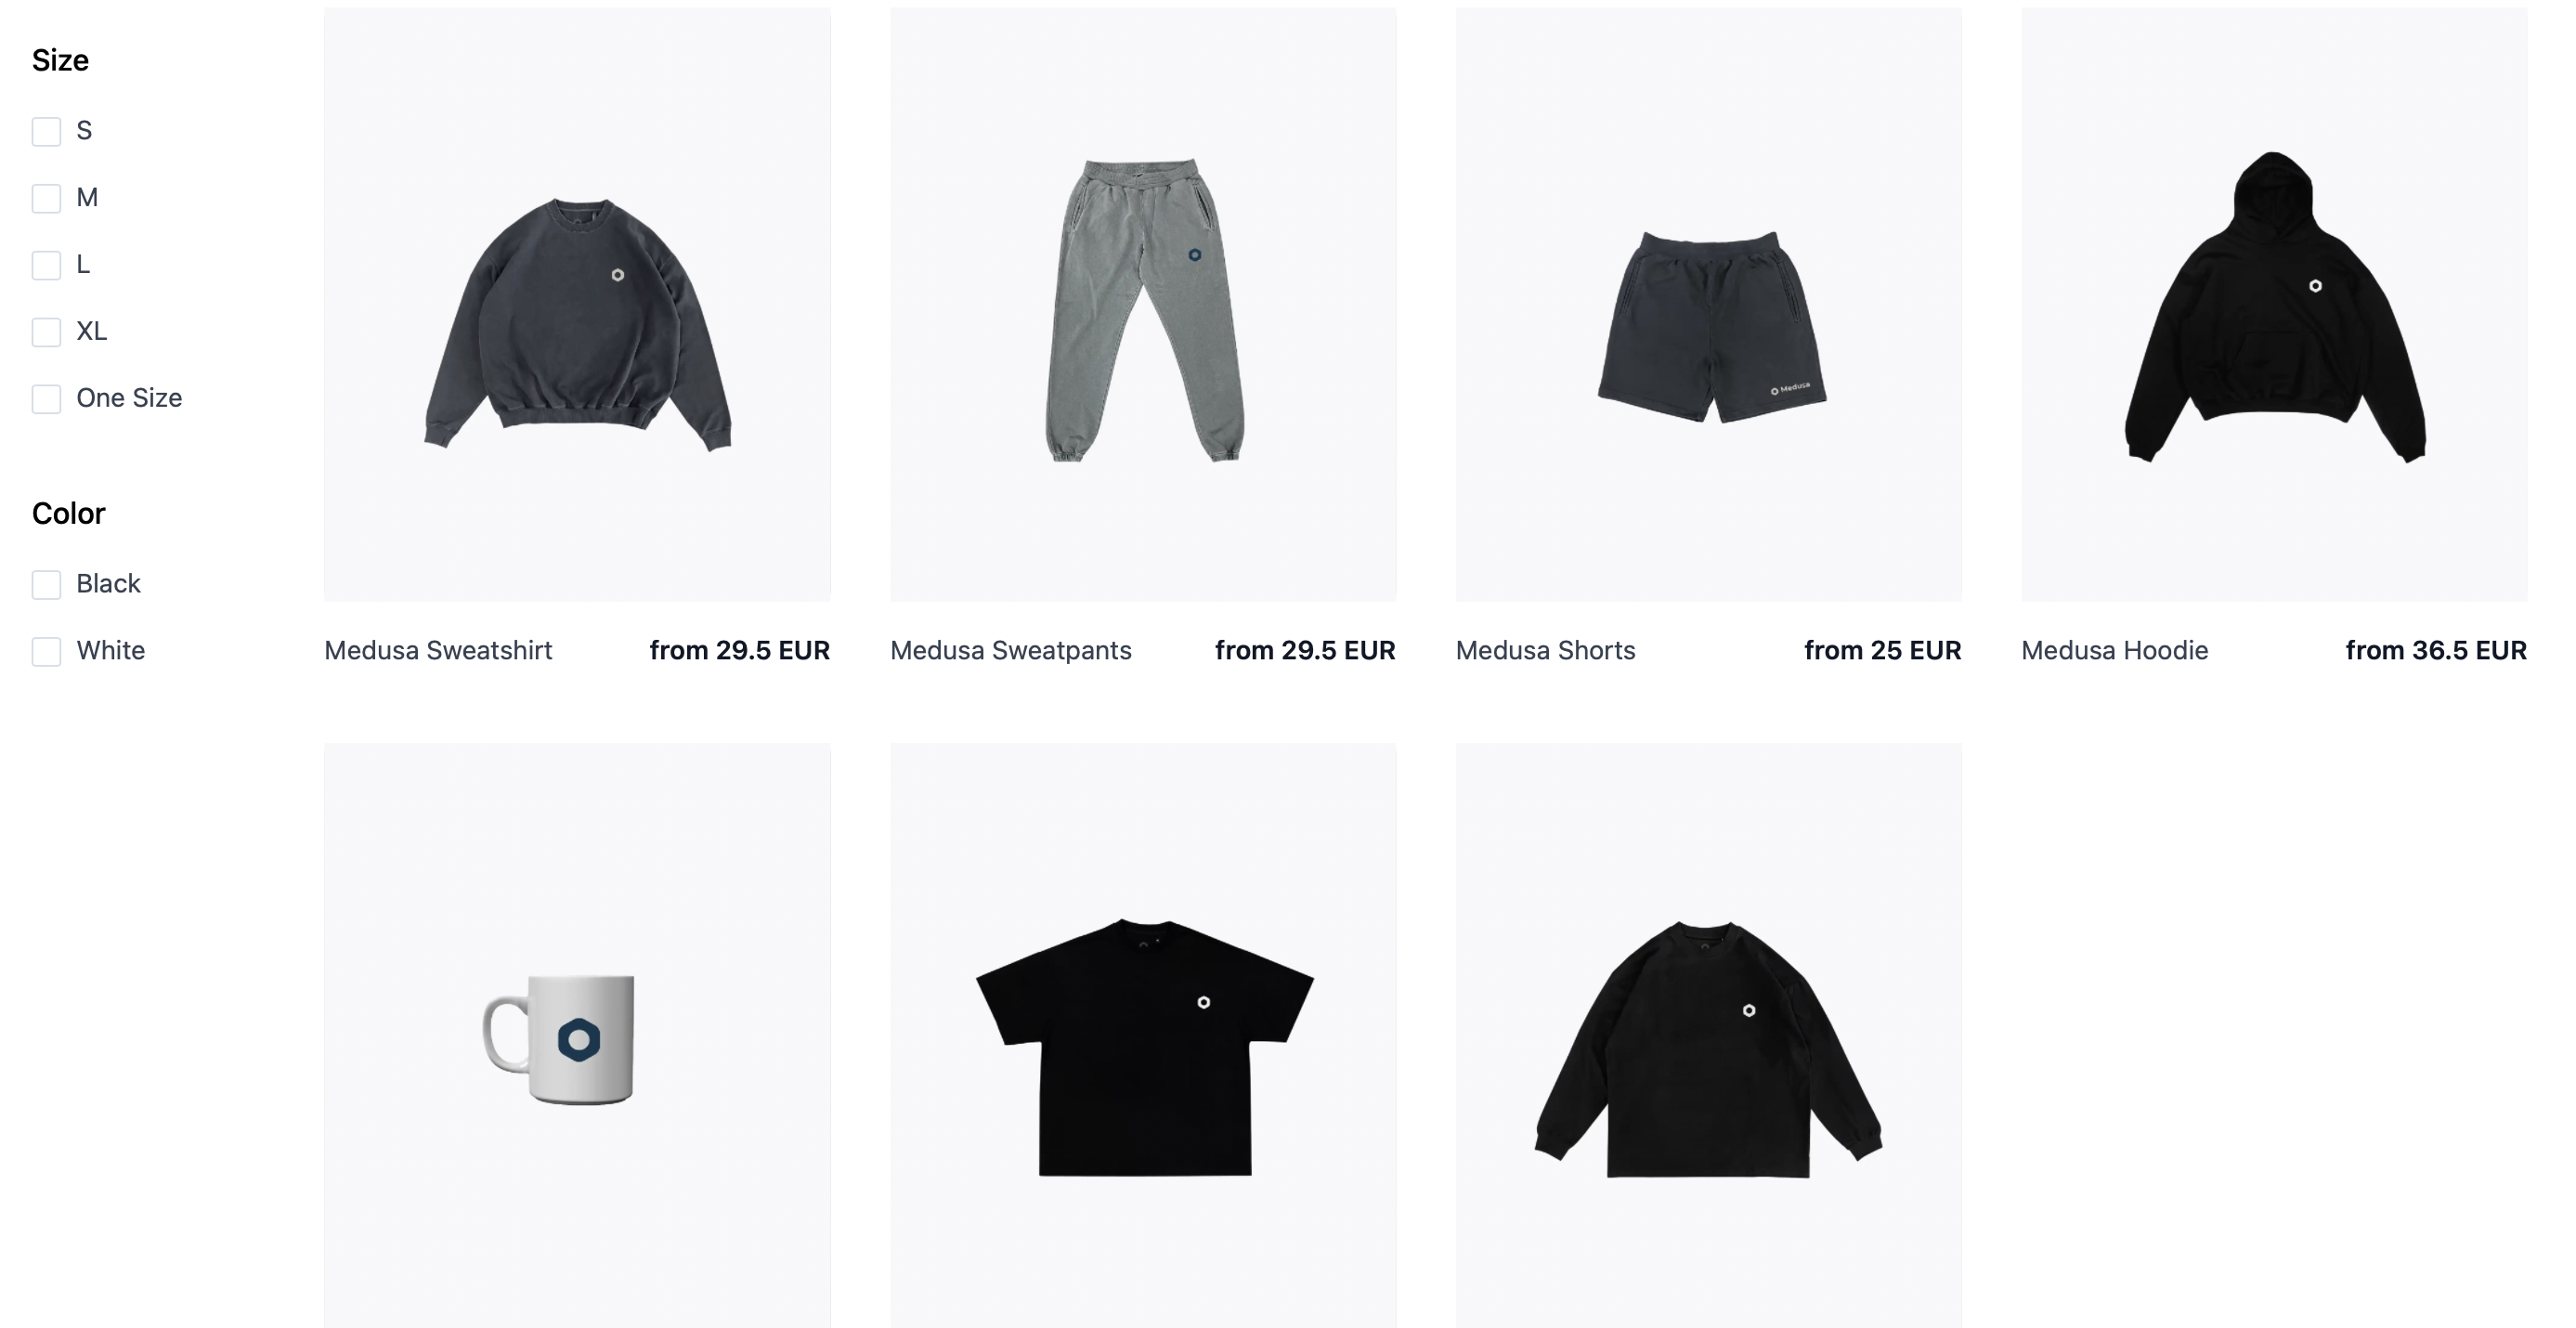
- View all products and manage your cart.
|
||
|
||
|
||
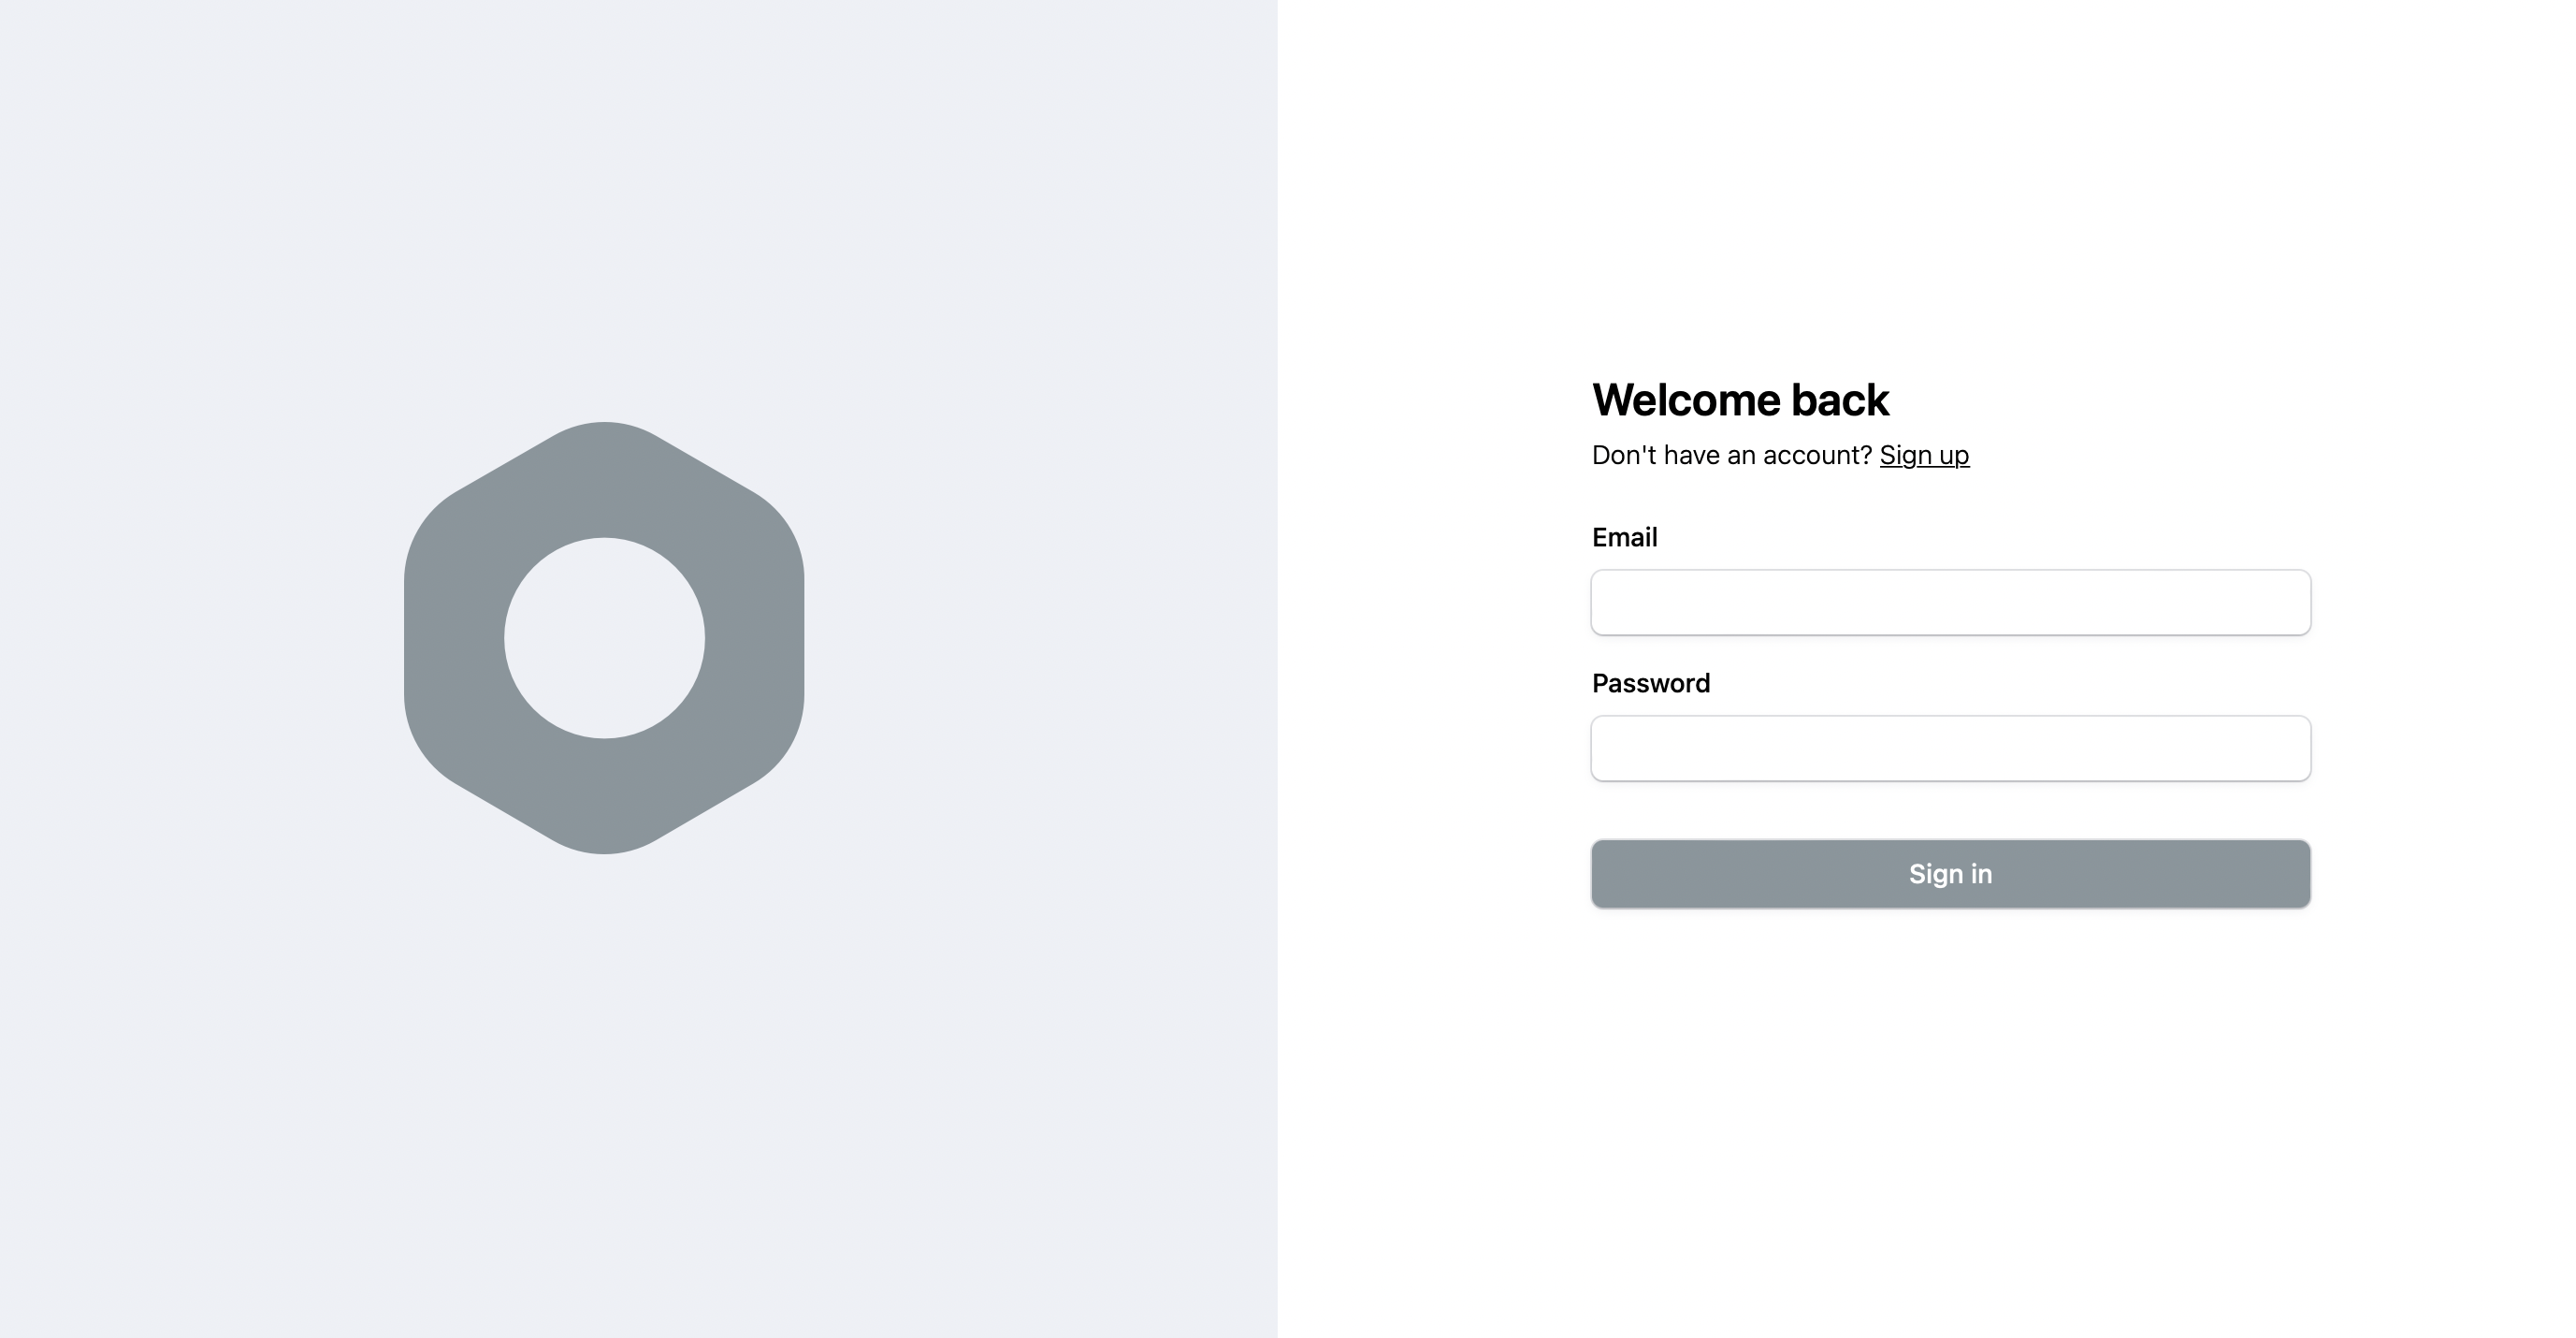
- Customer authentication.
|
||
|
||
|
||
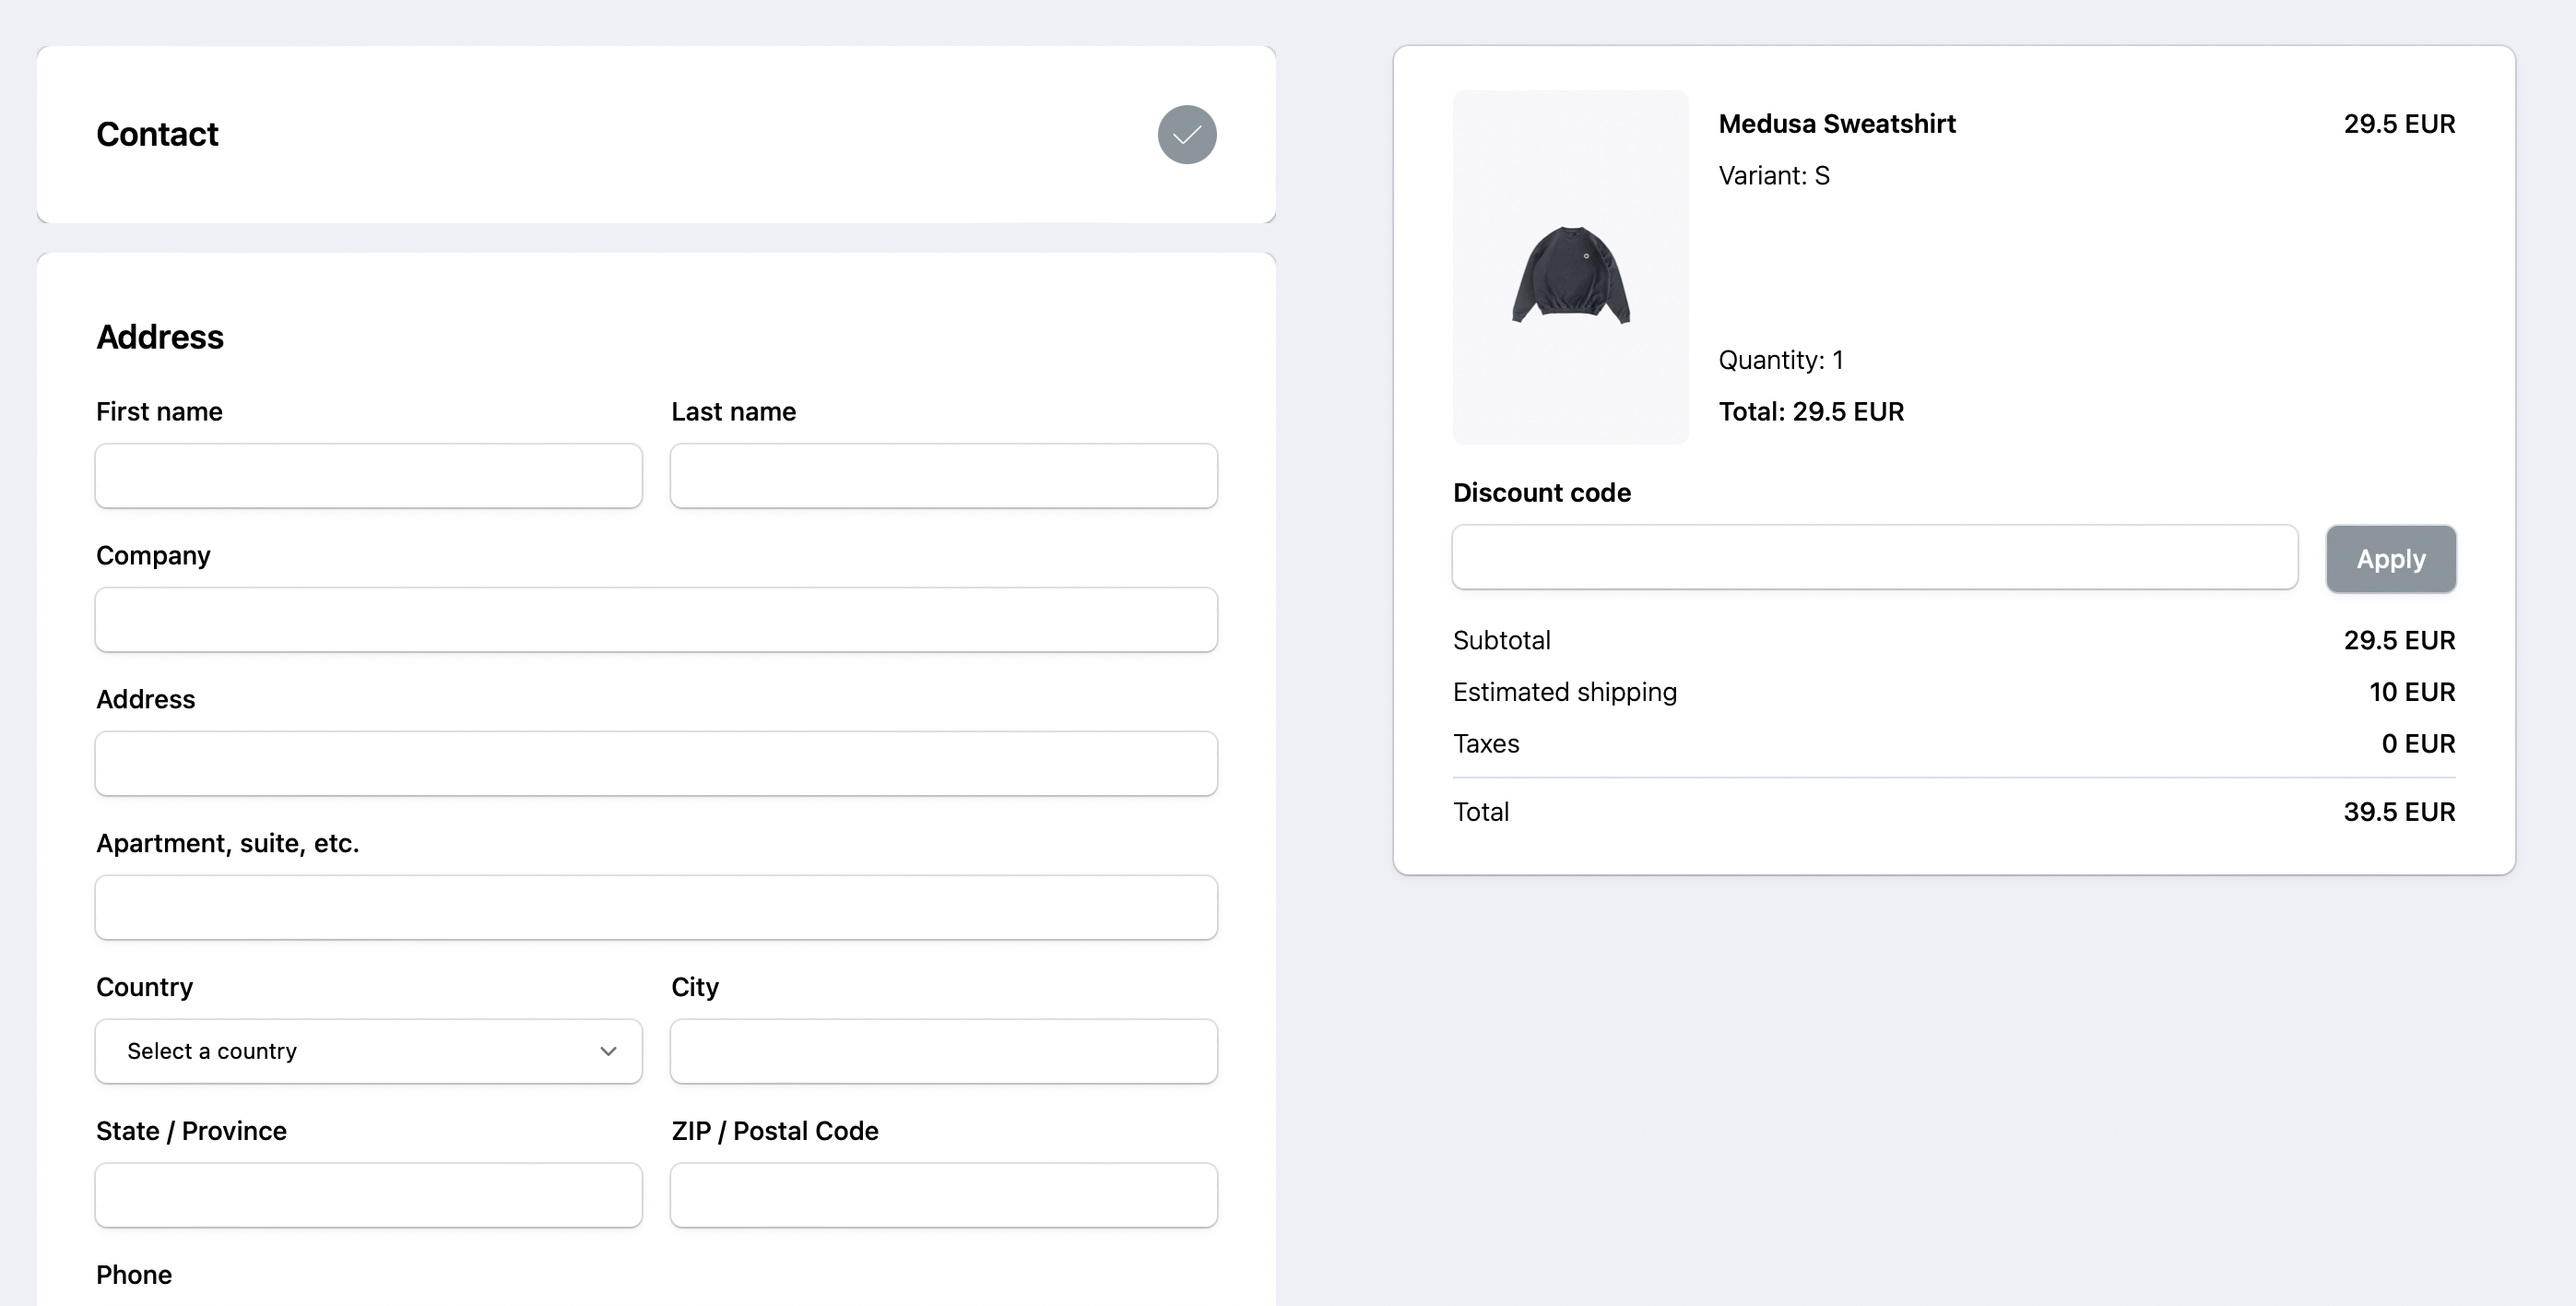
- Full checkout workflow.
|
||
|
||
|
||
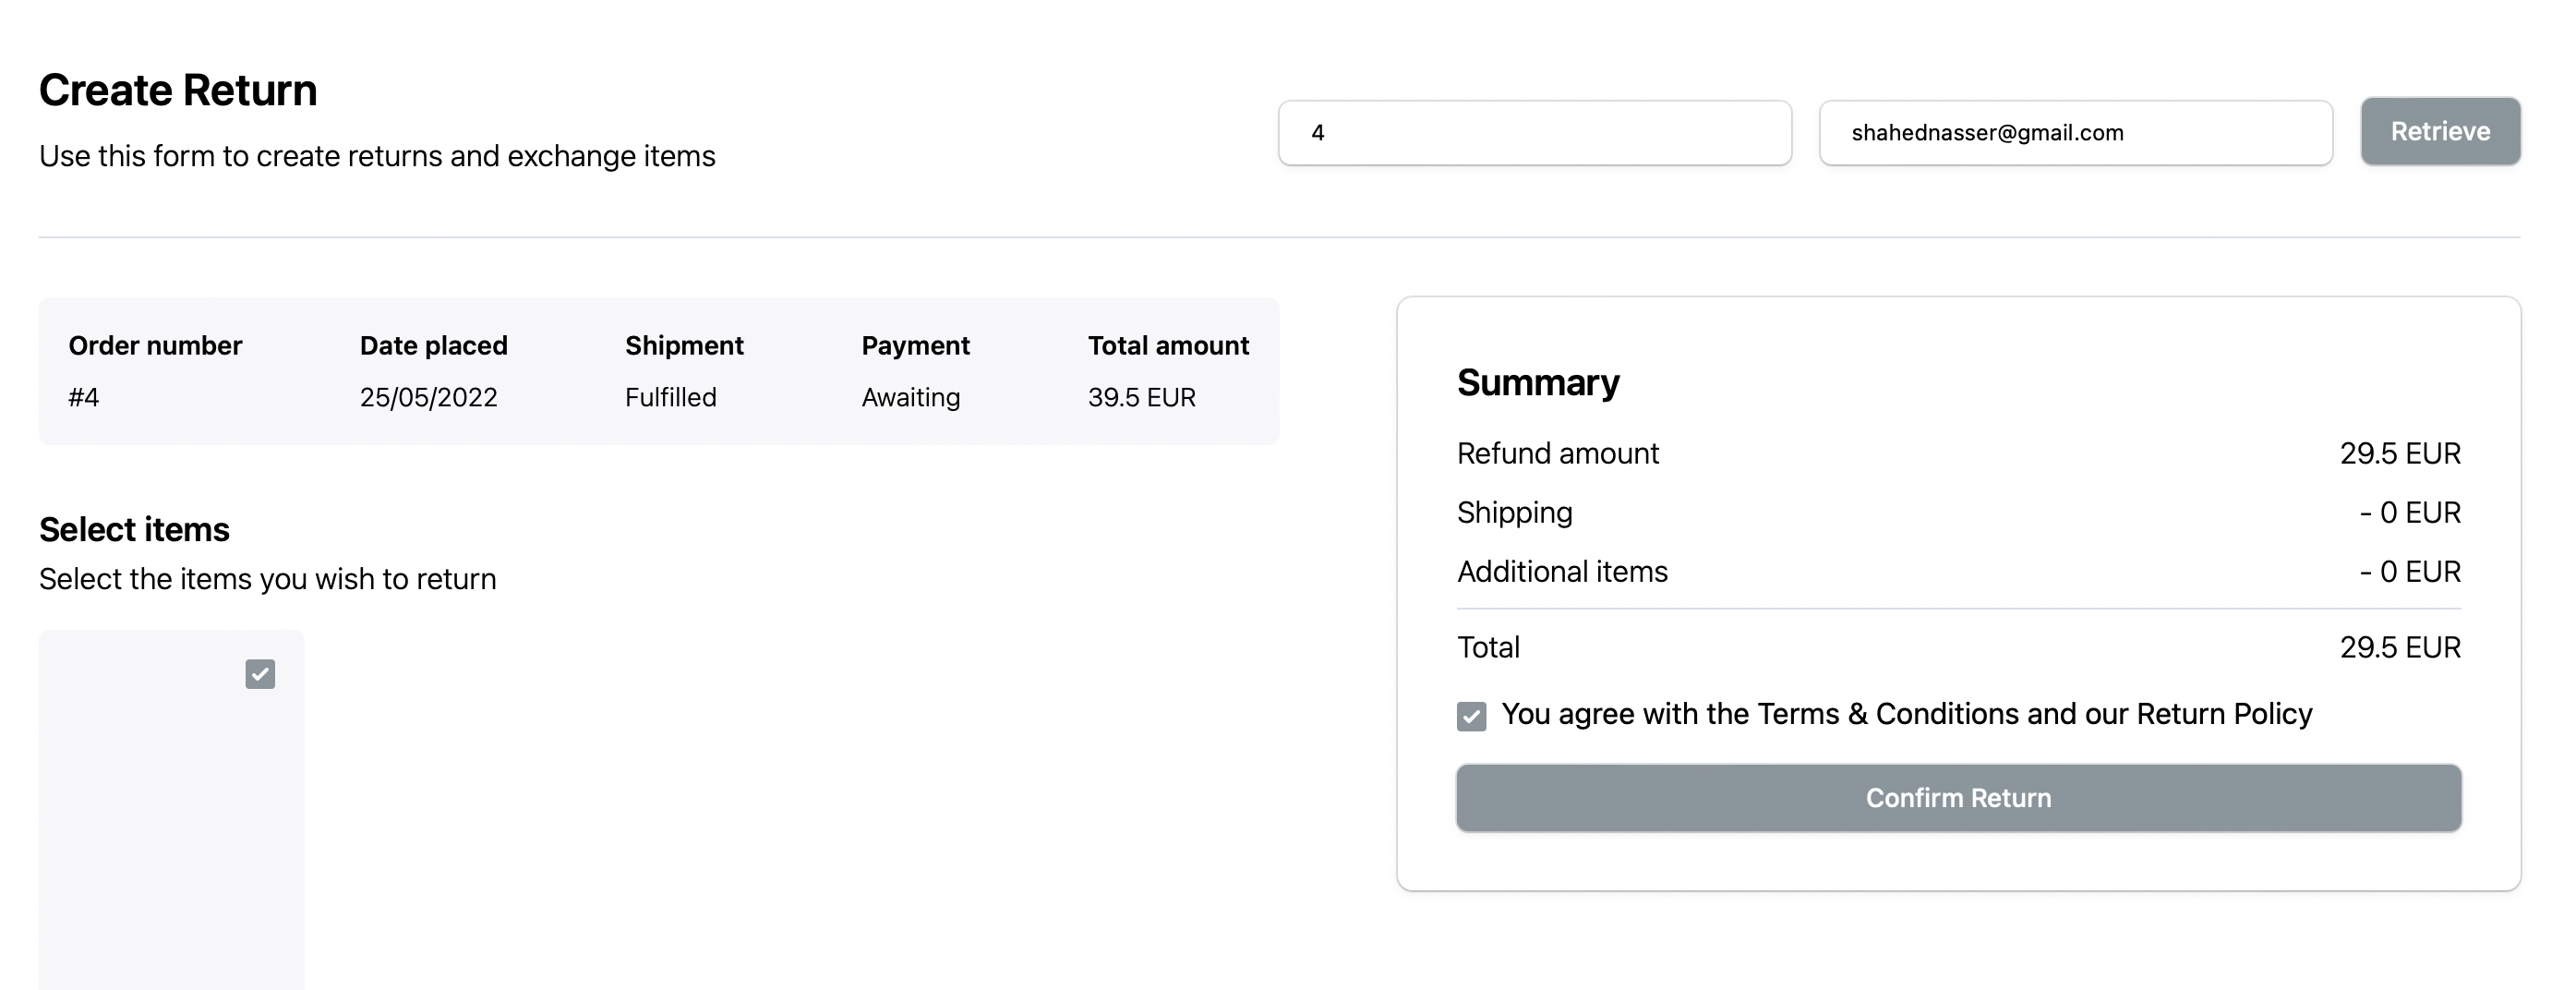
- Request swaps and returns using a customer’s order ID and Email.
|
||
|
||
|
||
|
||
---
|
||
|
||
## See Also
|
||
|
||
- [Storefront API reference](https://docs.medusajs.com/api/store)
|
||
- [Deploy the Gatsby storefront on Netlify](../deployments/storefront/deploying-gatsby-on-netlify.md)
|
||
- [Install Stripe as a payment provider](../add-plugins/stripe.md#add-to-gatsby-storefront)
|