* docs: emails in cloud

* add notes to user guides

* small updates

* small change

* fix link

* addressed feedback
103 lines
3.0 KiB
Plaintext
103 lines
3.0 KiB
Plaintext
---
|
||
sidebar_position: 1
|
||
sidebar_label: "Manage Invites"
|
||
tags:
|
||
- user guide
|
||
- user
|
||
products:
|
||
- user
|
||
---
|
||
|
||
import { EllipsisHorizontal } from "@medusajs/icons"
|
||
|
||
export const metadata = {
|
||
title: `Manage Invites in Medusa Admin`,
|
||
}
|
||
|
||
# {metadata.title}
|
||
|
||
In this guide, you'll learn how to manage invites in your store.
|
||
|
||
## Add Admin Users through Invites
|
||
|
||
To add a new user to your team, you must invite them. The user gets a notification of the invite to sign up, but you can also manually send them the invite link to sign up.
|
||
|
||
<Note title="Cloud user?">
|
||
|
||
Make sure you've set up [Medusa Emails](!cloud!/emails) in your Cloud project to send admin user invite emails. Medusa Emails is a managed email service that allows you to send transactional emails with zero configuration.
|
||
|
||
</Note>
|
||
|
||
---
|
||
|
||
## Invite a User
|
||
|
||
To send an invite to a user:
|
||
|
||
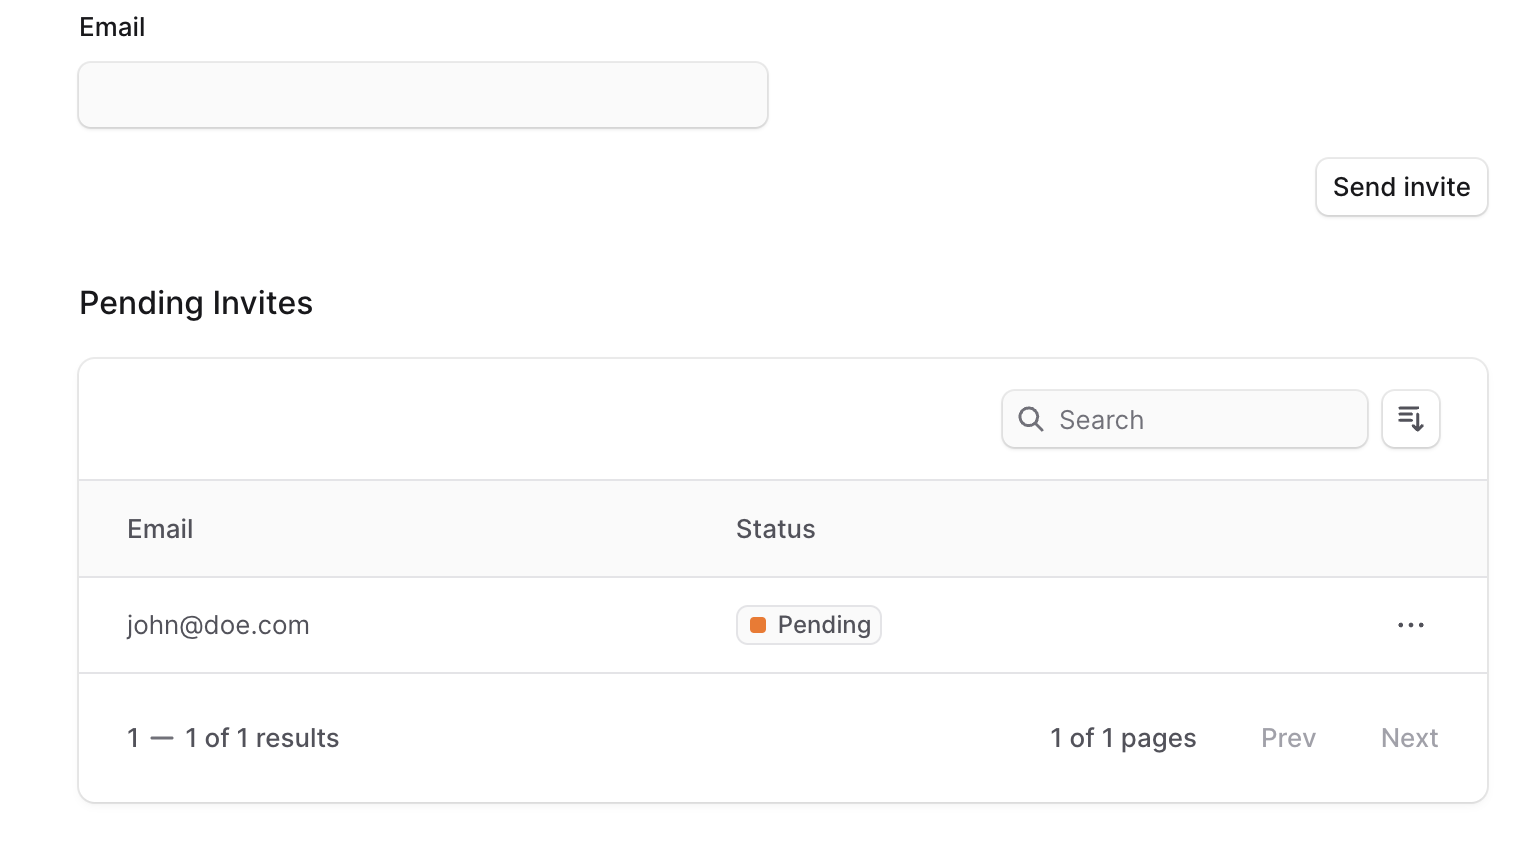
1. Go to Settings → Users.
|
||
2. Click the Invite button.
|
||
3. Enter the user’s email.
|
||
4. Once done, click on the "Send invite" button.
|
||
|
||

|
||
|
||
---
|
||
|
||
## View Pending Invites
|
||
|
||
To view pending invites:
|
||
|
||
1. Go to Settings → Users.
|
||
2. Click the Invite button.
|
||
3. Below the form, you'll find a Pending Invites table with all the invites that haven't been accepted yet.
|
||
|
||
|
||
|
||
---
|
||
|
||
## Resend an Invite
|
||
|
||
You can resend an invite if the user hasn't received it, they lost their link, or the invite has expired.
|
||
|
||
To resend an invite to a user:
|
||
|
||
1. Go to Settings → Users.
|
||
2. Click the Invite button.
|
||
3. In the Pending Invites table, find the user to resend their invite and click on the <InlineIcon Icon={EllipsisHorizontal} alt="three-dots" /> icon.
|
||
4. Choose "Resend invite" from the dropdown.
|
||
|
||
A notification will be sent to the user [as configured by your technical team](!resources!/infrastructure-modules/notification).
|
||
|
||
---
|
||
|
||
## Get Invite Link
|
||
|
||
In addition to sending the user an invite, you can copy the invite link and send it manually to the user.
|
||
|
||
To copy the invite link:
|
||
|
||
1. Go to Settings → Users.
|
||
2. Click the Invite button.
|
||
3. In the Pending Invites table, find the user to resend their invite and click on the <InlineIcon Icon={EllipsisHorizontal} alt="three-dots" /> icon.
|
||
3. Choose “Copy invite link” from the dropdown.
|
||
|
||
You can then send this link to the user to sign up.
|
||
|
||
---
|
||
|
||
## Delete Invite
|
||
|
||
<Note type="warning">
|
||
|
||
Deleting an invite will revoke the invite and the user won't be able to sign up using that invite link.
|
||
|
||
</Note>
|
||
|
||
To delete an invite:
|
||
|
||
1. Go to Settings → Users.
|
||
2. Click the Invite button.
|
||
3. In the Pending Invites table, find the user to resend their invite and click on the <InlineIcon Icon={EllipsisHorizontal} alt="three-dots" /> icon.
|
||
4. Choose Delete from the dropdown.
|
||
5. Confirm deleting the invite by clicking the Delete button in the pop-up.
|